5 Steps to Successfully Transplant Tomato Seedlings into the Ground
You can tell a tomato seedling is ready for the big move when its stem has a slight, purplish blush and the true leaves smell sharply green and a little spicy when you brush them. That’s the moment we work for, when those pampered indoor starts are tough enough to handle the real world. Getting those first homegrown tomatoes, still warm from the sun, is worth every bit of effort. Follow these essential steps to transplant tomato seedlings into the ground correctly, and you’ll set the stage for a harvest that fills baskets, not just bowls.
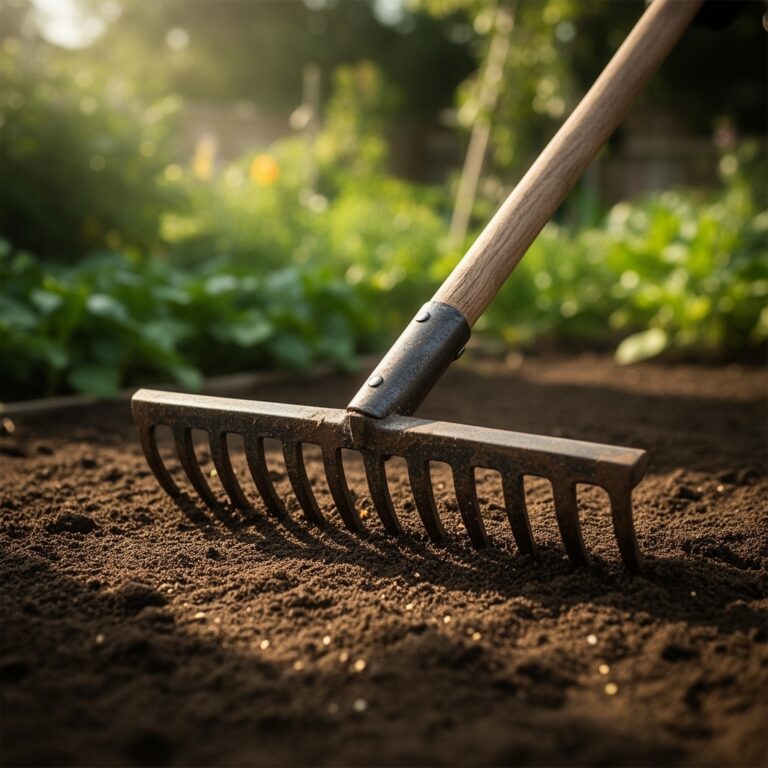
Materials & Supplies
You’ll need more than just a shovel and a prayer. Gather this first.
Soil & Amendments:
- Well-aged compost (2-3 cubic feet per planting area)
- Organic, balanced fertilizer (look for an NPK ratio like 5-5-5 or 3-4-6)
- Crushed eggshells (for calcium) or a granular source of calcium
- Mycorrhizal fungi powder or granules (this is a game-changer for root establishment)
Containers & Tools:
- A sturdy trowel and a sharp pair of pruning snips
- Watering can with a rose attachment for a gentle flow
- Labels and a waterproof marker
- Support structures now—stakes (6-foot minimum) or cages. Putting them in later damages roots.
Seedlings & Protection:
- Healthy, stocky seedlings with 4-6 true leaves
- Row cover fabric for unexpected cold snaps
- Organic mulch like straw or shredded leaves, kept back until soil warms.
![]()
Timing / Growing Schedule
Tomatoes are heat lovers. They fail in cold soil. The single best metric is soil temperature. Push a thermometer 4 inches deep. Wait for a consistent 60°F minimum; 65–70°F is ideal. This usually happens 1-2 weeks after your average last frost date in Zones 3-7. In Zones 8-11, you’re often looking at a late winter/early spring transplant window. Check your specific variety’s "Days to Maturity"—a ‘Early Girl’ (50-60 days from transplant) can go out a bit later than a ‘Brandywine’ (80-100 days). Count backwards from your first fall frost date to ensure a long enough growing season.
Step-by-Step Instructions
This is where commitment meets the dirt.
1. The Hardening Off Period.
Start 7-10 days before transplant. Place seedlings in dappled shade and shelter from wind for 2 hours. Increase exposure by an hour or two each day. By the end, they should handle full sun and a mild breeze. Water consistently but don’t coddle them.
Pro-Tip: A gentle pass with your hand back and forth over the seedlings for a minute, twice a day, mimics wind stress. It triggers the production of strengthening ethylene gas, making stems stout.
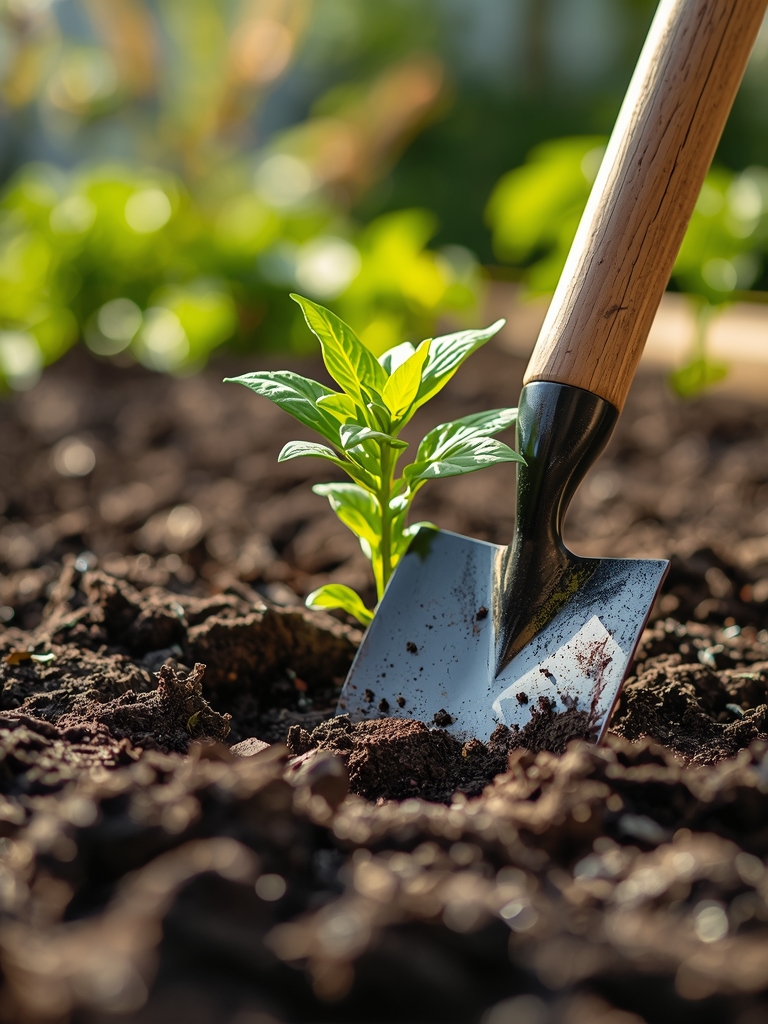
2. Site and Soil Prep.
Pick the sunniest spot you have—8 hours minimum. Dig a hole 12 inches deep and wide for each plant, even for a small seedling. Mix the native soil 50/50 with your well-aged compost. Throw a handful of crushed eggshells and a tablespoon of mycorrhizal powder into the hole. This fungi forms a symbiotic network with the roots, vastly increasing their water and nutrient uptake.
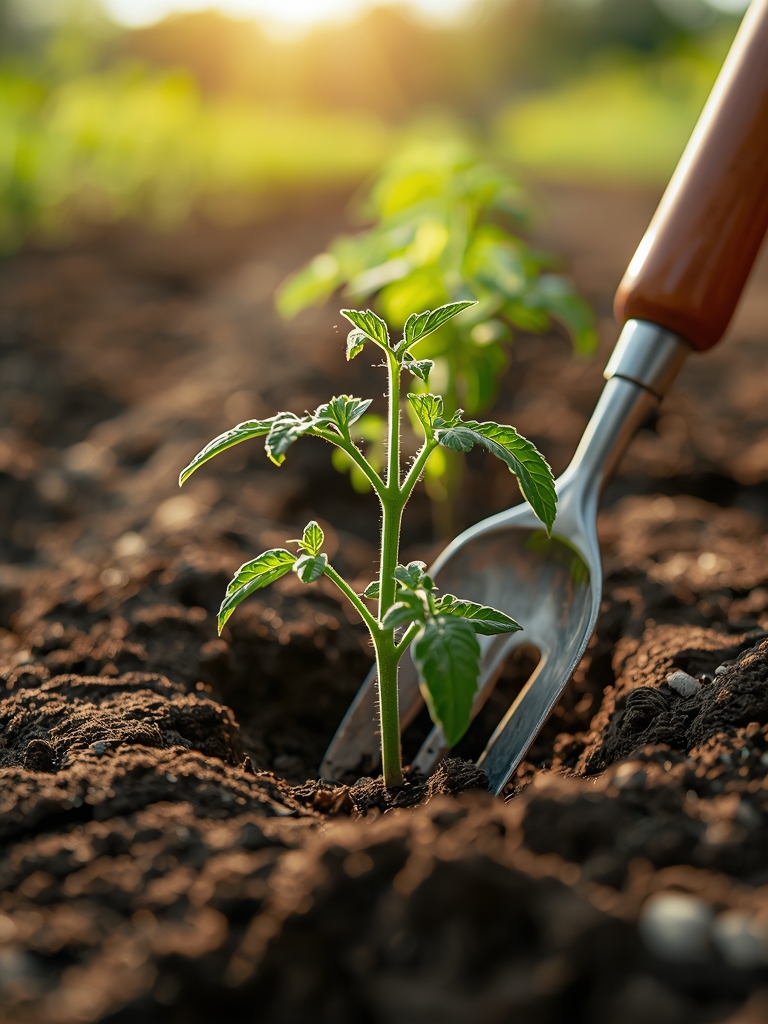
3. The Actual Transplant.
Water the seedling in its pot thoroughly an hour before. Pinch off the lowest 2-3 sets of leaves. Dig your hole deep enough so you can set the root ball down with that now-bare stem section lying horizontally. Bury the stem up to the remaining healthy leaves. Roots will form all along that buried stem, creating a massive, storm-proof root system. Firm the soil gently with your hands.
Pro-Tip: Use tepid water, not cold well water, for the initial watering. Cold shock can stall growth for a week.
4. Immediate Aftercare.
Drive your stake in now, 4-6 inches from the stem. Water deeply with a mix of water and a weak seaweed solution to reduce transplant shock. Install your row cover if nights are still dipping below 50°F.
![]()
Nutritional & Environmental Benefits
A ripe tomato is a capsule of nutrition: significant vitamins C and K1, potassium, folate, and the antioxidant lycopene, which becomes more bioavailable when cooked. Beyond your plate, tomato flowers provide pollen for native bees, especially bumblebees who “buzz pollinate” them. Integrating them with basil and marigolds creates a supportive polyculture that deters pests like whiteflies.
Advanced Methods & Variations
For Small Spaces: Use 5-gallon fabric pots or deep grow bags. Choose determinate (bush) varieties like ‘Patio Choice Yellow’ or dwarf indeterminates. Use a potting mix heavy in compost, and be militant about watering and weekly feeding with a liquid fish emulsion.
Organic/Permaculture: Plant into a “hugelkultur” mound or a homemade compost pile. Use living mulch like creeping thyme to suppress weeds and retain moisture. Interplant with nitrogen-fixing legumes like bush beans.
Season Extension: Use Wall-O-Water plant protectors or low tunnel hoops with plastic to warm soil earlier. Post-transplant, hold off on organic mulch until soil hits 70°F, then apply 3-4 inches of straw to conserve heat and moisture.
Troubleshooting: Common Mistakes
Symptom: Leaves turning yellow from the bottom up, growth is stunted.
Solution: Likely nitrogen depletion. Side-dress with compost or a balanced organic fertilizer. Cold soil also causes this—ensure proper timing.
Symptom: Blossoms form but drop off without setting fruit.
Solution: Night temperatures are likely outside the 55-75°F ideal range. Use row cover to warm or shade cloth to cool. Encourage pollination by gently shaking flower clusters at midday.
Symptom: Dark, sunken spots on the blossom end of the fruit (Blossom End Rot).
Solution: This is a calcium uptake issue, often from irregular watering. Maintain even soil moisture with your mulch and soaker hoses. Your pre-plant eggshells are the long-term fix.
Storage & Ongoing Maintenance
Water deeply and consistently, aiming for 1 inch per week. Soaker hoses are best. After the first fruits set, feed every 2-3 weeks with a fertilizer higher in phosphorus and potassium (like a 3-5-5). Prune indeterminate varieties by removing the “suckers” that grow in leaf joints. For storage, never refrigerate a ripe tomato—it kills flavor and texture. Store stem-side down at 55-65°F.
Conclusion
Success boils down to warm soil, a deeply planted stem, immediate support, and unbroken consistency in water. Pay attention to what the leaves and stems are telling you, and act quickly. Now, get your hands dirty—then come tell us in the comments which variety you’re planting and what specific challenge you’re facing this season.
Expert FAQs
How deep should I bury my tomato seedlings?
Bury them up to the top 2-3 sets of leaves. Pinch off any lower leaves that would be below the soil line. The entire buried stem will become root.
What is the best fertilizer for tomatoes right after transplanting?
Initially, use a weak seaweed solution to ease shock. Wait 2-3 weeks, until plants are actively growing, then apply a balanced organic fertilizer (like 5-5-5) or side-dress with compost.
Can I use Epsom salt when transplanting tomatoes?
Only if a soil test confirms a magnesium deficiency. Unnecessary Epsom salt can lock out calcium, prompting Blossom End Rot. Compost and a balanced diet are better.
Should I remove the flowers when transplanting?
Yes. Pinch off any flowers or fruit present at transplant time. The plant’s energy must go to establishing roots, not sustaining fruit.
How long does transplant shock last for tomatoes?
With proper hardening off and watering, visible shock (wilting) should resolve in 2-3 days. Full recovery and renewed growth takes about 7-10 days.