6 Handling Steps for Repotting an Elephant Ear
Damp earth smells of geosmin and fungal activity when you disturb the root zone of a mature Alocasia or Colocasia. A healthy specimen exhibits high turgor pressure; its petioles remain rigid and upright under the weight of massive, cordate leaves. When the root mass begins to circle the interior of the container, the plant enters a state of physiological stress that limits nutrient uptake. Mastering the steps for repotting an elephant ear ensures the specimen maintains its metabolic rate and structural integrity. You must handle the thick, starchy corms with precision to avoid mechanical damage that invites opportunistic pathogens. Success depends on timing the intervention with the plant's active growth cycle and providing a substrate that mimics the high-organic, well-draining soils of its native tropical riparian zones.
Materials
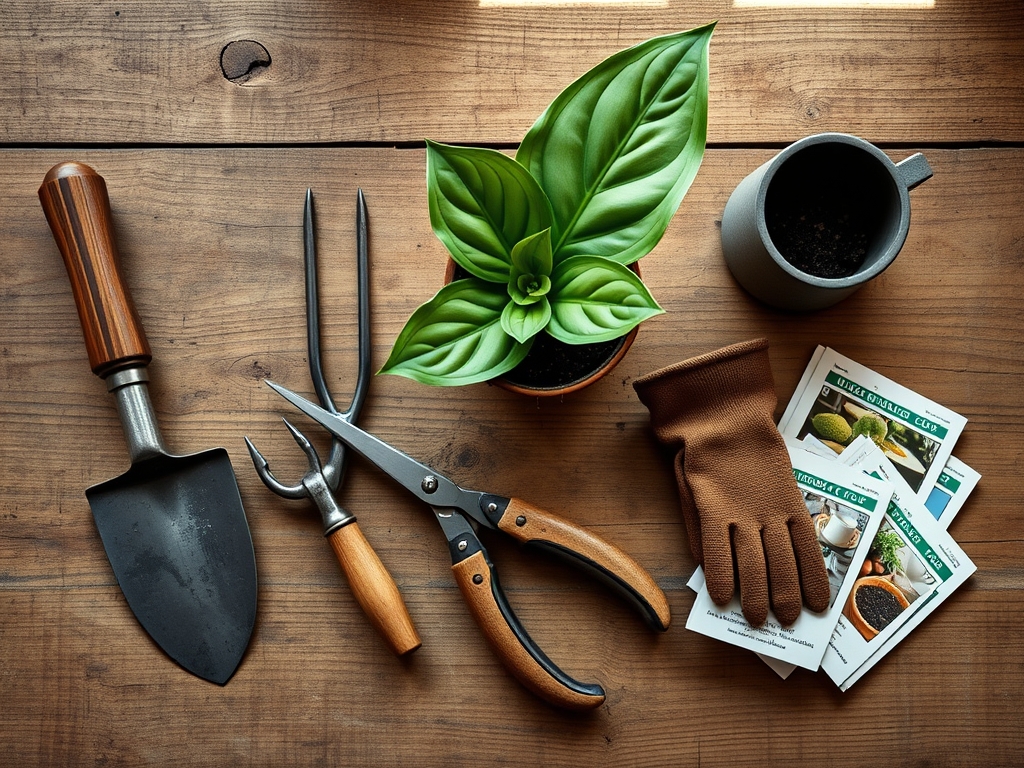
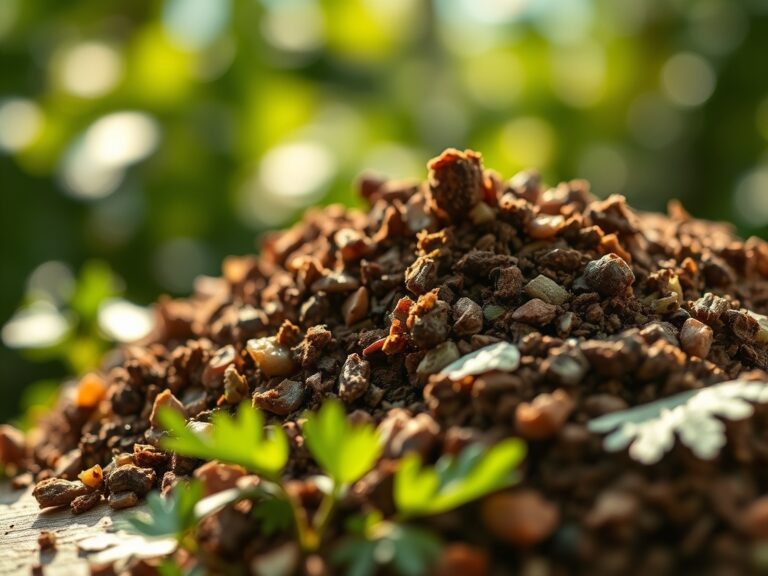
The ideal substrate for an elephant ear is a friable loam with a high Cation Exchange Capacity (CEC). Aim for a **soil pH between 5.5 and 6.5**. The mixture should consist of 40 percent peat moss or coconut coir, 30 percent perlite for aeration, and 30 percent aged compost.
Incorporate a slow-release fertilizer with an NPK ratio of 20-10-20. High nitrogen levels support the rapid expansion of leaf surface area, while potassium regulates the opening and closing of stomata. Ensure the new container is only 2 to 4 inches wider in diameter than the previous one. Excessively large pots lead to "perched water tables," where the bottom of the soil remains saturated, causing anaerobic conditions that suffocate the rhizosphere.
Timing
Elephant ears are heavy feeders that thrive in USDA Hardiness Zones 8 through 11. In cooler zones, they function as annuals or indoor perennials. The biological clock for repotting must align with the end of dormancy and the onset of the vegetative phase. This typically occurs in mid to late spring, once overnight temperatures consistently exceed 60 degrees Fahrenheit (15.5 degrees Celsius).
Repotting during the transition from the dormant corm stage to active leaf production allows the plant to utilize its stored carbohydrates for root establishment. Avoid repotting during the late summer senescence phase. As the photoperiod shortens, the plant shifts energy from foliage to the corm for winter storage; disturbing the roots at this time can trigger premature dormancy or weaken the plant's cold hardiness.
Phases
Sowing and Extraction
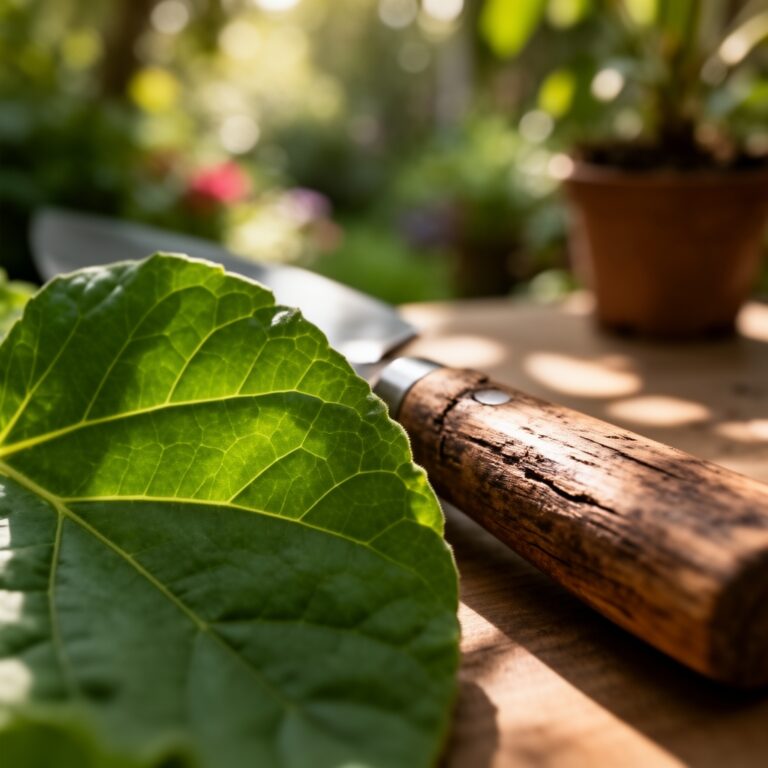
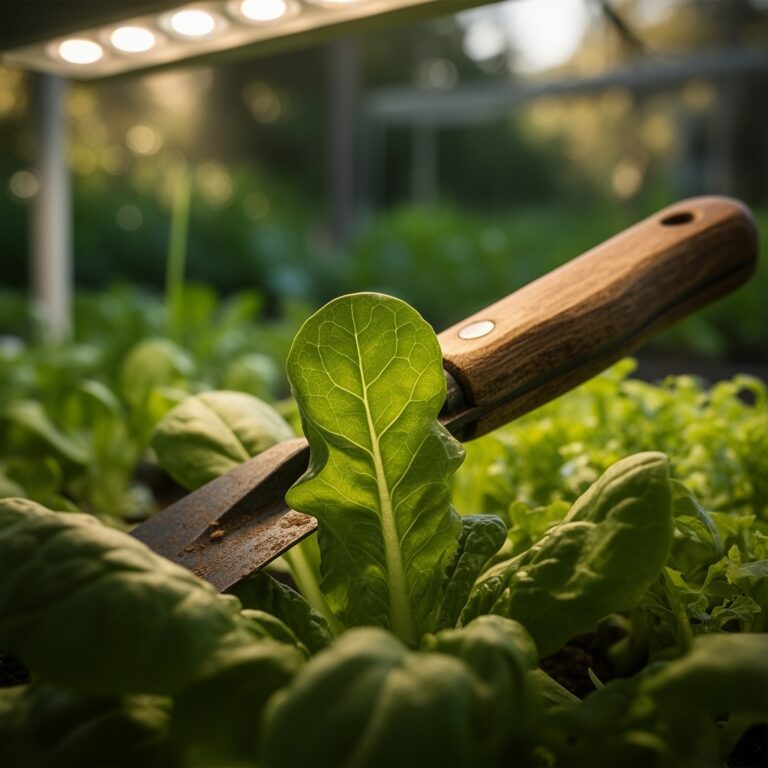
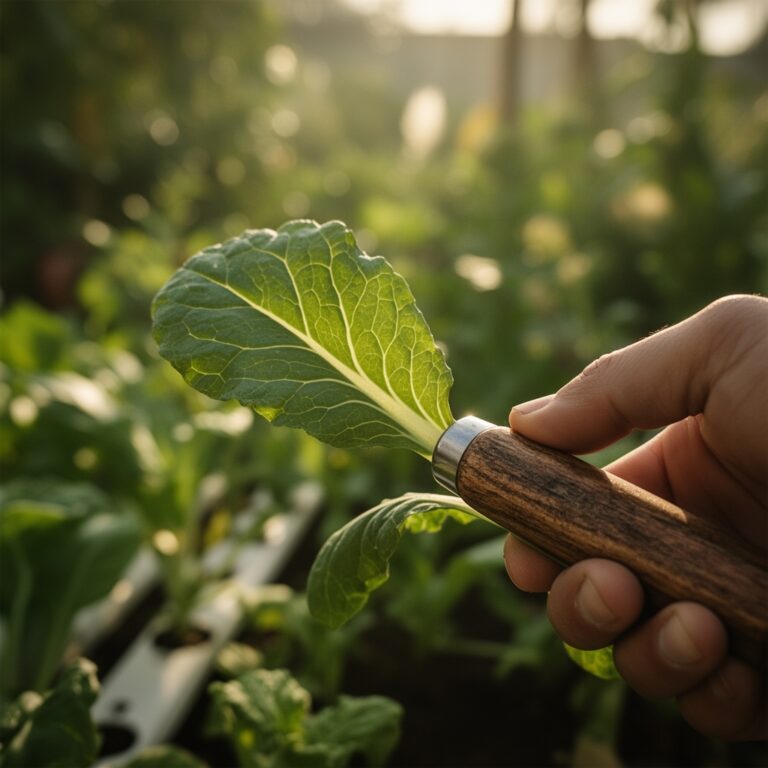
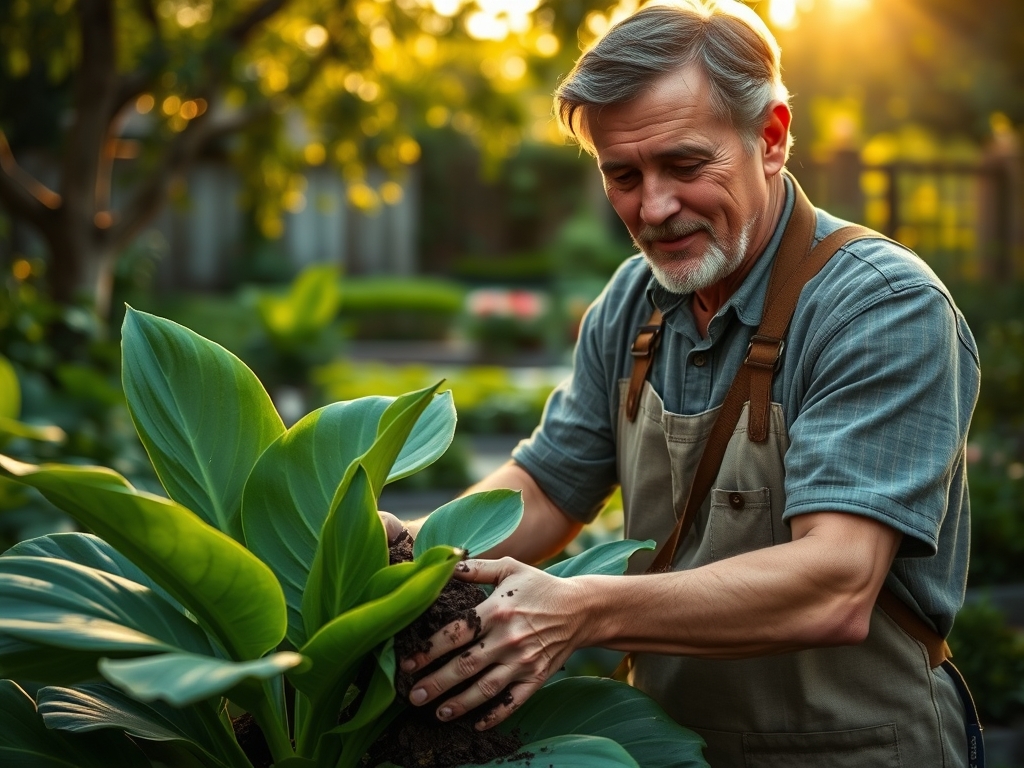
Begin by hydrating the plant 24 hours before the procedure to maximize cell turgidity. Invert the pot and support the base of the petioles. If the plant is root-bound, use a hori-hori knife to slice through the outer inch of the root ball. This mechanical disruption encourages the growth of new lateral roots.
Pro-Tip: Slicing the outer roots breaks apical dominance in the root tips. This triggers the release of auxins, plant hormones that stimulate the growth of new, more efficient feeder roots in the fresh substrate.
Transplanting
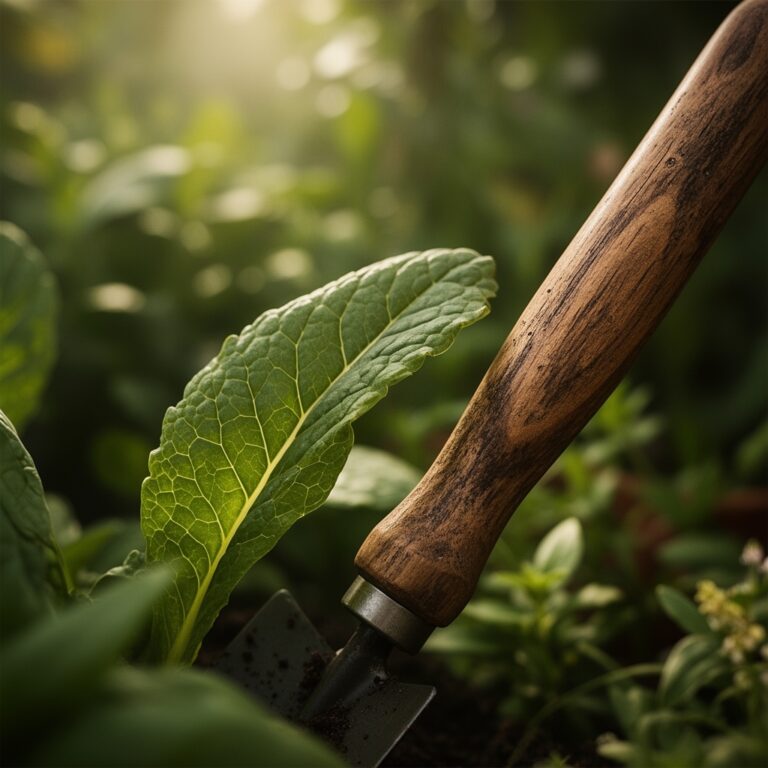
Position the corm in the center of the new vessel. The top of the corm should sit approximately 1 to 2 inches below the soil surface. Ensure the plant is not buried too deeply; covering the base of the petioles with soil can lead to crown rot. Firm the soil gently to remove large air pockets without compacting the medium, which would reduce the oxygen available to the roots.
Pro-Tip: Maintaining the correct planting depth prevents hypoxia in the crown. Oxygen must reach the junction where the petioles emerge to prevent the growth of anaerobic bacteria.
Establishing
Immediately after transplanting, water the plant until liquid drains freely from the bottom of the pot. Place the specimen in a location with filtered sunlight. Avoid direct, high-intensity UV exposure for the first 7 to 10 days while the plant recovers from transplant shock. Observe the leaves for signs of wilting, which indicates a temporary loss of hydraulic conductivity.
Pro-Tip: This recovery period allows for mycorrhizal symbiosis to re-establish. These beneficial fungi expand the root system's reach, allowing the plant to absorb phosphorus and micronutrients more effectively.
The Clinic
Physiological disorders often manifest through the foliage. Monitor your elephant ear for these specific symptoms:
- Symptom: Nitrogen Chlorosis. Leaves turn pale green or yellow, starting with the oldest foliage.
- Solution: Apply a water-soluble fertilizer with a high nitrogen (N) ratio. Ensure the soil temperature is above 65 degrees Fahrenheit for optimal uptake.
- Symptom: Leaf Scorch. Brown, crispy edges on the leaf margins.
- Solution: This indicates low humidity or excessive salt buildup from fertilizers. Flush the soil with 2 gallons of distilled water per gallon of soil volume to leach excess salts.
- Symptom: Guttation. Water droplets forming on leaf tips overnight.
- Solution: This is a natural process where the plant expels excess moisture. However, if it persists with yellowing, reduce irrigation frequency to prevent root rot.
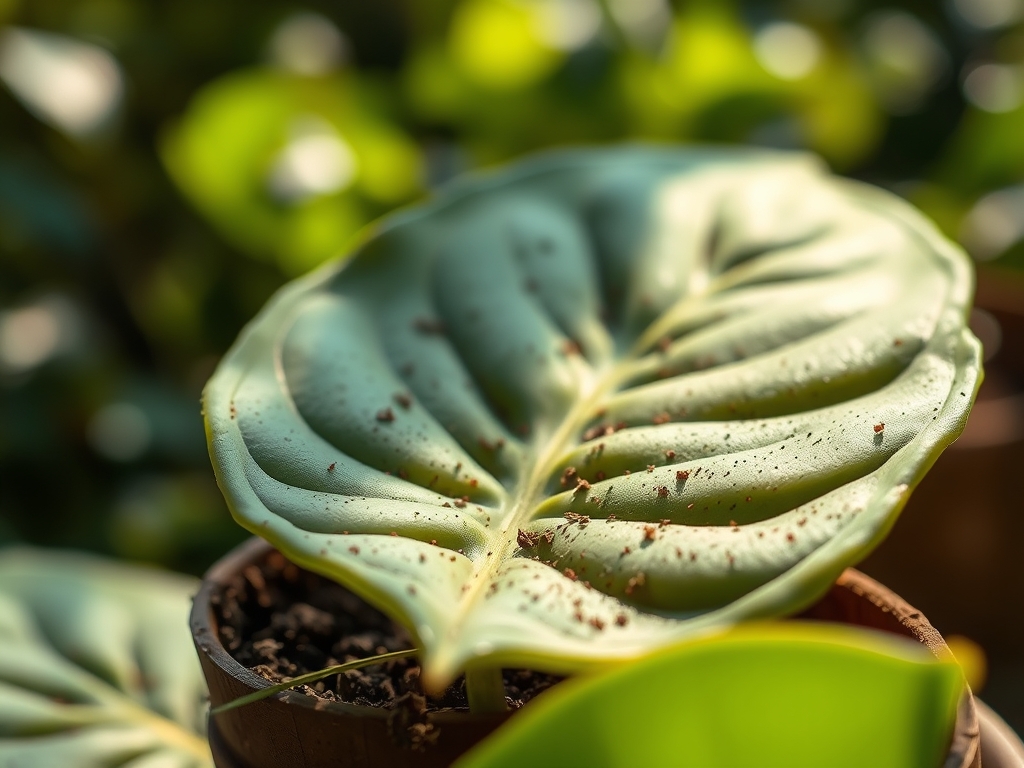
- Symptom: Interveinal Chlorosis. Yellowing between the veins while the veins remain green.
- Solution: This suggests a magnesium or iron deficiency. Check soil pH; if it is above 7.0, the plant cannot access these micronutrients. Lower the pH using elemental sulfur.
Maintenance
Elephant ears require consistent moisture to maintain the hydrostatic pressure needed to support their massive leaves. Provide 1.5 inches of water per week, delivered directly to the soil surface to avoid wetting the foliage, which can encourage fungal spores. Use a soil moisture meter to ensure the substrate remains at a "moist" reading (level 6-8) without becoming waterlogged.
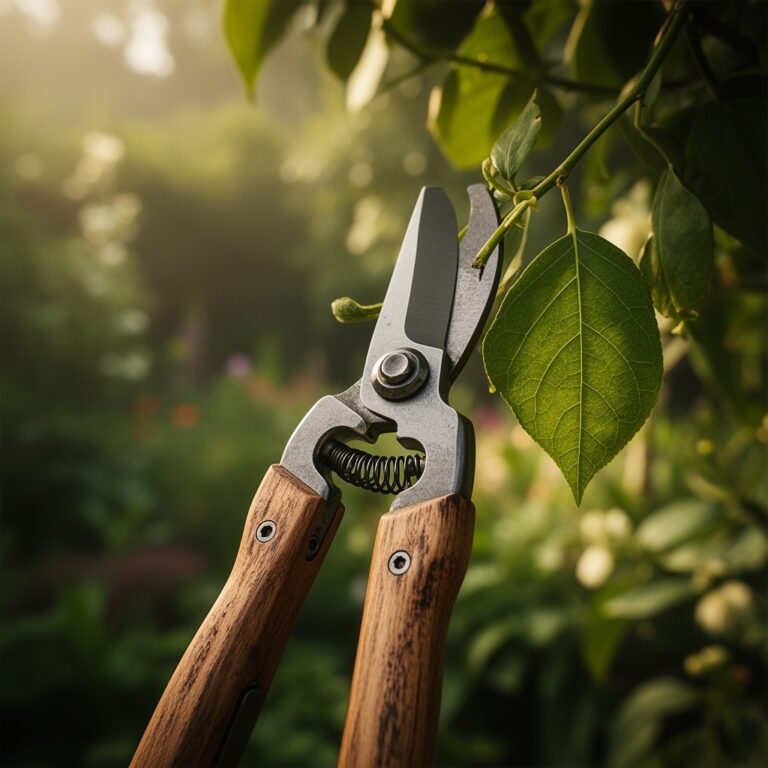
Pruning is essential for hygiene. Use bypass pruners sterilized with 70 percent isopropyl alcohol to remove yellowing or tattered leaves at the base of the petiole. This redirects the plant's metabolic energy toward the production of new, healthy leaves. During the peak growing season, apply a balanced liquid fertilizer every 14 to 21 days.
The Yield
While many elephant ears are grown for their ornamental value, some varieties like Colocasia esculenta are grown for their edible corms. Harvest occurs when the leaves begin to yellow and die back in the fall. Use a garden fork to lift the entire root mass, taking care not to bruise the starchy interior.
For post-harvest handling, cure the corms in a warm, dry area with good airflow for 3 to 7 days. This allows the outer skin to toughen, which prevents moisture loss and protects against decay during storage. If you are keeping the plant for next year's growth, store the cured corms in dry peat moss at a constant temperature of 50 to 55 degrees Fahrenheit.
FAQ
How do I know if my elephant ear needs a bigger pot?
Check the drainage holes for emerging roots. If the plant requires daily watering to prevent wilting or if the growth rate stalls during the peak summer season, the plant has likely exhausted its current soil volume and requires upsizing.
What is the best soil for elephant ears?
Use a well-draining, peat-based potting mix with a pH of 5.5 to 6.5. Incorporate perlite and compost to ensure high organic matter and air porosity. This supports the high nutrient demands and oxygen needs of the rhizosphere.
Can I use tap water for my elephant ear?
Elephant ears are sensitive to chlorine and fluoride found in municipal water. These chemicals can cause marginal leaf necrosis. Use filtered water or let tap water sit for 24 hours to allow gases to dissipate before irrigating.
Why are the bottom leaves of my elephant ear turning brown?
This is often a natural process called senescence. As the plant produces new, larger leaves from the center, it sheds older, less efficient leaves. If new growth is healthy, simply prune the brown leaves with sterilized bypass pruners.