6 Rural Steps to Prepare a Large Vegetable Plot
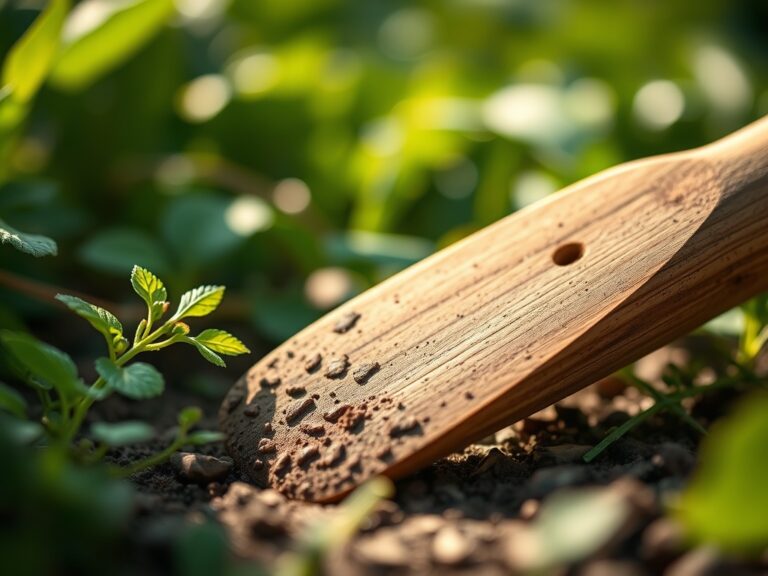
The smell of damp earth after a first thaw carries the sharp scent of geosmin; it is the physical signal that the soil microbiome is awakening. To achieve the necessary turgor of a healthy leaf, a plant requires a root system capable of navigating a structured rhizosphere. Understanding how to prepare a garden for a rural vegetable garden requires more than a surface-level clearing of weeds. It demands a rigorous assessment of soil chemistry and physical structure to ensure nutrient bioavailability throughout the growing season. Rural plots often face higher wind exposure and greater pest pressure than urban counterparts, making the initial site preparation critical for crop resilience. Success begins with the dirt beneath your boots.
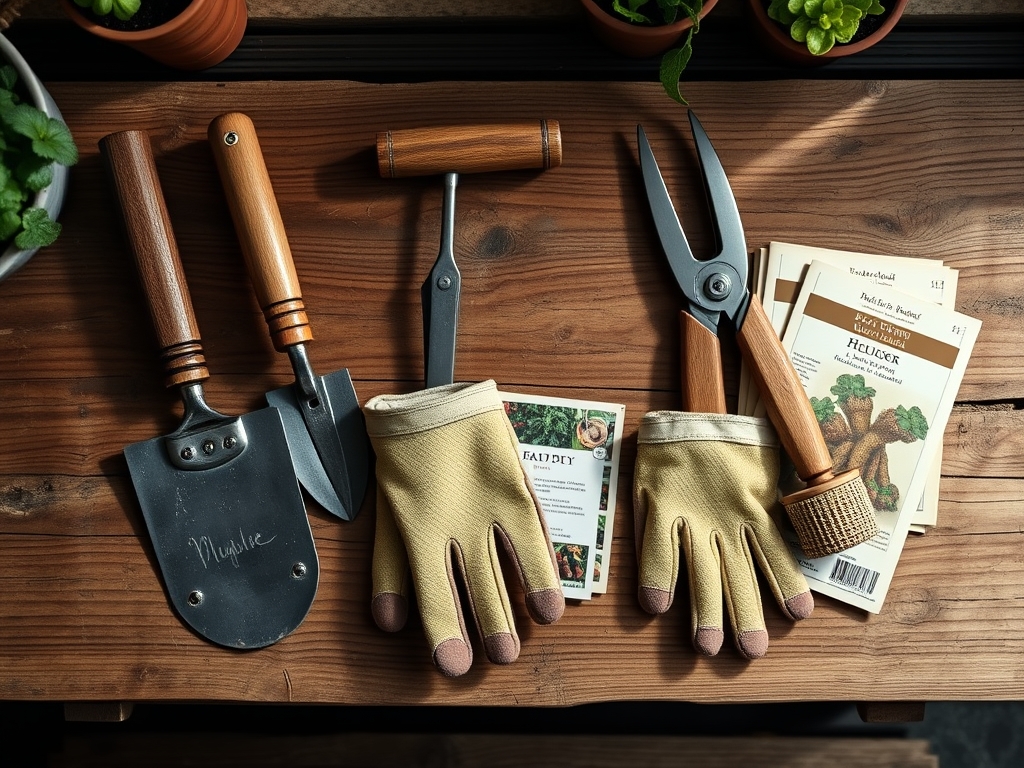
Materials:
The ideal substrate for a large-scale rural plot is a **friable loam**. This texture allows for adequate aeration while maintaining a high **Cation Exchange Capacity (CEC)**, which determines how well the soil holds onto essential nutrients. Before breaking ground, procure a high-quality soil test kit to measure the **pH level**, which should ideally fall between **6.2 and 6.8** for most vegetable crops.
Nutrient amendments must be precise. For a standard vegetable plot, you will likely need a balanced NPK ratio such as 10-10-10 for general preparation. However, if your soil test indicates a deficiency, you may need specific inputs. Nitrogen (N) is essential for vegetative growth; Phosphorus (P) supports root development and flowering; Potassium (K) regulates water movement and enzyme activation. You will also need organic matter, such as well-rotted manure or compost, to improve the soil structure. Aim for an organic matter content of at least 5 percent.
Timing:
Timing is dictated by the USDA Hardiness Zones and the local frost-free window. In rural settings, microclimates can vary significantly from the nearest weather station. You must track the Biological Clock of your specific cultivars, noting the transition from the vegetative stage to the reproductive stage.
For Zones 5 and 6, ground preparation should begin as soon as the soil can be worked without clumping, typically 4 to 6 weeks before the last expected frost. Soil temperature is a more reliable metric than the calendar. Most cool-season crops require a minimum soil temperature of 45 degrees Fahrenheit, while warm-season crops like tomatoes and peppers require at least 65 degrees Fahrenheit to prevent stunted growth and root rot.
Phases:

Sowing
Direct sowing requires a finely raked seedbed. For large seeds like beans or squash, plant at a depth of three times the seed diameter. For tiny seeds like carrots, a shallow 1/4 inch depth is standard. Ensure the soil is moist but not saturated to prevent seed damping-off.
Pro-Tip: Pay attention to phototropism. Orient your rows North to South to ensure even light distribution and prevent taller crops from shading out smaller ones as the sun moves across the sky.
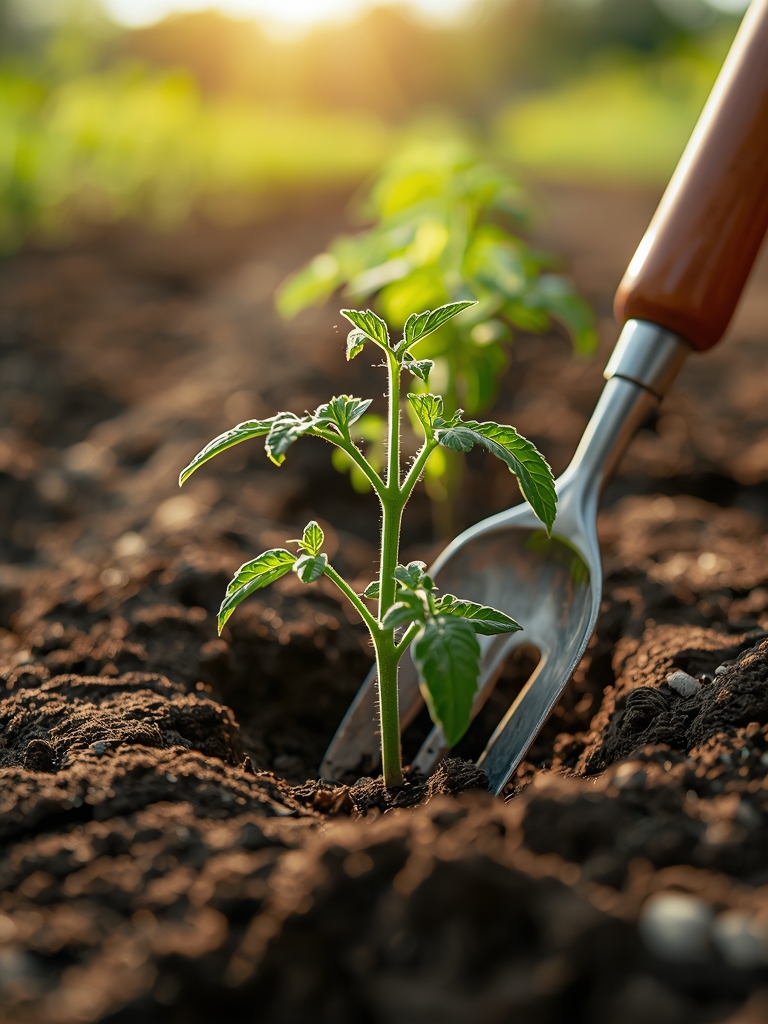
Transplanting
When moving seedlings from a greenhouse to the rural plot, you must harden them off over 7 to 10 days. Dig a hole twice the width of the root ball. If the plant is leggy, such as a tomato, bury the stem to the first set of true leaves to encourage adventitious root growth.
Pro-Tip: Use a mycorrhizal inoculant during transplanting. This fosters mycorrhizal symbiosis, where fungi extend the reach of the root system to improve phosphorus uptake and water absorption.
Establishing
The establishment phase occurs once the plant has survived the first 14 days in the ground. This is when the plant shifts energy from root recovery to leaf production. Maintain consistent moisture and monitor for early signs of stress.
Pro-Tip: Avoid excessive early pruning to prevent auxin suppression. Auxins are hormones produced in the apical meristem that signal the plant to grow; removing too much foliage too early can stall development.
The Clinic:
Physiological disorders often mimic disease but are usually caused by environmental stress or nutrient imbalances.
- Symptom: Blossom End Rot. This appears as a dark, leathery spot on the bottom of tomatoes or peppers.
- Solution: This is a calcium deficiency often caused by inconsistent watering. Maintain steady soil moisture to ensure calcium remains mobile in the soil solution.
- Symptom: Nitrogen Chlorosis. The older, lower leaves turn a pale yellow while the veins remain green or yellow.
- Solution: Apply a high-nitrogen fertilizer, such as blood meal or a 20-0-0 liquid feed, to provide an immediate boost to the plant.
- Symptom: Leaf Roll. Leaves curl upward and become leathery, but remain green.
- Solution: This is often a response to high heat and excessive moisture loss. Increase mulching to stabilize soil temperature.
Maintenance:
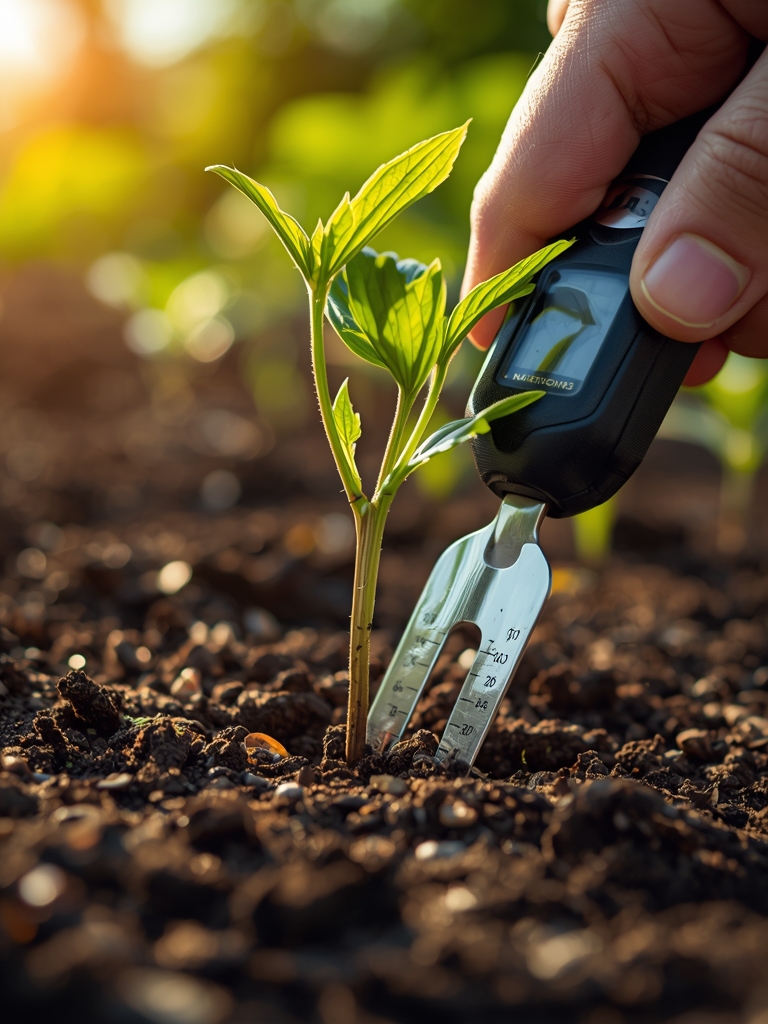
Precision is the hallmark of a professional rural garden. Vegetables generally require 1.5 inches of water per week delivered directly at the drip line to minimize foliar diseases. Overhead watering should be avoided.
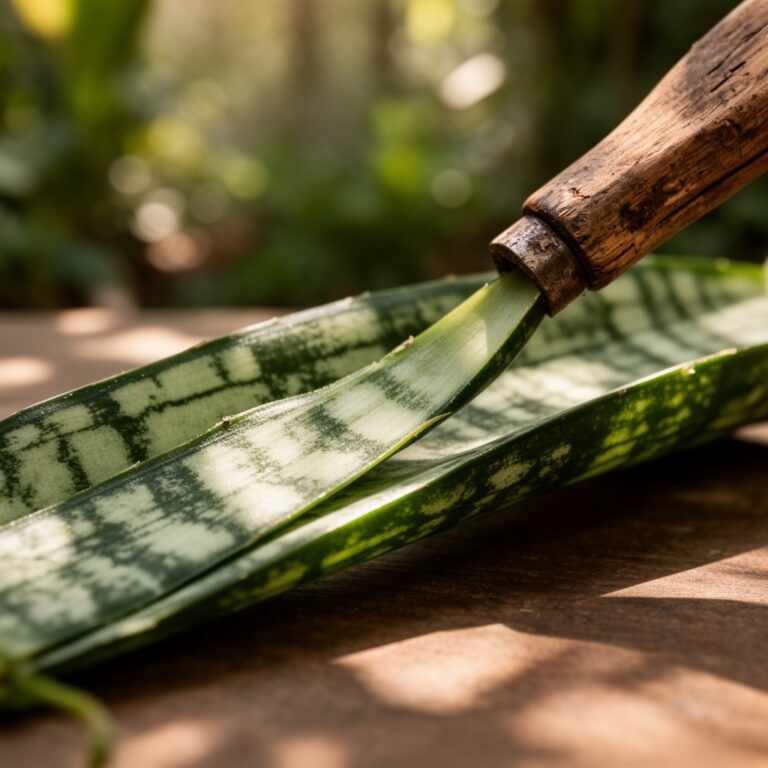
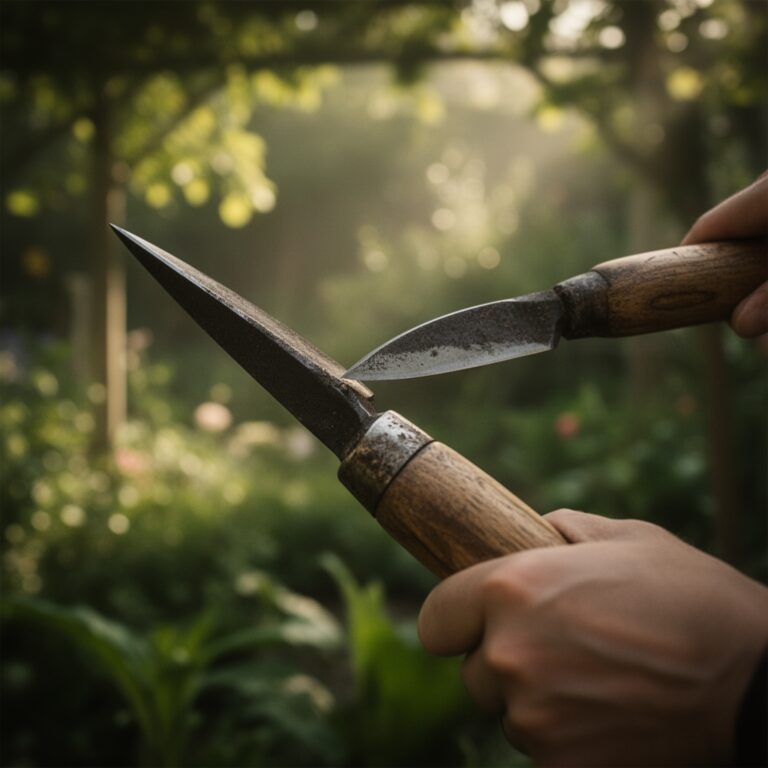
Utilize a soil moisture meter to check the hydration levels at a depth of 6 inches. Use a hori-hori knife for deep weeding and planting. For maintenance pruning of suckers or dead material, use sharp bypass pruners to ensure clean cuts that heal quickly. Clean your tools with a 10 percent bleach solution between plants to prevent the spread of pathogens.
The Yield:
Harvesting is a matter of timing and temperature. Leafy greens should be harvested in the early morning when turgor pressure is at its peak; this ensures the leaves are crisp. Root crops like carrots develop higher sugar concentrations if left in the ground during the first light frost.
Post-harvest handling is critical. Remove field heat immediately by plunging vegetables into cool water or moving them to a shaded, ventilated area. For "day-one" freshness, store crops at their specific optimal temperatures: 32 to 40 degrees Fahrenheit for greens and brassicas; 50 to 55 degrees Fahrenheit for tomatoes and peppers.
FAQ:
How do I know if my rural soil is ready to till?
Squeeze a handful of soil into a ball. If it crumbles when poked, it is ready. If it stays in a solid, muddy clump, it is too wet. Tilling wet soil destroys the soil structure and leads to compaction.
What is the best way to prevent weeds in a large plot?
Use a combination of mechanical cultivation and heavy mulching. Apply 3 to 4 inches of weed-free straw or wood chips. This suppresses weed germination by blocking light and helps retain soil moisture during the heat of summer.
How often should I test my soil pH?
Perform a professional soil test every 2 to 3 years. Rural soils can shift in acidity due to rainfall, fertilizer application, and the decomposition of organic matter. Regular testing ensures you are not wasting money on unnecessary amendments.
Why are my plants wilting even though the soil is wet?
This is often a sign of root rot or "damping off" caused by fungal pathogens in anaerobic soil. Overwatering displaces oxygen in the rhizosphere, causing roots to die. Ensure your plot has adequate drainage before planting.