6 Steps to Prepare Your Backyard for a Patio
Turning a patch of grass into a permanent hardscape demands precision from the first measurement to the final sweep. Learning how to prepare a backyard for a patio install means understanding soil compaction, drainage gradient, and base stability before the first paver touches ground. A poorly prepared substrate will shift, crack, and fail within two growing seasons. Proper site preparation protects your investment for decades by addressing subsurface hydrology, load distribution, and freeze-thaw cycles with the same rigor a horticulturist applies to root zone management.
Materials
Gather crushed limestone aggregate, 3/4-inch minus for the base layer. This material packs to 95 percent compaction and maintains a pH of 7.8 to 8.2, preventing acidic runoff from adjacent planting beds. For the leveling course, use coarse concrete sand with a particle size between 0.5 and 2.0 millimeters. Avoid masonry sand; its fines migrate under irrigation and destabilize pavers.
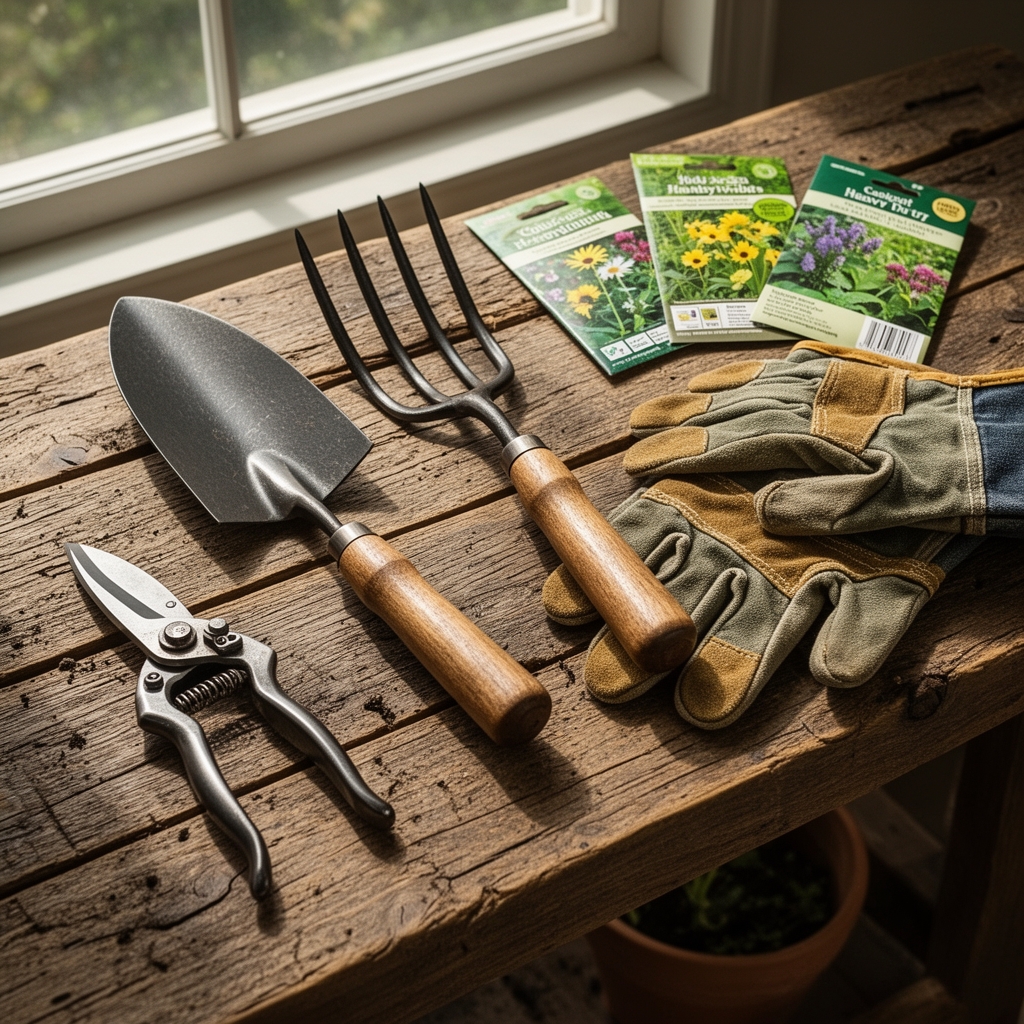
Rent a plate compactor rated for at least 5,000 pounds of centrifugal force. Hand tampers fail to achieve adequate compaction below four inches. Acquire landscape fabric with a flow rate of 120 gallons per square foot per minute to suppress root penetration without creating a perched water table. Mark boundaries with mason's twine and wooden stakes at two-foot intervals. Purchase a four-foot level and a laser level for slopes exceeding 50 square feet. Edge restraint, either aluminum or recycled polymer, prevents lateral creep. Stock geotextile fabric rated for 200 pounds per square inch puncture resistance if your subsoil contains clay with a cation exchange capacity above 25 milliequivalents per 100 grams.
Timing
Execute site preparation between hardiness zone frost dates when soil moisture sits at 12 to 18 percent. In Zones 5 and 6, late April through June offers optimal conditions. Soil temperature should register 50 to 65 degrees Fahrenheit at six-inch depth. Avoid work during saturated conditions; wet clay compacts into an impermeable pan that redirects water laterally into foundation walls. In Zones 7 through 9, prepare sites from October through March when evapotranspiration rates drop below two inches per week. Monsoon regions require a 72-hour drying window after rainfall. Freeze-thaw damage occurs when moisture content exceeds 20 percent during overnight temperatures below 28 degrees Fahrenheit. Install patios in arid climates during any month with relative humidity above 25 percent to prevent dust infiltration into base layers.
Phases

Excavation Phase
Remove sod and topsoil to a depth of seven to nine inches below finished grade. Topsoil contains organic matter that decomposes, creating voids. Slope the excavation at a 2 percent gradient away from structures. This equals a quarter-inch drop per linear foot. Mark the slope with stakes and string lines, checking every four feet with a level. Cut roots cleanly with loppers at the excavation perimeter. Ragged roots invite fungal pathogens that weaken adjacent tree stability.
Pro-Tip: Spray exposed tree roots with a 1:10 dilution of hydrogen peroxide to cauterize vessels and prevent Armillaria colonization.
Base Installation Phase
Spread crushed limestone in three-inch lifts. Each lift requires independent compaction. Make four passes with the plate compactor in perpendicular directions. Test compaction by walking across the surface; boot prints deeper than one-eighth inch indicate inadequate density. Install a perforated four-inch drain pipe along the lowest edge if your site has clay content above 40 percent. Backfill the trench with three-quarter-inch river rock to create a French drain. This system intercepts subsurface flow before hydrostatic pressure develops.
Pro-Tip: Inoculate the perimeter trench with mycorrhizal fungi before backfilling to establish symbiotic networks that stabilize slope edges and reduce erosion by 34 percent.
Leveling and Setting Phase
Spread concrete sand to a depth of one inch. Screed the surface with a notched two-by-four, maintaining the 2 percent slope. Set pavers in a running bond or herringbone pattern for maximum interlock. Joints should measure 1/8 inch. Sweep polymeric sand into joints, then mist with water to activate binding agents. Allow 24 hours of curing before foot traffic.
Pro-Tip: Apply a 15-degree back-cut angle when sawing edge pavers to create a compression fit that resists frost heave.
Troubleshooting
Symptom: Pavers settle unevenly after three months, creating lips and depressions.
Solution: Inadequate base compaction. Remove affected pavers, add and compact additional aggregate, re-level sand, and reset.
Symptom: Standing water pools in paver joints after irrigation.
Solution: Reversed or insufficient slope. Lift pavers in the affected zone, adjust sand grade to achieve minimum 2 percent fall, and reinstall.
Symptom: Weeds emerge through joints within one season.
Solution: Seed bank in topsoil contamination or inadequate fabric installation. Remove pavers, install commercial-grade landscape fabric with 95 percent weed block rating, and use polymeric sand instead of standard joint sand.
Symptom: Edge pavers shift outward, creating gaps.
Solution: Missing or inadequate edge restraint. Install spiked aluminum edging every 18 inches, driven to a depth of six inches into compacted base.
Symptom: White efflorescence coats paver surfaces.
Solution: Calcium carbonate leaching from limestone base during wet conditions. Apply a penetrating silane sealer rated for 99 percent moisture vapor reduction.
Maintenance
Sweep patio surfaces biweekly to prevent organic debris accumulation. Organic matter retains moisture and fosters moss establishment. Apply 0.5 inches of water weekly to adjacent planting beds, directing spray away from paver edges. Excessive moisture destabilizes sand bedding. Re-seal joints with polymeric sand every 36 months in freeze-thaw climates. Inspect drainage outlets monthly during rainy seasons; clear blockages within 48 hours. Power wash annually at 1,200 psi maximum to avoid dislodging joint sand. Reapply penetrating sealer every five years to maintain stain resistance and reduce moisture infiltration by 87 percent.
FAQ
How deep should I excavate for a patio?
Seven to nine inches below finished grade: four inches for base aggregate, one inch for sand, and two to four inches for paver thickness.
Can I install a patio directly on clay soil?
No. Clay expands when wet and shrinks when dry. Always excavate and install a crushed stone base with proper drainage to prevent differential movement.
What slope is required for drainage?
Minimum 2 percent grade, equal to a quarter-inch drop per foot. Steeper slopes up to 4 percent improve drainage but require edge dams to prevent sand migration.
Do I need landscape fabric under the base?
Yes, if subsoil contains silt or clay. Fabric prevents fine particles from pumping into the aggregate under load cycles, which reduces bearing capacity by 40 percent.
How long before I can use the patio?
Walk on pavers after 24 hours. Wait 72 hours before moving furniture. Polymeric sand requires full cure time to develop structural integrity.