6 Ways of Using LED Grow Lights for Indoor Vegetable Starts
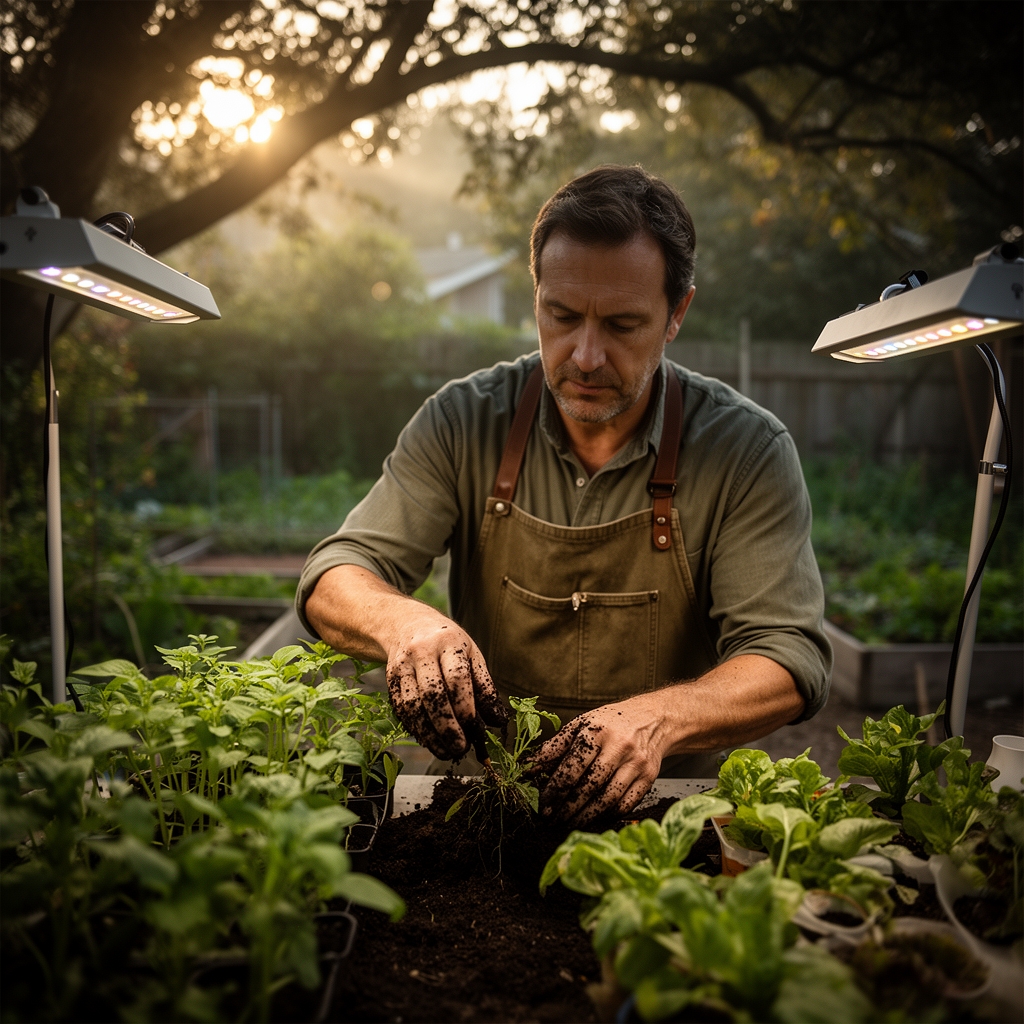
The sharp tang of moistened seed starting mix fills the air as you tear open a fresh bag, peat fibers clinging to your palms. Under the gentle hum of full-spectrum diodes, dozens of seedling trays await their future tenants. Using LED grow lights for indoor vegetable starts transforms basement corners and spare closets into productive nurseries, allowing gardeners to launch tomatoes, peppers, and brassicas weeks before the last frost date. The technology has evolved beyond the purple-hued panels of early adopters; modern systems deliver precisely calibrated wavelengths that mimic spring sunshine at a fraction of the energy cost.
Materials & Supplies
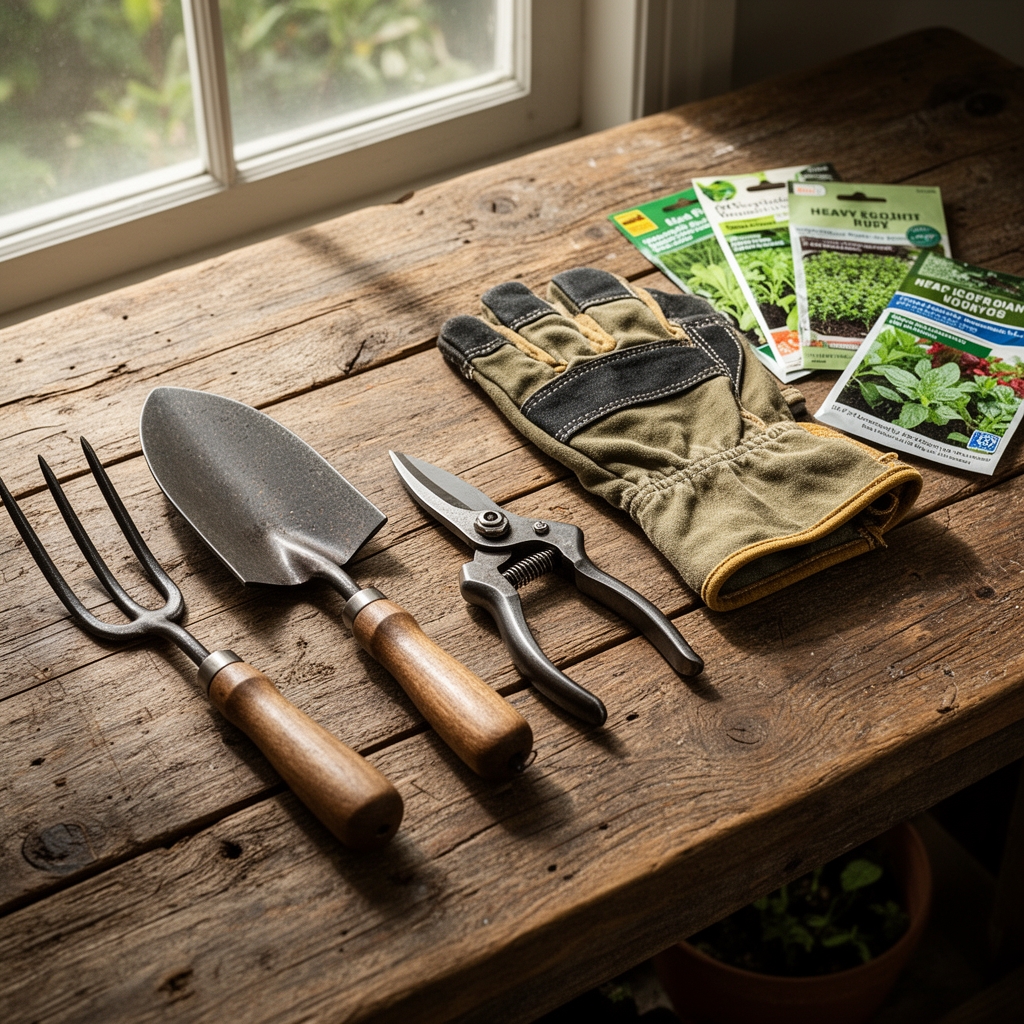
Lighting Equipment:
- Full-spectrum LED panels (6500K color temperature, 30-50 watts per square foot)
- Adjustable hanging chains or pulley systems
- Timer with 1-hour increment settings
Growing Media & Containers:
- Sterile seed starting mix (pH 5.5-6.5)
- 72-cell propagation trays with drainage holes
- 4-inch nursery pots for transplant stage
- Bottom-watering trays
Soil Amendments & Fertilizers:
- Mycorrhizal fungi inoculant (apply at transplant)
- Liquid kelp fertilizer (0-0-1 NPK ratio)
- Fish emulsion (5-1-1 NPK) diluted to half strength
- Worm castings for top-dressing (1-0-0)
Monitoring Tools:
- Soil thermometer (target: 65-75°F)
- pH meter or test strips
- Lux meter or smartphone app (minimum 2000 lumens for seedlings)
Timing & Growing Schedule
Hardiness Zone Calculations:
Determine your last spring frost date through your local extension office. Zone 5 gardeners typically face frost until May 15, while Zone 8 gardeners can transplant outdoors by March 20. Count backward from that date to establish your seed-starting calendar.
Crop-Specific Windows:
- Tomatoes and peppers: Start 6-8 weeks before last frost (60-70 days to maturity after transplant)
- Brassicas (broccoli, cabbage, kale): Start 4-6 weeks before last frost (50-80 days to maturity)
- Lettuce and greens: Start 3-4 weeks before last frost (30-45 days to maturity)
- Cucurbits (cucumbers, squash): Start 2-3 weeks before last frost (these resent root disturbance)
Light Duration:
Provide 14-16 hours of artificial light daily during germination and early growth phases. Reduce to 12-14 hours as transplant date approaches to condition plants for outdoor light cycles.
Step-by-Step Instructions
Phase 1: Sowing
Fill cells with moistened seed starting mix, leaving 1/4 inch of headspace. Press two seeds per cell at the depth specified on the packet (general rule: plant seeds at a depth equal to twice their diameter). Position LED panels 4-6 inches above the trays. Maintain soil temperature at 70-75°F using a seedling heat mat until germination occurs.
Pro-Tip: Mist the soil surface with chamomile tea after sowing. The antifungal properties suppress damping-off disease caused by Pythium and Rhizoctonia fungi.
Phase 2: Thinning & Fertilizing
Once true leaves emerge (the second set of leaves after the cotyledons), snip the weaker seedling at soil level with scissors. Never pull seedlings, as this disturbs neighboring root systems. Begin feeding with quarter-strength fish emulsion (5-1-1) every seven days. Raise LED panels to maintain 2-3 inches of clearance between the light source and the topmost leaves.
Pro-Tip: Brush your hand gently across seedlings twice daily. This mechanical stimulation triggers thigmomorphogenesis, producing stockier stems with increased lignin content.
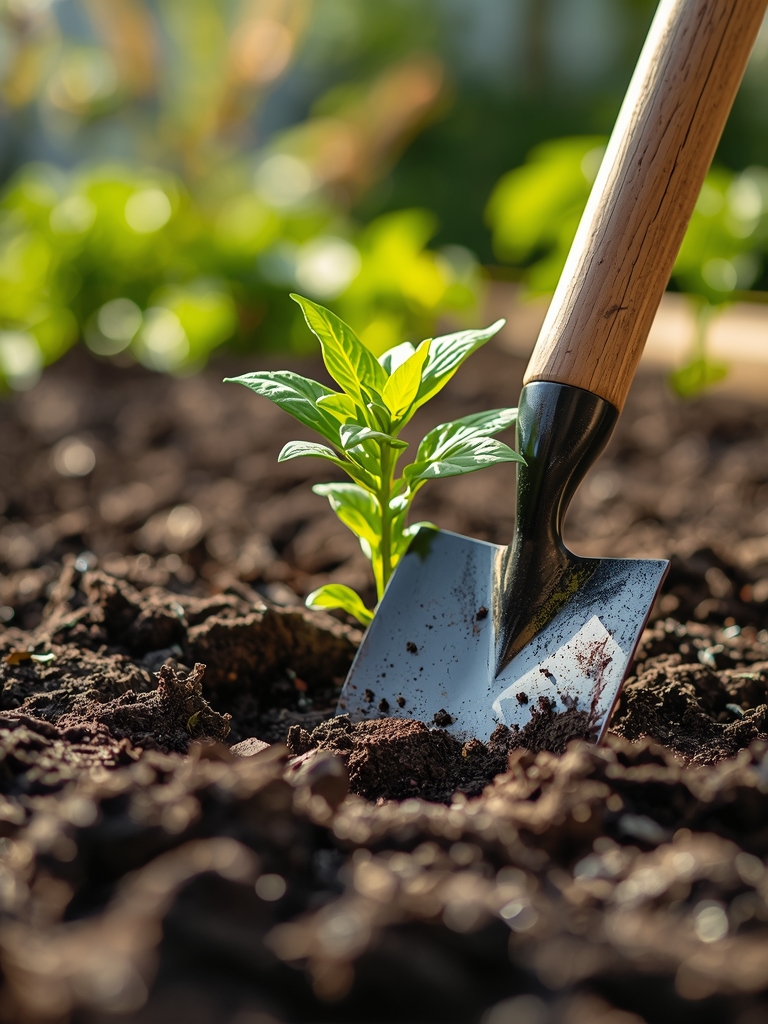
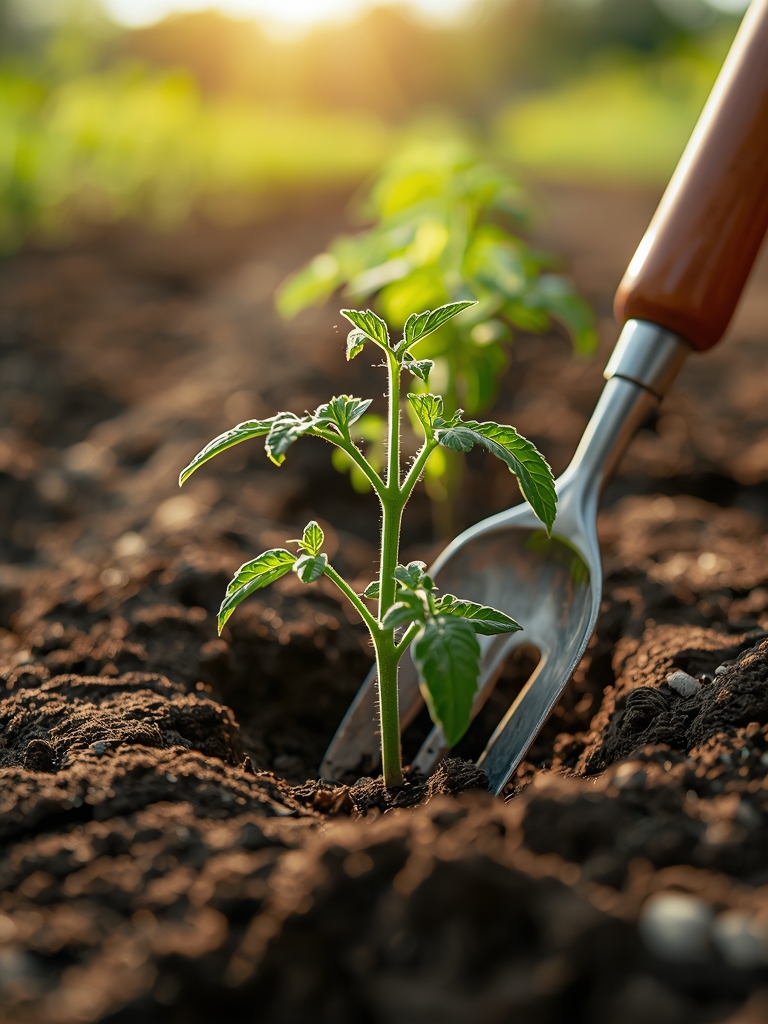
Phase 3: Transplanting to Larger Containers
When roots emerge from drainage holes (typically 3-4 weeks after germination), transplant into 4-inch pots filled with potting soil amended with worm castings at a 10:1 ratio. Bury tomato and pepper seedlings up to their lowest leaves; these plants develop adventitious roots along buried stem tissue. Maintain LED panels at 6-8 inches above foliage. Increase light intensity gradually over three days to prevent photoinhibition.
Pro-Tip: Add a pinch of Epsom salt (magnesium sulfate) to transplant holes. Magnesium activates enzymes responsible for chlorophyll production and phosphorus uptake.
Nutritional & Environmental Benefits
Indoor vegetable starts under LED systems allow precise control of nutrient density during critical early development. Seedlings grown under proper light spectra produce 23% more chlorophyll than those grown under fluorescent tubes, according to Cornell University research from 2019. This translates to healthier transplants with stronger immune responses to field stressors.
Starting seeds indoors reduces reliance on commercial nurseries, which often use neonicotinoid pesticides that harm Mason bees and other native pollinators. Home-grown starts allow complete control over input materials, supporting organic certification standards.
Plants absorb minerals based on light quality. Red wavelengths (630-660nm) promote stem elongation and flowering hormones, while blue wavelengths (450-475nm) encourage compact growth and leaf production. Full-spectrum LEDs provide both, creating balanced vegetable starts with optimal calcium and iron uptake patterns.
Advanced Methods
Small Space Optimization:
Install vertical shelving units with individual LED strips mounted 10 inches below each shelf. This configuration accommodates four levels of seedling trays in a 2×4 foot footprint. Use reflective mylar on surrounding walls to increase light efficiency by 30%.
Organic & Permaculture Integration:
Incorporate nitrogen fixation by starting fava beans alongside vegetable starts. Their root nodules host Rhizobium bacteria that convert atmospheric nitrogen into plant-available nitrates. When you transplant outdoors, chop fava bean roots and incorporate them into garden beds as a living fertilizer.
Season Extension Techniques:
Harden off seedlings by reducing watering frequency and lowering nighttime temperatures to 55-60°F two weeks before transplant. This physiological stress triggers cuticle thickening and stomatal adjustments, preparing plants for outdoor humidity fluctuations.
Troubleshooting
Symptom: Seedlings develop elongated, pale stems (etiolation)
Solution: Lower LED panels to 2-3 inches above seedlings. Increase daily light duration to 16 hours. Reduce ambient temperature by 5 degrees to slow vertical growth.
Symptom: Leaf edges turn brown and crispy
Solution: This indicates nutrient burn from over-fertilization. Flush containers with plain water (volume equal to twice the pot size). Resume feeding at half the previous concentration.
Symptom: White fuzzy growth appears on soil surface
Solution: Harmless saprophytic fungi colonizing organic matter. Improve air circulation with an oscillating fan set on low. Reduce watering frequency and allow soil surface to dry between waterings.
Symptom: Purple or red discoloration on leaf undersides
Solution: Phosphorus deficiency triggered by cold temperatures. Raise ambient temperature above 65°F and apply liquid kelp fertilizer containing micronutrients.
Symptom: Seedlings wilt despite moist soil
Solution: Root rot caused by pathogenic fungi. Discard affected plants immediately. Sterilize trays with 10% bleach solution. Ensure containers have adequate drainage holes and reduce watering to every 2-3 days.
Storage & Maintenance
Watering Protocol:
Bottom-water seedlings by filling trays to 1/2 inch depth. Allow capillary action to saturate the root zone over 20-30 minutes, then drain excess water. Surface watering compacts soil and increases damping-off risk. Frequency depends on ambient humidity; most operations require watering every 2-3 days.
Feeding Schedule:
- Weeks 1-2: No fertilizer (seed endosperm provides nutrients)
- Weeks 3-4: Quarter-strength fish emulsion (5-1-1) every seven days
- Weeks 5-6: Half-strength fish emulsion every five days
- Week 7 until transplant: Full-strength fish emulsion every five days
LED Panel Maintenance:
Wipe diodes monthly with microfiber cloth dampened with isopropyl alcohol. Dust accumulation reduces light transmission by up to 15%. Check manufacturer specifications, but most quality panels function for 50,000 hours before experiencing significant degradation.
Post-Harvest Equipment Storage:
Wash all trays and containers with hot soapy water, then sanitize with hydrogen peroxide solution (1 part 3% peroxide to 10 parts water). Store seed starting mix in sealed containers with desiccant packets to prevent fungal colonization during off-season storage.
Conclusion
Success with indoor vegetable starts requires matching light intensity to plant developmental stages, maintaining soil temperatures between 65-75°F, and implementing a graduated fertilization program. These three factors account for 80% of transplant success rates in both commercial and home growing operations. Share your seed-starting results with your local garden club or extension office to help other growers refine their techniques and build regional knowledge bases.
Expert FAQs
How far should LED grow lights be from seedlings?
Position panels 4-6 inches above trays during germination, then adjust to maintain 2-3 inches clearance as seedlings grow. Measure light intensity at leaf level; seedlings require 2000-3000 lumens, while mature starts need 5000-7000 lumens.
What color temperature is best for starting vegetables indoors?
Use full-spectrum LEDs rated at 6500K (Kelvin), which replicates spring sunlight. This color temperature provides balanced blue (vegetative growth) and red (root development) wavelengths essential for stocky, well-rooted transplants.
Can I reuse seed starting mix from previous seasons?
No. Used mix harbors fungal pathogens and depleted nutrient profiles. Compost spent mix or incorporate it into outdoor garden beds. Always start with sterile commercial seed starting blend to prevent disease transmission.
When should I start hardening off indoor seedlings?
Begin the hardening process 10-14 days before your target transplant date. Move seedlings outdoors for progressively longer periods (1 hour on day one, adding 1-2 hours daily) in a protected location away from direct wind and full sun.
Do LED grow lights use less electricity than fluorescent tubes?
Yes. LEDs consume 40-60% less energy than equivalent fluorescent systems while producing less heat. A 50-watt LED panel provides comparable light output to a 100-watt T5 fluorescent fixture, reducing both electricity costs and cooling requirements.