6 Weatherproof Steps to Build a Tool Storage Box
The scent of damp earth and the high turgor pressure of a healthy leaf signify a thriving garden; however, maintaining that vitality requires organized infrastructure. Tool degradation occurs rapidly when high humidity and soil contact lead to oxidation and fungal growth on wooden handles. Following the correct steps for building a vegetable garden storage box ensures your essential implements remain dry and functional through fluctuating seasons. A well constructed box prevents the physical degradation of carbon steel and protects the integrity of organic fertilizers stored within the structure.
Materials:
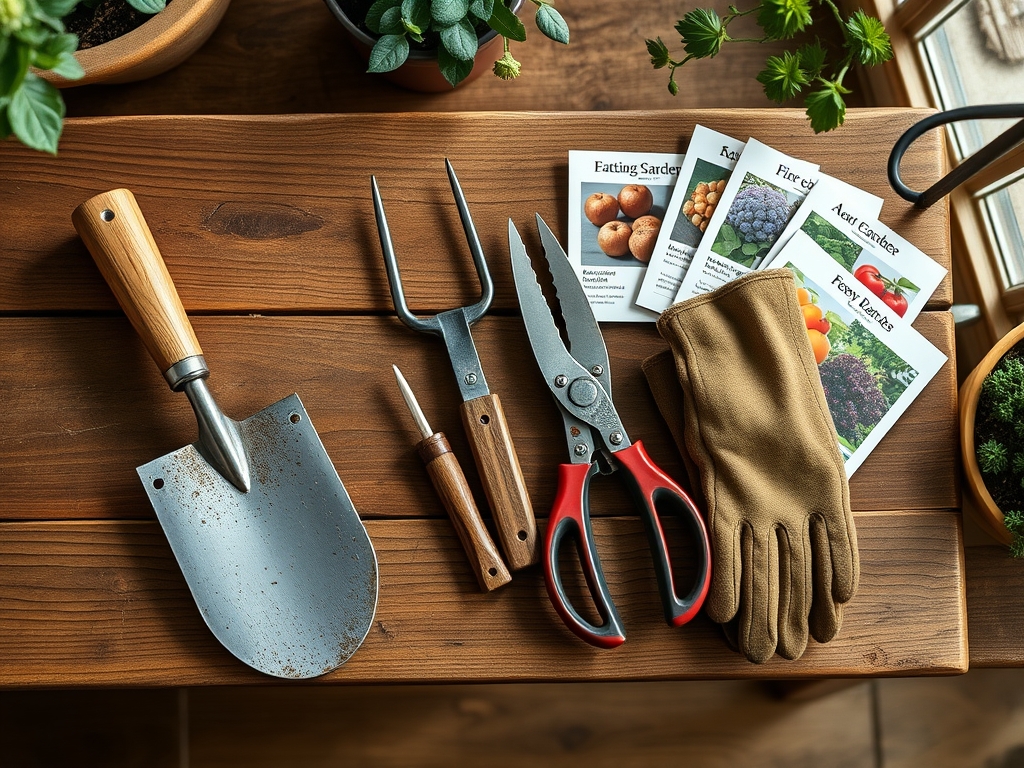
The foundation of any garden structure begins with the ground it sits upon. To prevent the box from sinking or rotting, the site must be prepared with a friable loam substrate that allows for rapid drainage. The soil beneath the storage area should maintain a **pH between 6.0 and 7.0** to prevent acidic corrosion of any metal components that touch the earth. If you are placing the box near active planting beds, ensure the surrounding soil has a balanced **NPK ratio of 10-10-10** to support peripheral root systems. Avoid heavy clay with low Cation Exchange Capacity (CEC) as it retains excessive moisture against the wood. You will need pressure treated cedar or redwood boards, stainless steel fasteners, and a heavy duty waterproof sealant.
Timing:
Construction should align with the dormant season of your specific Hardiness Zone. In Zones 5 through 7, the ideal window is late autumn after the first killing frost or early spring before the soil reaches a consistent 50 degrees Fahrenheit. This timing respects the biological clock of the garden; building during the vegetative stage risks compacting the rhizosphere and damaging active root systems. By completing the project during the plant senescence phase, you minimize the physical impact on the soil structure and prepare the workspace for the high intensity labor of the upcoming reproductive stage.
Phases:

Sowing the Foundation
Excavate a perimeter 4 inches deep and fill it with crushed gravel. This creates a capillary break between the soil and the wood. Level the area using a professional grade spirit level to ensure the box does not lean, which would cause mechanical stress on the hinges over time.
Pro-Tip: Proper drainage prevents the colonization of anaerobic bacteria. By using a gravel base, you maintain high oxygen levels in the soil below, supporting healthy aerobic microbial activity.
Transplanting the Frame
Assemble the side panels using 3 inch stainless steel screws. Pre-drilling holes is mandatory to prevent the wood from splitting along the grain. Attach the floor of the box with a 1/8 inch gap between slats to allow for internal airflow and moisture escape.
Pro-Tip: Air circulation is critical to prevent the growth of Botrytis cinerea and other fungal pathogens. Passive ventilation utilizes the principles of thermodynamics to keep tool handles dry and prevent wood rot.
Establishing the Seal
Apply a non toxic, UV resistant sealant to all exterior surfaces. Install a sloped lid with a 5 degree pitch to ensure water runoff. Attach a heavy duty rubber gasket along the inner rim of the lid to create a weather tight seal against driving rain.
Pro-Tip: Protecting the wood from UV radiation prevents the breakdown of lignin. Lignin is the organic polymer that provides structural rigidity to plant cell walls and timber; its degradation leads to brittle, failing structures.
The Clinic:
Physiological disorders in the garden often mirror structural failures in the storage box.
- Symptom: Rapid oxidation or "rusting" of steel tools.
- Solution: Increase internal ventilation and apply a thin layer of mineral oil to metal surfaces.
- Symptom: Mold growth on wooden tool handles.
- Solution: Reduce interior humidity by adding a desiccant pack or increasing the floor slat gaps.
- Symptom: Warping of the box lid.
- Solution: Ensure the wood was seasoned to a moisture content of less than 15 percent before assembly.
Fix-It: If you notice Nitrogen chlorosis in plants immediately surrounding the box, the wood may be leaching tannins or the construction process may have compacted the soil. Aerate the area with a broadfork and apply a high nitrogen liquid fertilizer with an NPK of 4-0-0.
Maintenance:
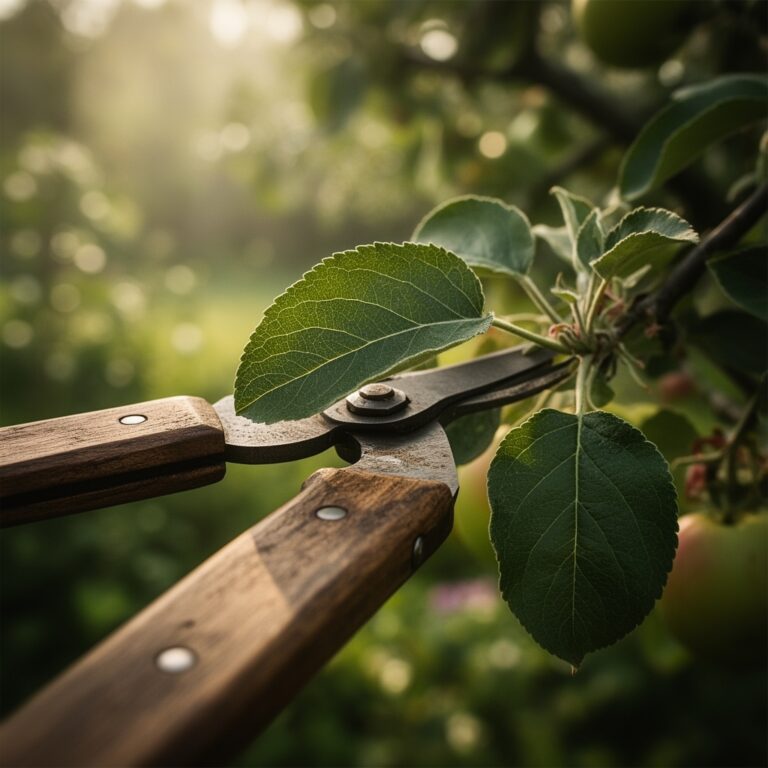
A storage box requires a rigorous maintenance schedule to match the garden it serves. Inspect the seal integrity every six months. Use a soil moisture meter to check the ground around the base; it should not exceed 25 percent moisture for extended periods. Clean your hori-hori knife and bypass pruners before storage to prevent the transfer of soil borne pathogens like Fusarium wilt. Apply a fresh coat of sealant every two years to maintain the hydrophobic barrier. If the box is located near a drip line, ensure it receives no more than 1.5 inches of water per week to prevent localized flooding at the base.
The Yield:
While a storage box does not produce a caloric yield, it directly impacts the efficiency of your harvest. Properly stored tools maintain sharp edges, which is essential for clean cuts during the harvesting of brassicas or nightshades. Clean cuts facilitate faster wound healing in the parent plant and reduce the risk of opportunistic infections. For "day-one" freshness, use your stored shears to harvest in the early morning when turgor pressure is at its peak. Immediately transport the yield to a cool environment to slow the rate of respiration and enzymatic breakdown.
FAQ:
What is the best wood for a garden storage box?
Cedar and redwood are the superior choices due to their natural resistance to rot and insect infestation. These species contain high concentrations of tannins and oils that act as biological preservatives against moisture and fungal decay in outdoor environments.
How do I prevent the box from sinking into the mud?
Install a 4 inch layer of compacted gravel or use concrete pavers as a foundation. This distributes the weight of the box and creates a drainage plane that prevents the soil from reaching its saturation point and losing structural integrity.
Should I paint or stain the storage box?
A high quality exterior stain is preferred over paint. Stains penetrate the wood fibers to provide UV protection while allowing the wood to breathe. Paint can trap moisture against the wood, leading to internal rot and premature structural failure.
How large should a vegetable garden storage box be?
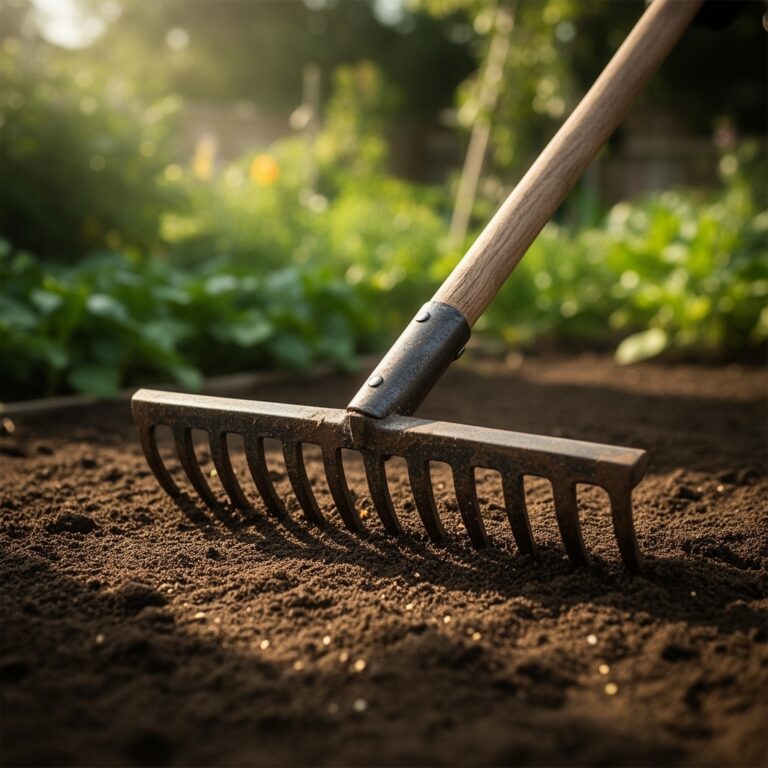
The box should be at least 48 inches long to accommodate long handled tools like rakes and hoes. Ensure the depth is at least 24 inches to provide ample cubic volume for soil amendments, irrigation components, and handheld ergonomic tools.