7 Repair Steps to Build a Garden Workshop
Crushing a handful of friable loam releases the sharp, metallic scent of geosmin; this chemical byproduct of Actinobacteria signals a biologically active rhizosphere. Healthy vegetable production depends on this microscopic engine. When you implement the correct steps for building a vegetable garden workshop, you transition from a casual observer to a biological manager. Success is measured in turgor pressure. A plant with high internal water pressure stands rigid because its vacuoles are full; a plant lacking this force wilts as its cellular integrity collapses. You must master the physical properties of your site, from the Cation Exchange Capacity (CEC) of the substrate to the precise timing of the local frost window. This guide provides the technical framework required to engineer a high-yield environment. We will bypass aesthetic fluff and focus on the physiological requirements of the plant. By optimizing soil chemistry and environmental variables, you ensure that every seed reaches its full genetic potential without the interference of nutrient lockout or thermal stress.
Materials:
The foundation of any vegetable workshop is the substrate. You require a friable loam consisting of roughly 40 percent sand, 40 percent silt, and 20 percent clay. This balance ensures adequate macropores for oxygen diffusion and micropores for water retention. Your target soil pH is 6.2 to 6.8. In this range, essential macronutrients are most bioavailable. If the pH drops below 6.0, phosphorus becomes chemically bound to iron and aluminum; if it rises above 7.5, iron and manganese become insoluble.
For initial bed preparation, integrate organic matter to achieve a CEC of 15 to 25 milliequivalents per 100 grams. Use the following NPK ratios based on the specific growth stage:
- Pre-plant Incorporation: Use a balanced 10-10-10 slow-release fertilizer to establish a baseline.
- Vegetative Growth: Transition to a high-nitrogen blend like 21-0-0 (Ammonium Sulfate) to drive leaf and stem development.
- Reproductive Phase: Shift to a 5-10-15 ratio. High potassium levels are critical for carbohydrate translocation and fruit quality.
Timing:
Vegetable production is dictated by the Hardiness Zone and the local frost-free window. In Zones 5 through 7, the primary growing season spans from late April to October. You must track the "Biological Clock," which is the plant's progression from the vegetative stage to the reproductive stage. This transition is often triggered by the photoperiod, the amount of light received in a 24 hour cycle.
Short-day plants require a long period of darkness to initiate flowering; long-day plants, such as spinach or lettuce, will bolt and enter senescence when daylight exceeds 14 hours. For most warm-season crops like Solanaceae (tomatoes, peppers), do not transplant until the soil temperature consistently reaches 60 degrees Fahrenheit. Planting in cold soil leads to root chilling, which inhibits the uptake of phosphorus and stunts the plant for the remainder of its life cycle.
Phases:
Sowing
Direct sow seeds at a depth approximately three times the diameter of the seed. For small seeds like carrots, this means a shallow 0.25 inch depth. Ensure the seedbed remains moist to facilitate imbibition, the process where the seed absorbs water to activate metabolic enzymes.
Pro-Tip: Maintain consistent moisture to prevent the soil crusting. If the seedling cannot break the surface tension, it will exhaust its endosperm energy and die before reaching the light. This is a failure of mechanical emergence.
Transplanting
When moving starts from a greenhouse to the workshop, you must manage the transition to prevent transplant shock. Dig a hole twice the width of the root ball. Position the plant so the crown is level with the soil surface.
Pro-Tip: Use a mycorrhizal inoculant during transplanting. These fungi form a mycorrhizal symbiosis with the roots, effectively increasing the surface area for water and nutrient absorption by up to 1,000 times.
Establishing
During the first 14 days, the plant focuses on root expansion rather than upward growth. This is driven by auxins, hormones produced in the apical meristem that travel downward to stimulate root initiation.
Pro-Tip: Avoid heavy nitrogen application during this phase. Excessive nitrogen can cause auxin suppression in the roots, leading to a weak foundation and a plant that is susceptible to lodging during high winds.
The Clinic:
Physiological disorders often mimic disease but are caused by environmental stress or nutrient imbalances.
- Symptom: Interveinal chlorosis (yellowing between green veins) on older leaves.
Solution: This indicates a Magnesium deficiency. Magnesium is a mobile nutrient and the central atom of the chlorophyll molecule. Apply Epsom salts (Magnesium Sulfate) at a rate of 1 tablespoon per gallon of water. - Symptom: Blossom End Rot (dark, leathery spots on the base of fruit).
Solution: This is caused by a Calcium deficiency, often triggered by inconsistent watering. Calcium moves through the plant via transpiration. If water is inconsistent, calcium fails to reach the distal end of the fruit. Maintain uniform soil moisture. - Symptom: Leaf curling and stunted terminal buds.
Solution: This suggests a Boron deficiency. Boron is essential for cell wall formation. Apply a highly diluted borax solution, but exercise caution; the margin between boron deficiency and toxicity is extremely narrow. - Fix-It (Nitrogen Chlorosis): If the entire plant turns pale green or yellow, it lacks nitrogen. Apply a quick-release liquid urea (46-0-0) for an immediate metabolic boost.
Maintenance:
Precision is the difference between a hobby and a workshop. Deliver 1.5 inches of water per week directly to the drip line. Overhead irrigation is inefficient and increases the risk of foliar pathogens by maintaining leaf wetness. Use a soil moisture meter to verify that the root zone, typically the top 6 to 8 inches, remains at 70 percent field capacity.
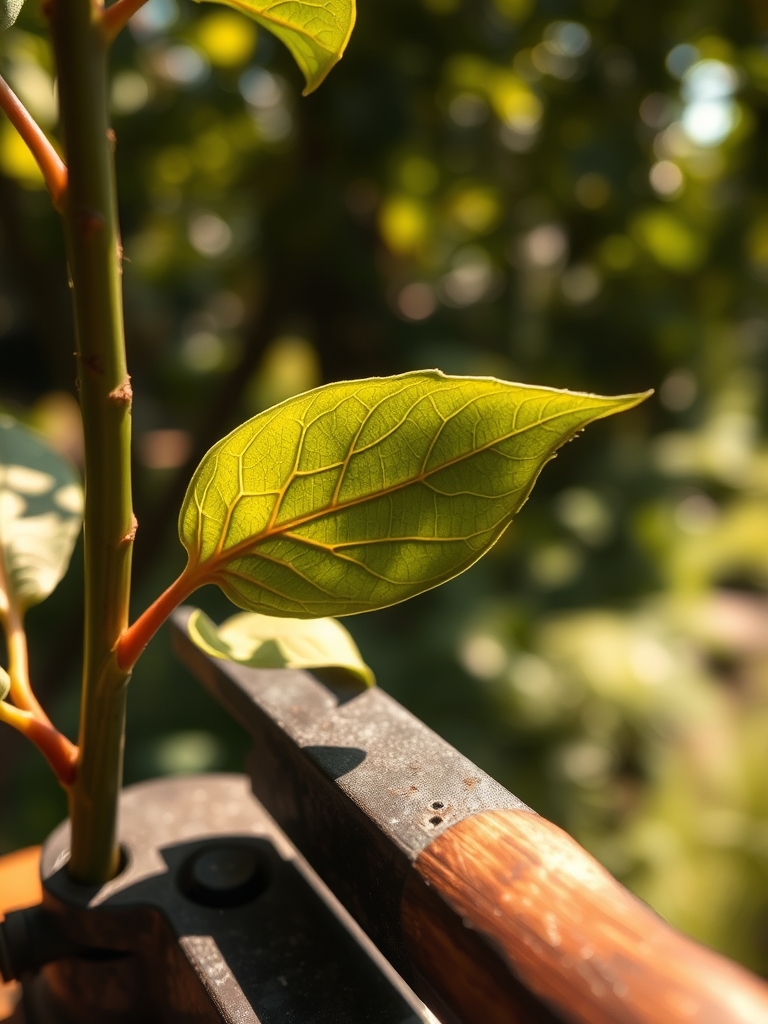
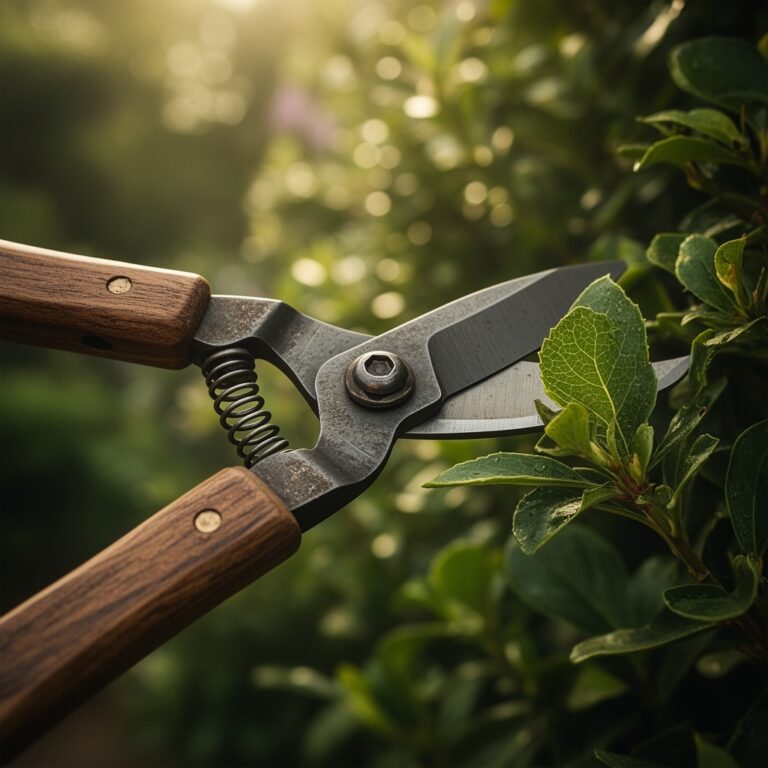
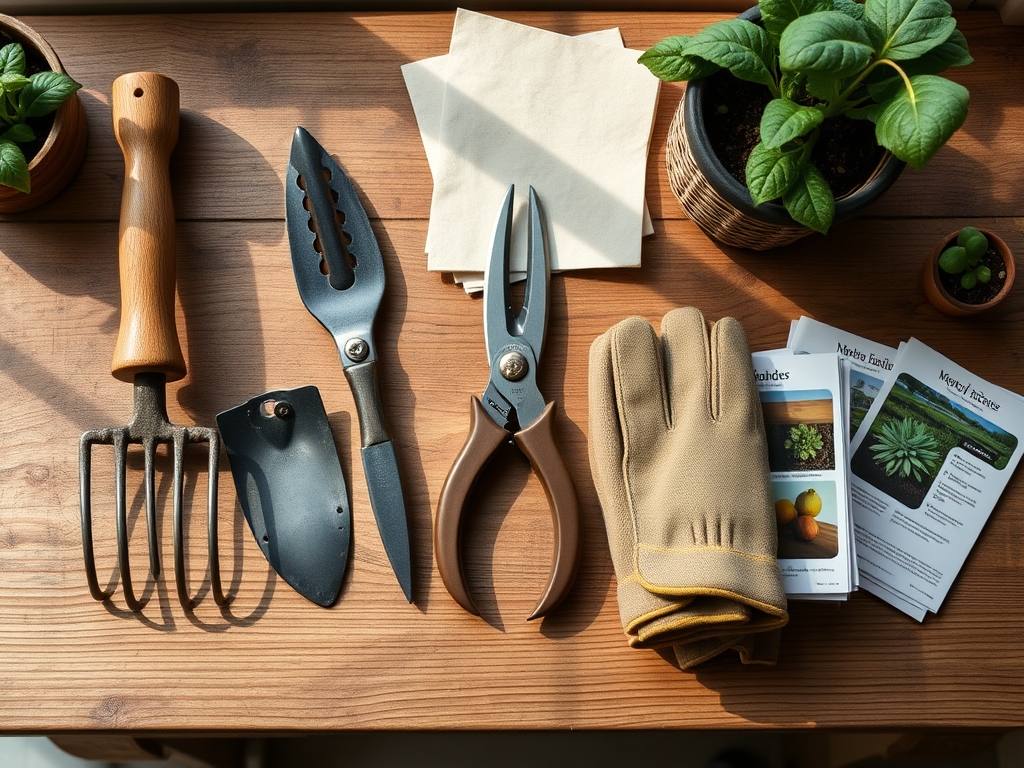
Utilize a hori-hori knife for deep weeding; this tool allows you to sever taproots without disturbing the lateral roots of your crops. For pruning, use bypass pruners to make clean, slanted cuts. Ragged cuts from anvil pruners crush the vascular tissue (xylem and phloem), creating an entry point for bacteria. Maintain a 3 inch layer of organic mulch to regulate soil temperature and reduce evaporation.
The Yield:
Harvesting is a race against senescence. For leafy greens, harvest in the early morning when turgor pressure is at its peak. This ensures the leaves are crisp. For fruiting crops like tomatoes, harvest at the "breaker stage" when the fruit is 50 percent colored. The fruit will continue to ripen via ethylene gas production without the risk of cracking on the vine.
Post-harvest handling is critical. Remove field heat immediately by submerging produce in cool water or placing it in a refrigerated environment at 40 degrees Fahrenheit. This slows the respiration rate, preserving the sugars and acids that define flavor. Use a sharp blade for all harvests to minimize the wound area on the parent plant.
FAQ:
What is the best soil for a vegetable workshop?
A well-drained friable loam with a pH between 6.2 and 6.8 is ideal. It should contain at least 5 percent organic matter to ensure a high Cation Exchange Capacity for nutrient retention and availability.
How often should I fertilize my vegetables?
Apply a balanced fertilizer at planting, then side-dress with nitrogen-rich amendments every 3 to 4 weeks during the vegetative stage. Transition to high-potassium formulas once fruit set begins to support carbohydrate development.
Why are my plants wilting despite wet soil?
This is often caused by root rot or oxygen deprivation. Overwatered soil lacks macropores for air, causing roots to suffocate. Without healthy roots, the plant cannot transport water, leading to physiological wilting.
When is the best time to water the garden?
Water in the early morning, between 5:00 AM and 8:00 AM. This allows the soil to absorb moisture before evaporation rates peak and ensures that any accidental foliar moisture dries quickly to prevent fungal growth.