8 Harvesting Tips to Use a Garden Cutter
The scent of damp, mineral-rich earth signals the peak of the growing season when high turgor pressure makes stems rigid and ready for the blade. Precision is the difference between a clean wound that heals in hours and a jagged tear that invites pathogens into the vascular system. Using a garden cutter for vegetable pruning requires more than a sharp edge; it demands an understanding of plant physiology and cellular structure. When you sever a stem, you are interrupting the flow of xylem and phloem. A clean cut allows the plant to seal the wound through the development of a callus layer, preventing the loss of moisture and internal pressure. Mastery of this tool ensures that the plant redirects its metabolic energy from maintaining excess foliage toward fruit production and root development. By managing the canopy through strategic cuts, you optimize airflow and light penetration, reducing the risk of fungal infections while maximizing the photosynthetic efficiency of the remaining leaves.
Materials:
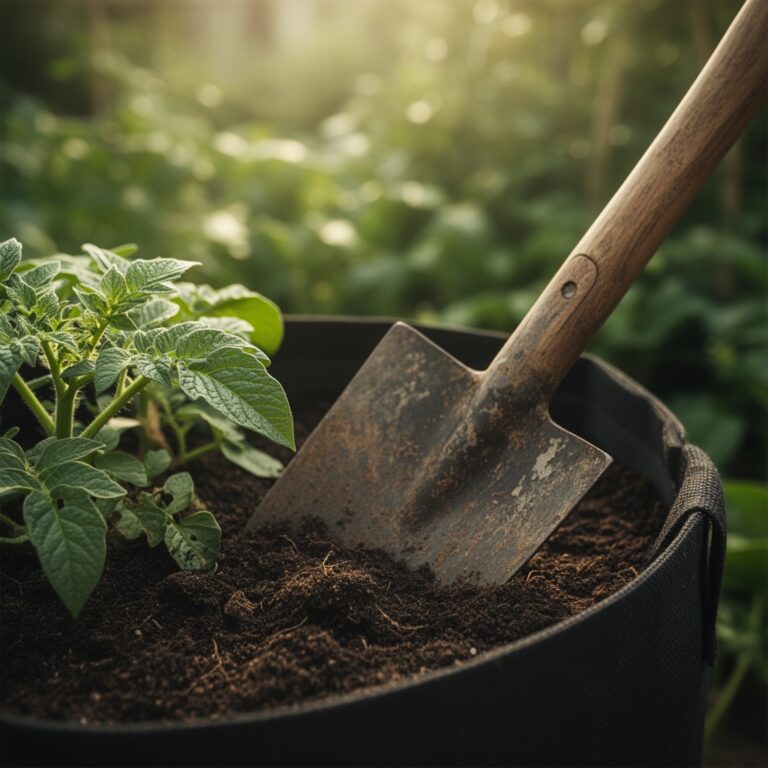
Success begins in the rhizosphere. For high-yield vegetable production, the substrate must be a **friable loam** with a **Soil Cation Exchange Capacity (CEC) between 15 and 25 milliequivalents per 100 grams**. This ensures the soil can hold and exchange essential nutrients like potassium and magnesium. Maintain a **soil pH between 6.2 and 6.8** to ensure maximum nutrient bioavailability.
Before pruning, verify your nutrient profile. For vegetative growth, a 10-10-10 NPK ratio provides balanced support. However, once the plant transitions to the reproductive stage, shift to a 5-10-15 NPK ratio. High phosphorus (P) and potassium (K) levels strengthen the cell walls of the stems you are about to prune, while lower nitrogen (N) prevents the "soft growth" that is prone to bruising under the pressure of a garden cutter. Ensure the soil contains at least 5 percent organic matter to support the microbial life necessary for nutrient cycling.
Timing:
The biological clock of the plant dictates the pruning schedule. In Hardiness Zones 5 through 8, the primary pruning window for warm-season crops opens once the soil temperature consistently reaches 65 degrees Fahrenheit. Pruning should occur during the transition from the vegetative stage to the reproductive stage. This is when the plant begins to shift its hormonal balance from auxins, which promote apical dominance and vertical growth, to cytokinins and gibberellins, which encourage lateral branching and fruit set.
Monitor the frost-date windows carefully. Your final heavy pruning should occur at least 30 days before the first expected frost. This allows the plant to harden off its remaining tissue. Pruning too late in the season stimulates new, tender growth that lacks the lignin necessary to survive a sudden drop in temperature. Always prune in the early morning, between 6:00 AM and 9:00 AM, when turgor pressure is at its highest and the plant is fully hydrated from overnight transpiration recovery.
Phases:
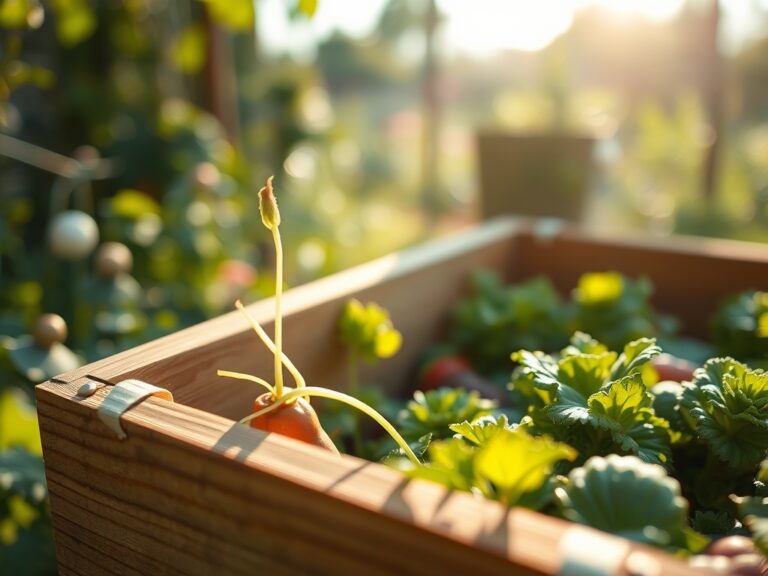
Sowing and Early Growth
Start seeds in a sterile medium at a depth of 0.25 inches. Maintain a constant temperature of 70 to 75 degrees Fahrenheit for optimal germination. Once the first set of true leaves appears, ensure the plants receive 14 to 16 hours of light per day to prevent leggy growth.
Pro-Tip: Proper spacing prevents phototropism, where plants stretch and weaken their stems to reach light. By maintaining a distance of 12 to 18 inches between seedlings, you ensure the stems develop enough lignin to withstand the pressure of a garden cutter later in the season.
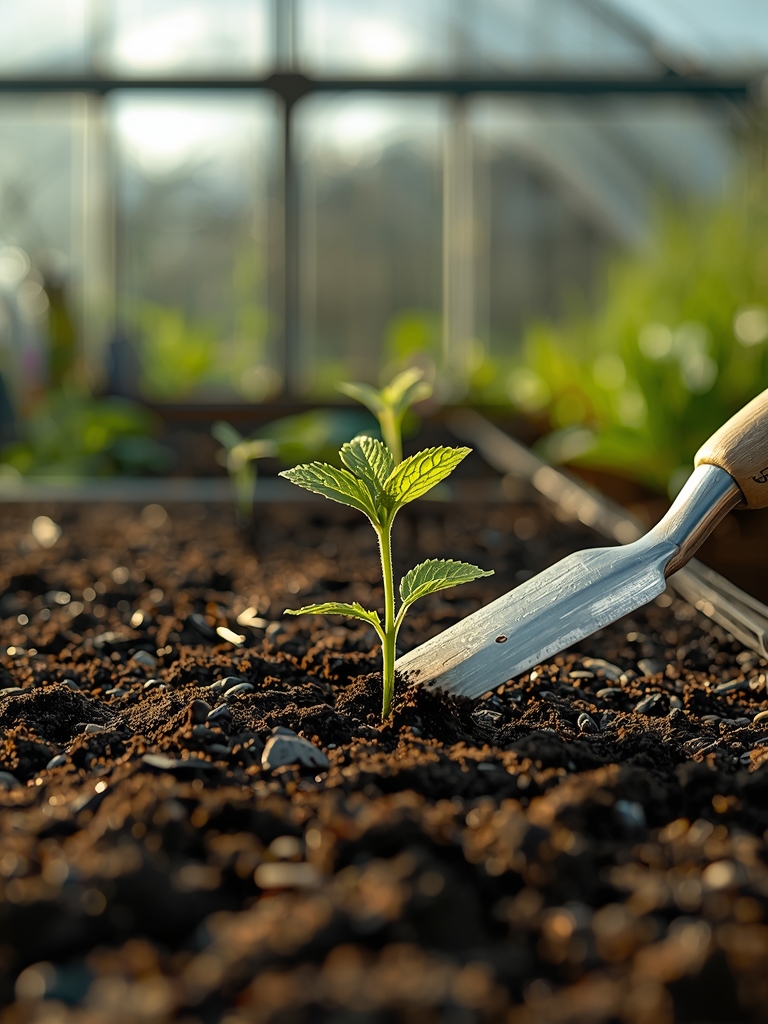
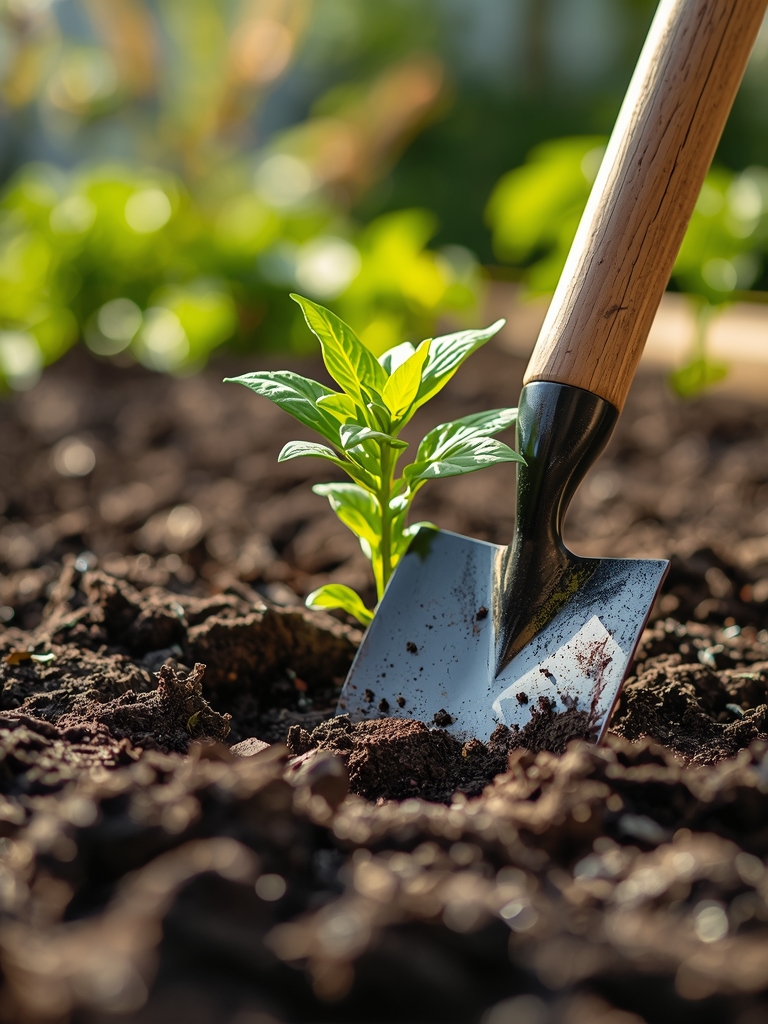
Transplanting
Move seedlings to the field when they have reached a height of 6 inches and have at least three sets of true leaves. Dig a hole twice the width of the root ball and incorporate 2 tablespoons of bone meal to support early root development.
Pro-Tip: Inoculate the planting hole with mycorrhizal fungi. This symbiotic relationship expands the root surface area by up to 100 times, increasing the plant's ability to absorb water and phosphorus, which leads to faster recovery after pruning.
Establishing and Pruning
Once the plant reaches 12 to 18 inches in height, begin the first phase of pruning. Use your garden cutter to remove "suckers" or axillary buds located in the crotch between the main stem and the leaf petioles. This focuses the plant's energy on the primary leader.
Pro-Tip: Removing the apical meristem (the tip of the main stem) triggers auxin suppression. When the dominant top bud is removed, the plant redistributes growth hormones to lateral buds, resulting in a bushier, more stable plant structure that can support heavier fruit loads.
The Clinic:
Physiological disorders often manifest as physical deformities that require immediate intervention.
- Symptom: Interveinal chlorosis (yellowing between green veins) on older leaves.
- Solution: This indicates a Magnesium deficiency. Apply a foliar spray of 1 tablespoon of Epsom salts per gallon of water to restore chlorophyll production.
- Symptom: Blossom end rot (dark, leathery spots on the bottom of fruit).
- Solution: This is caused by a Calcium transport issue, often due to inconsistent watering. Maintain a steady moisture level and ensure the soil pH is not below 6.0.
- Symptom: Epinasty (downward curling of leaves).
- Solution: This is often a sign of ethylene gas buildup or overwatering. Improve drainage and ensure at least 2 inches of space between the soil surface and the lowest leaves.
Fix-It for Nitrogen Chlorosis: If the entire plant appears pale green or yellow, it lacks nitrogen. Side-dress with blood meal or a high-nitrogen liquid fertilizer at a rate of 1 pound per 100 square feet.
Maintenance:
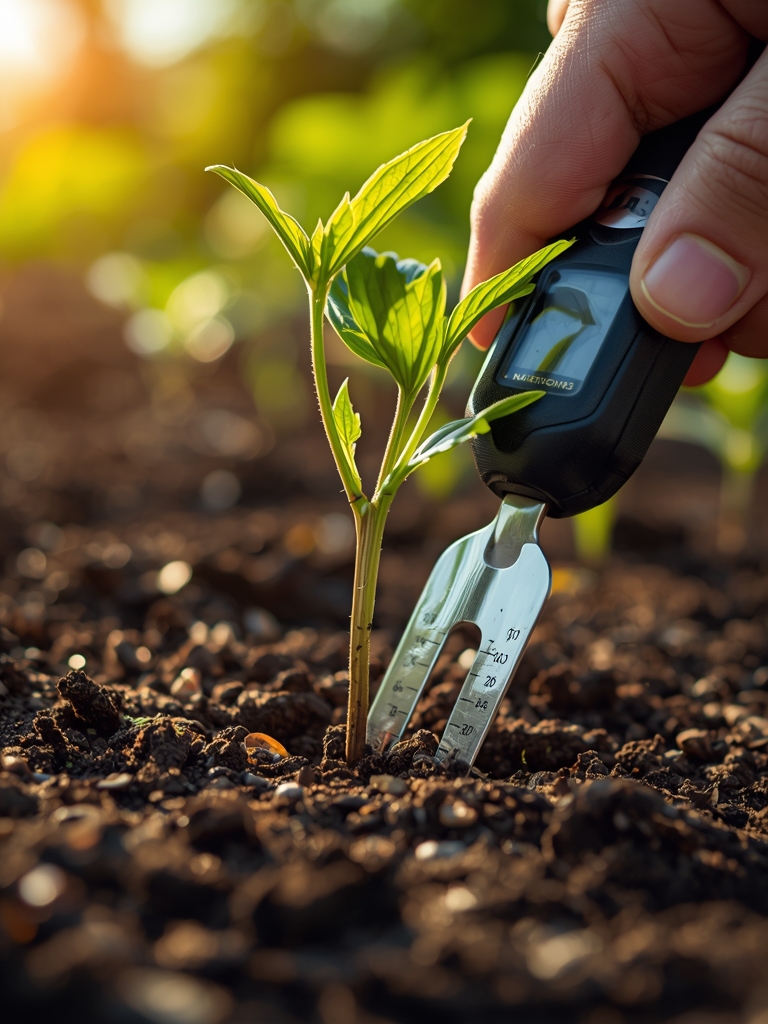
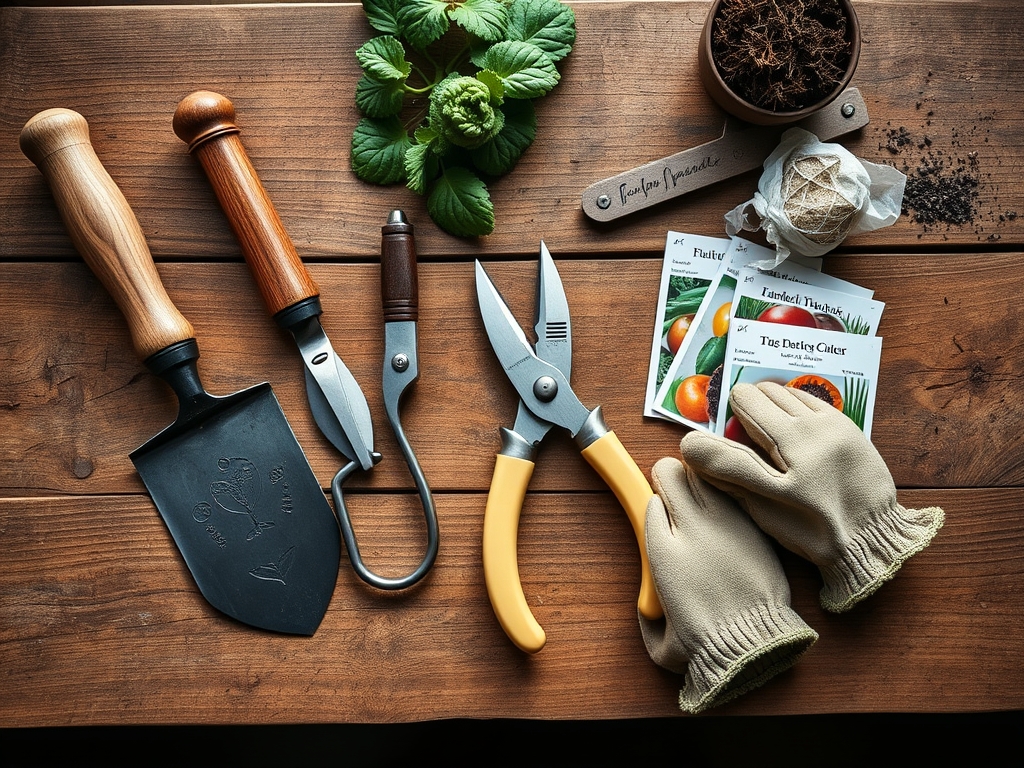
Precision maintenance requires the right tools and a strict schedule. Use a soil moisture meter daily to ensure the root zone remains at 60 to 80 percent field capacity. Most vegetable crops require 1.5 inches of water per week, delivered directly at the drip line to avoid wetting the foliage.
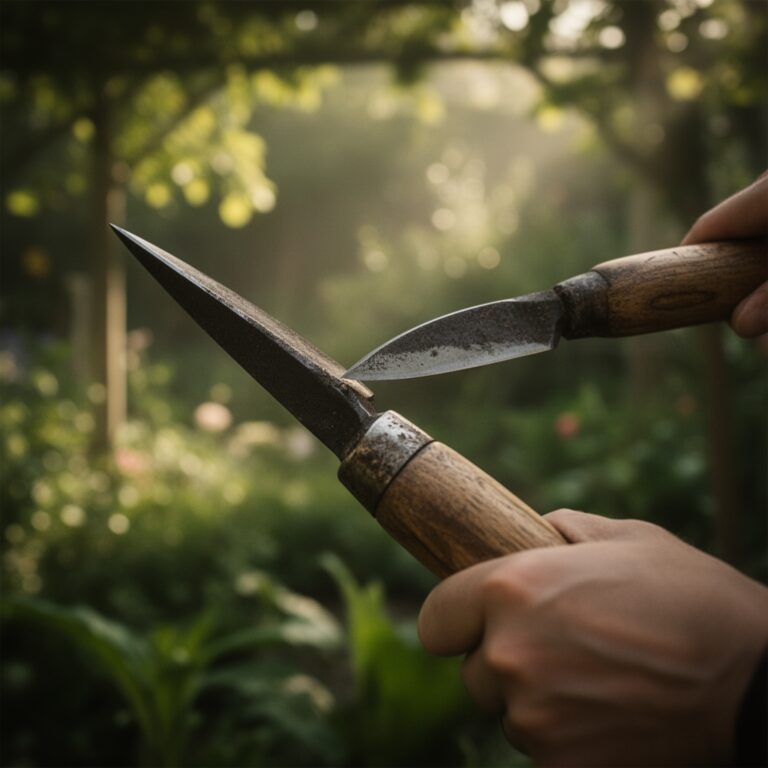
Keep your tools in professional condition. Use a hori-hori knife for weeding and root pruning, and bypass pruners for clean cuts on stems up to 0.5 inches in diameter. After every use, wipe the blades of your garden cutter with 70 percent isopropyl alcohol to prevent the transmission of tobacco mosaic virus or bacterial wilt. Sharpen blades weekly using a 400-grit diamond whetstone to ensure every cut is a shear rather than a crush.
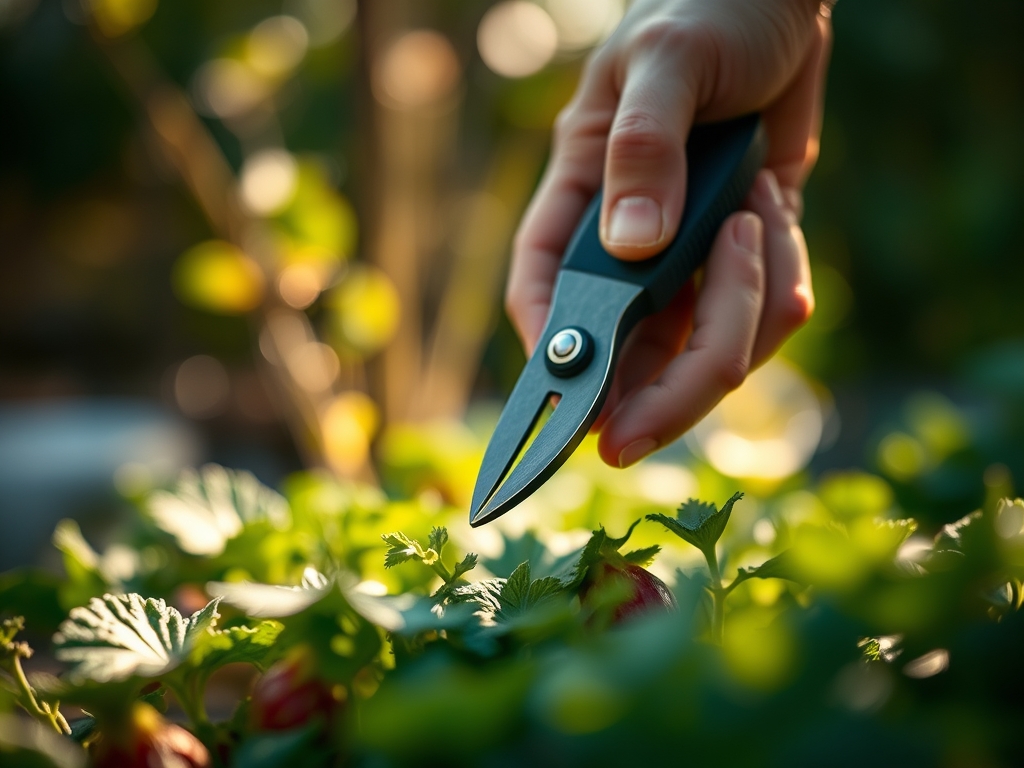
The Yield:
Harvesting is the final act of pruning. For most vegetables, the peak harvest window is when the fruit has reached 80 to 90 percent of its final size but before the skin becomes tough. Use your garden cutter to sever the pedicel (the fruit stalk) 0.5 inches above the fruit. Never pull the fruit, as this can cause micro-tears in the main stem.
To maintain "day-one" freshness, harvest during the coolest part of the day to minimize field heat. Immediately submerge harvested vegetables in 55-degree Fahrenheit water to arrest the metabolic process and preserve sugar content. For leafy greens, maintain a 95 percent relative humidity environment during storage to prevent wilting and loss of turgor.
FAQ:
How often should I sharpen my garden cutter?
Sharpen the blade after every 10 hours of active use. A dull blade crushes the vascular tissue, specifically the xylem and phloem, which delays the plant's healing process and increases the risk of systemic infection.
Can I prune vegetables during a heatwave?
Avoid pruning when temperatures exceed 90 degrees Fahrenheit. High heat causes high transpiration rates. Cutting the plant during this time induces physiological stress and can lead to permanent wilting or "heat shock" in the remaining foliage.
What is the best way to disinfect pruning tools?
Submerge the blades in a solution of one part bleach to nine parts water or use 70 percent isopropyl alcohol. This eliminates pathogens like Fusarium and Botrytis that can be spread from plant to plant during the pruning process.
How close to the main stem should I cut?
Make the cut 0.25 inches from the main stem, just outside the branch collar. This allows the plant to form a specialized protective tissue called a "cork cambium" over the wound without damaging the primary vascular highway of the plant.