8 Steps to Preparing a Potato Grow Bag: A Space-Saving Guide
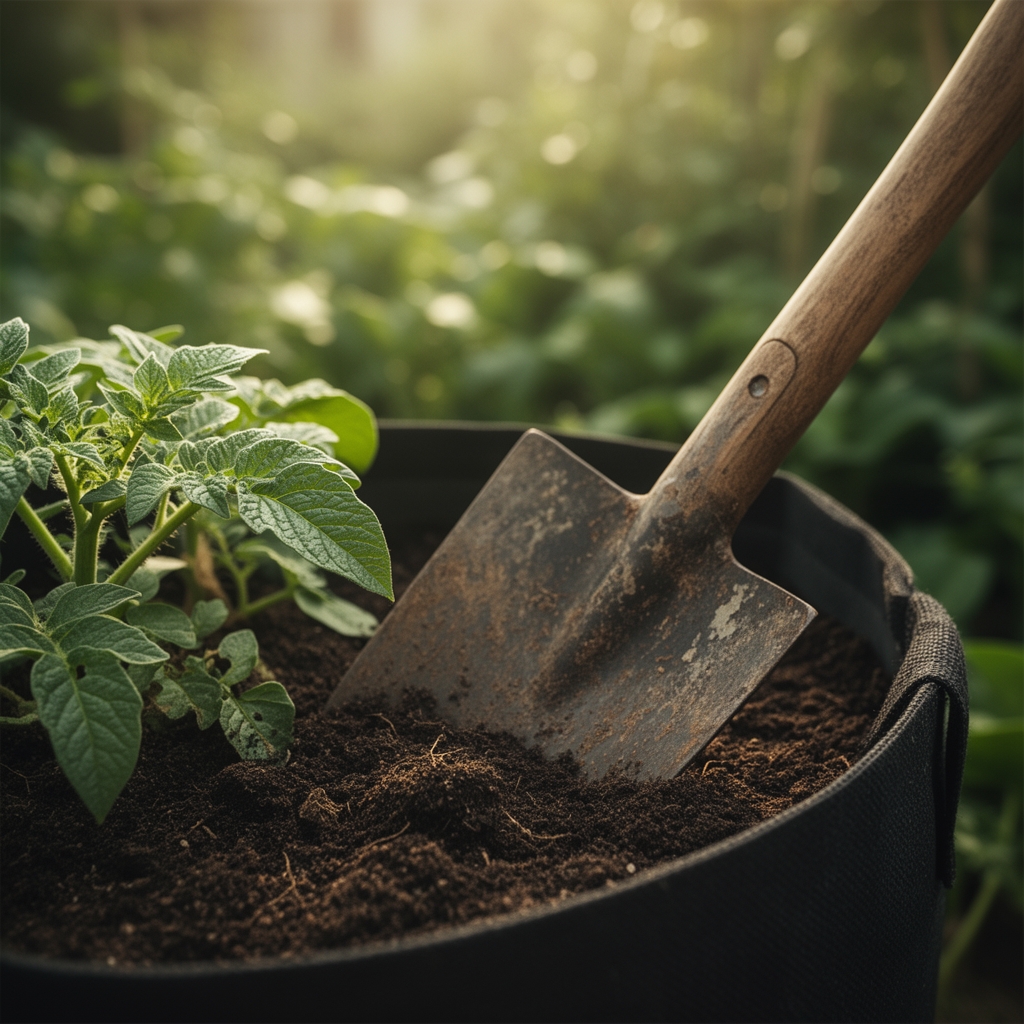
The satisfying crumble of loamy soil between your fingers carries a distinct earthy petrichor that signals the beginning of potato season. That combination of decomposed organic matter and mineral particles creates the perfect foundation for preparing a potato grow bag for planting, whether you're working with a tiny balcony or a postage stamp backyard. Grow bags offer the drainage and aeration that potatoes demand while eliminating the backbreaking work of digging trenches or hilling up rows in traditional garden beds.
Potatoes thrive when their roots can penetrate freely through well-structured soil, and fabric grow bags deliver precisely that environment. The breathable material prevents waterlogging while encouraging robust tuber development. For urban gardeners and those dealing with contaminated soil or heavy clay, grow bags solve multiple problems simultaneously. You control every variable, from soil pH to nutrient ratios, without amending an entire garden plot.
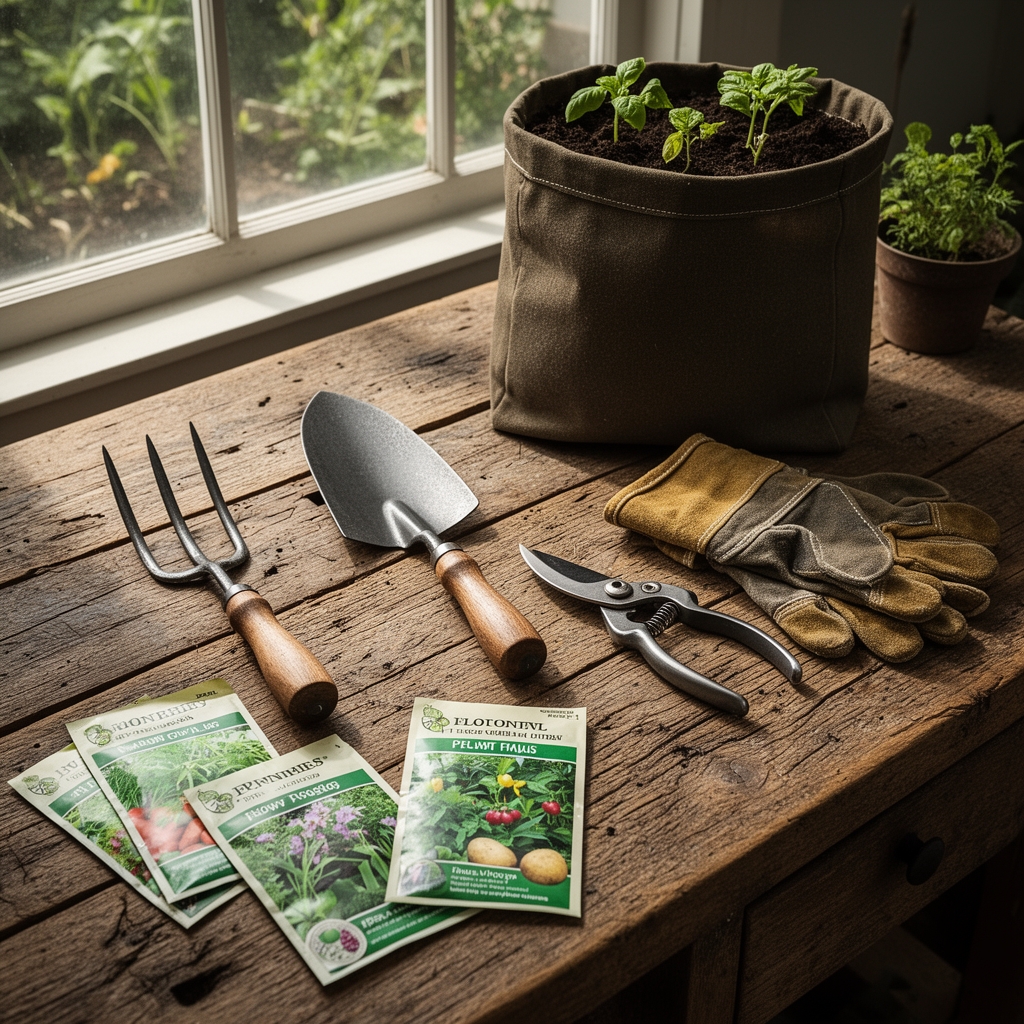
Materials & Supplies
Container Requirements:
Fabric grow bags (minimum 10 gallons, ideally 15-20 gallons for indeterminate varieties). Look for UV-resistant polypropylene with reinforced handles rated for 50+ pounds when filled with moist soil.
Growing Medium Components:
Combine 40% high-quality compost, 30% peat moss or coconut coir, and 30% perlite or vermiculite. This blend maintains the 5.0-6.5 pH range potatoes require. Avoid garden soil or topsoil, which compacts in containers and restricts oxygen flow to developing tubers.
Fertility Amendments:
Select a balanced organic fertilizer with an NPK ratio of 5-10-5 or 5-10-10. Potatoes need moderate nitrogen for foliage, higher phosphorus for root and tuber development, and potassium for disease resistance and skin quality. Add 2 tablespoons of bone meal per 10 gallons of soil for sustained phosphorus release.
Seed Potatoes:
Purchase certified disease-free seed potatoes rather than grocery store specimens, which may carry viruses or be treated with sprouting inhibitors. Each seed piece should contain 2-3 eyes and weigh approximately 2 ounces after cutting.
Support Materials:
Wooden stakes or bamboo poles (24 inches), garden twine, and a soil pH test kit. Keep sulfur or lime on hand for pH adjustments based on your test results.
Timing & Growing Schedule
Hardiness Zone Considerations:
Potatoes perform best when planted 2-4 weeks before your last expected spring frost. For zones 3-5, this typically falls in late April to mid-May. Zones 6-7 can plant from mid-March to early April, while zones 8-10 should target February plantings to avoid excessive summer heat during tuber formation.
Days to Maturity:
Early varieties mature in 70-90 days, mid-season types need 90-110 days, and late-season storage potatoes require 110-135 days. Match your variety selection to your growing window. In hot climates (zones 9-10), consider fall plantings for a winter harvest when daytime temperatures stay below 80°F.
Chitting Timeline:
Begin chitting (pre-sprouting) seed potatoes 3-4 weeks before your planned planting date. Place them in egg cartons or shallow trays in a cool (50-60°F), bright location. Sturdy 0.5-1 inch sprouts indicate readiness for planting.
Step-by-Step Instructions
Step 1: Position the Grow Bag
Place your empty grow bag in its permanent location before filling. Potatoes need 6-8 hours of direct sunlight daily. Ensure the site has good air circulation to reduce foliar disease pressure. Roll down the sides of the bag to approximately 8 inches high.
Pro-Tip: Set grow bags on wooden pallets or pot feet to enhance drainage and prevent waterlogged soil that encourages rot.
Step 2: Create the Base Layer
Fill the rolled-down bag with 6 inches of your prepared soil mixture. Firm it gently to eliminate large air pockets, but avoid compacting the medium. The soil should feel like a wrung-out sponge when squeezed.
Pro-Tip: Mix 1 cup of worm castings into this base layer to inoculate the soil with beneficial microbial populations that protect against soil-borne pathogens.
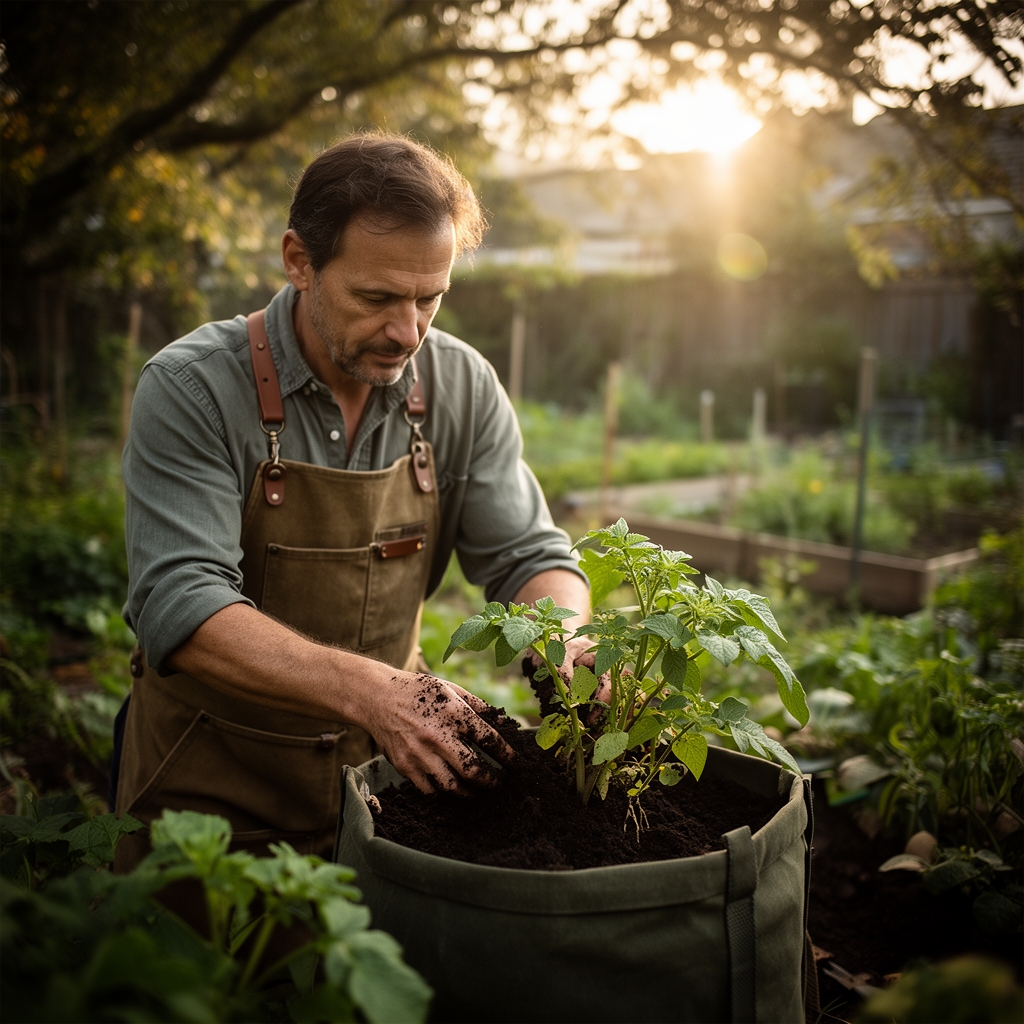
Step 3: Plant Seed Potatoes
Space 2-3 seed potato pieces evenly across the soil surface for a 10-gallon bag, or 3-4 pieces for larger containers. Position sprouts facing upward. Each piece should have 4-6 inches of space from its neighbors.
Pro-Tip: Dust cut surfaces with agricultural sulfur or let them cure for 24 hours to form a protective callus layer that prevents bacterial soft rot.
Step 4: Cover and Mark
Add 4 inches of soil mixture over the seed potatoes. Water thoroughly until moisture drains from the bottom. Insert a stake or marker labeled with variety name and planting date.
Pro-Tip: Add a thin layer of straw mulch to conserve moisture and moderate soil temperature, particularly important during unpredictable spring weather.
Step 5: Monitor Emergence
Shoots typically emerge within 2-3 weeks depending on soil temperature. Optimal germination occurs when soil reaches 45-55°F. Use a soil thermometer to track conditions if planting early.
Pro-Tip: If a hard freeze threatens after emergence, temporarily cover the bag with frost cloth or invert a large cardboard box over tender shoots.
Step 6: Execute Progressive Hilling
When foliage reaches 8 inches tall, unroll the bag sides and add 3-4 inches of soil mixture, leaving the top 4 inches of foliage exposed. Repeat this process every 2 weeks until the bag is full or foliage reaches 18-24 inches.
Pro-Tip: Each hilling session stimulates the buried stem to produce additional tuber-bearing stolons, directly increasing your final yield.
Step 7: Maintain Consistent Moisture
Water when the top 2 inches of soil feels dry. This typically translates to 1-1.5 inches per week, adjusted for rainfall and temperature. Inconsistent moisture causes knobby tubers or hollow heart disorder.
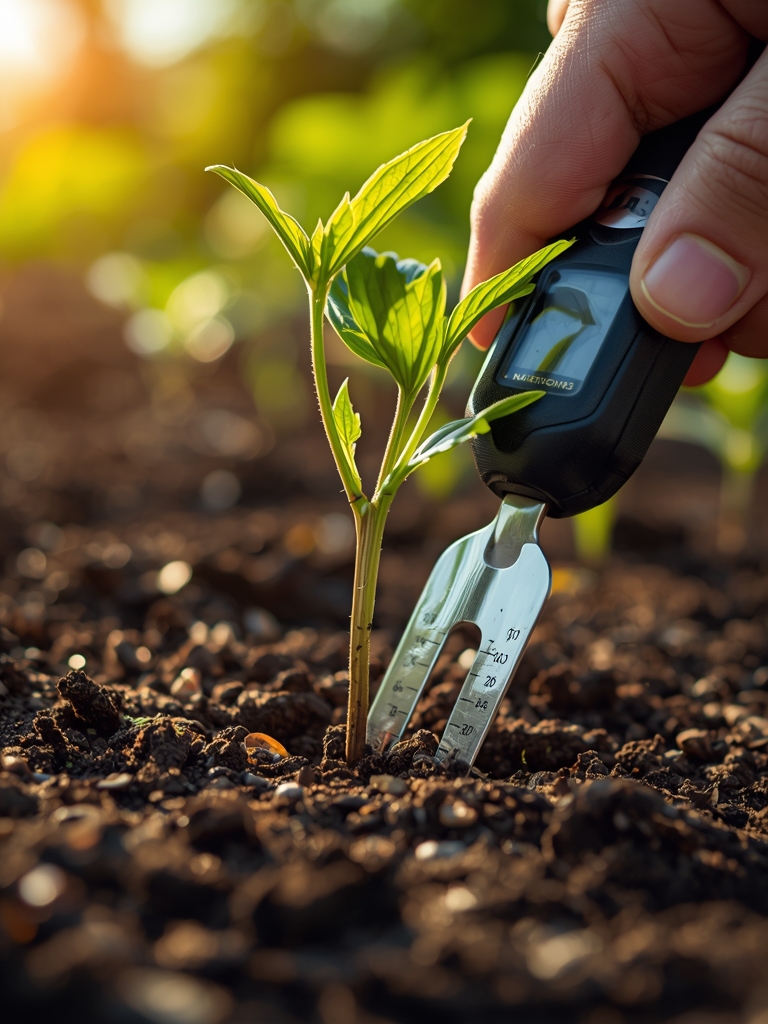
Pro-Tip: Install a moisture meter probe 6 inches deep to accurately gauge water needs without guessing, particularly valuable during the critical tuber-bulking phase.
Step 8: Monitor for Flowering
Most potato varieties flower 6-8 weeks after planting, signaling that tubers are actively forming. Reduce nitrogen supplementation at this stage to encourage energy allocation toward tuber development rather than excessive foliage.
Pro-Tip: While flowers indicate tuber set, removing them (a practice called deflowering) redirects approximately 3-5% more energy to tuber production in determinate varieties.
Nutritional & Environmental Benefits
Homegrown potatoes provide superior nutrition compared to commercial specimens stored for weeks or months. Fresh-dug tubers contain 620mg of potassium per medium potato, supporting cardiovascular function and electrolyte balance. The vitamin C content (45% of daily value) remains highest within 24 hours of harvest before gradual oxidation occurs.
Red and purple potato varieties deliver significant quantities of anthocyanins, powerful antioxidants that combat cellular damage and inflammation. These pigmented varieties contain 2-3 times the antioxidant capacity of white-fleshed types.
Growing potatoes in bags conserves water compared to in-ground planting. The contained system prevents lateral water migration and evaporation, reducing consumption by approximately 30-40%. The precise control over soil amendments also prevents excess fertilizer runoff that contributes to waterway eutrophication.
Potato foliage supports several beneficial insects. Ladybugs and lacewings patrol the leaves for aphids and Colorado potato beetles. The flowers, though not prolific nectar sources, attract native bees including bumblebees and mason bees during their brief blooming period.
Advanced Methods
Maximizing Small Spaces:
Stack grow bags vertically using sturdy shelving units rated for 100+ pounds per shelf. Ensure each bag receives adequate light by positioning south-facing or supplementing with full-spectrum LED grow lights delivering 400-600 μmol/m²/s during the vegetative phase.
Companion plant fast-maturing crops like radishes, lettuce, or spinach around the bag perimeter during the first 4 weeks. These shallow-rooted vegetables harvest before potatoes need the full bag volume.
Organic & Permaculture Integration:
Substitute commercial fertilizers with nutrient-dense compost tea applied biweekly. Brew for 24-36 hours using a 1:10 ratio of finished compost to dechlorinated water, adding 2 tablespoons of unsulfured molasses to feed beneficial bacteria.
Incorporate mycorrhizal fungi inoculant at planting to extend the root system's effective reach by 10-1000 times. These symbiotic relationships improve phosphorus uptake while enhancing drought tolerance.
Practice nitrogen fixation partnerships by underplanting crimson clover or hairy vetch at the bag edges. Though potatoes don't directly benefit from legume nitrogen during the current season, these cover crops condition the soil for the next rotation.
Season Extension Techniques:
Install wire hoops over grow bags and drape with 6-mil clear plastic to create miniature hoop houses. This extends the season by 3-4 weeks on both ends, particularly valuable in zones 3-6.
For fall crops planted in July or August, shade bags during afternoon heat using 30-50% shade cloth. This prevents heat stress that causes plants to shut down tuber development when soil temperatures exceed 80°F.
Troubleshooting
Symptom: Yellowing lower leaves spreading upward while upper growth remains green.
Solution: Classic nitrogen deficiency. Side-dress with blood meal (12-0-0) at 1 tablespoon per 10 gallons, or apply diluted fish emulsion (5-1-1) weekly for 3 weeks.
Symptom: Stunted plants with purple-tinged leaves despite adequate light.
Solution: Phosphorus deficiency, often triggered by cold soil temperatures below 50°F that inhibit nutrient uptake. Warm the bag by wrapping with black landscape fabric, or apply liquid kelp extract containing available phosphorus.
Symptom: Wilting foliage during midday heat that recovers by evening, progressing to permanent wilt.
Solution: Verticillium wilt, a soilborne fungal disease. No cure exists; remove and destroy affected plants immediately. Solarize remaining grow bag soil by sealing it in clear plastic for 6 weeks in full sun before reuse.
Symptom: Holes in foliage with yellow-orange larvae and striped adult beetles present.
Solution: Colorado potato beetle infestation. Handpick adults and larvae daily, dropping them into soapy water. Apply Bacillus thuringiensis var. tenebrionis (Btt), a biological control that specifically targets beetle larvae without harming beneficials.
Symptom: Greenish skin on tubers near the soil surface.
Solution: Light exposure triggers solanine production, a toxic glycoalkaloid. Never consume green potatoes. Prevent by maintaining 2-3 inches of soil cover over all tubers, adding more soil if shoulders emerge.
Storage & Maintenance
Irrigation Protocol:
Establish a consistent watering routine delivering 1-1.5 inches weekly through drip irrigation or hand watering. Install a rain gauge to track natural precipitation and adjust supplemental irrigation accordingly.
Reduce watering by 50% during the final 2 weeks before harvest to toughen skin and improve storage quality. Complete cessation 1 week before digging helps prevent tuber rot.
Feeding Schedule:
Apply balanced fertilizer (5-10-5) at half strength every 3 weeks from emergence through flowering. Cease nitrogen applications after flowering begins to prevent excessive foliage at the expense of tuber development.
Supplement with foliar sprays of liquid kelp every 2 weeks to provide trace minerals including boron, manganese, and zinc critical for enzyme function.
Harvest Timing:
For new potatoes, harvest 2-3 weeks after flowering when tubers reach 1-2 inches diameter. Gently reach into the soil, feeling for appropriately sized specimens, then carefully remove them without disturbing the plant.
For mature storage potatoes, wait until foliage dies back naturally. Cut the dead foliage at soil level and leave tubers in the bag for an additional 2 weeks. This curing period allows skins to thicken and minor wounds to heal.
Post-Harvest Curing:
Spread harvested potatoes in a single layer in a dark, humid location (80-85% humidity) at 50-60°F for 10-14 days. This critical curing phase heals harvest wounds and sets the skin for long-term storage.
Long-Term Storage:
Transfer cured potatoes to ventilated boxes or mesh bags. Store in complete darkness at 38-40°F with 80-90% humidity. Properly cured and stored potatoes remain viable for 4-6 months. Check monthly, removing any specimens showing soft spots or sprouting.
Success Blueprint
Preparing a potato grow bag for planting transforms limited space into productive growing area through controlled soil conditions and strategic variety selection. The eight-step process, from positioning bags through progressive hilling, creates optimal conditions for tuber development while eliminating common soil-borne disease problems. Consistent moisture management, appropriate fertility levels, and timely harvest maximize both yield and storage quality.
Share your grow bag potato results with local gardening groups or community forums. Document your variety selections, planting dates, and final yields to help other gardeners in your climate zone optimize their own growing strategies. Consider donating surplus harvests to neighborhood food pantries, where fresh produce remains chronically undersupplied.
Expert FAQs
Q: Can I reuse grow bag soil for multiple potato seasons?
A: Avoid reusing soil for potatoes or related nightshade crops (tomatoes, peppers, eggplant) for at least 3 years to prevent disease buildup. Refresh spent potato soil by composting it for 6 months or deploying it under ornamental plantings.
Q: What's the minimum grow bag size for successful potato production?
A: Ten gallons represents the practical minimum, yielding 3-5 pounds of potatoes per bag. Fifteen to twenty-gallon bags produce 7-10 pounds, offering better return on investment considering soil, fertilizer, and water inputs.
Q: Should I remove potato flowers to increase tuber size?
A: Research shows minimal yield advantage (3-5%) for determinate varieties. Indeterminate varieties show no benefit. Flowers attract pollinators and indicate proper crop development, so removal is optional rather than necessary.
Q: How do I prevent grow bags from tipping over in wind?
A: Anchor bags by driving two 18-inch wooden stakes through the bag sides into the ground below, or place bags inside rigid plastic containers. Alternatively, position bags in protected locations like against south-facing walls.
Q: Can potatoes tolerate partial shade conditions?
A: Potatoes require minimum 6 hours direct sunlight for adequate tuber production. Less than 5 hours results in 40-60% yield reduction and increased disease susceptibility due to moisture retention on foliage. Prioritize your sunniest locations for potato grow bags.