8 Watering Steps to Install an Outdoor Tap
Turgor pressure within a tomato stem determines the difference between a productive harvest and a wilted failure. When the plant cells are fully hydrated; the rigid cell walls stand tall; allowing the vascular system to transport minerals from the rhizosphere to the canopy. Efficient hydration requires a direct water source. Following the correct steps for installing a vegetable garden tap ensures that your crops receive consistent moisture without the physical labor of hauling heavy hoses across the property.
Establishing a permanent water station allows for precision irrigation. This is critical for maintaining a stable soil moisture profile; which prevents physiological disorders like blossom end reflux or fruit cracking. A dedicated tap facilitates the use of timers and drip lines; delivering water directly to the root zone where it is most effective. This technical upgrade transforms a manual chore into a controlled; scientific process of moisture management.
Materials:
Before breaking ground; evaluate the soil substrate where the tap will be positioned. The ideal environment is a **friable loam** with a **pH between 6.2 and 6.8**. This acidity level ensures that nutrients remain bioavailable. High **Cation Exchange Capacity (CEC)** values; typically above **15 meq/100g**; indicate a soil’s ability to hold onto essential cations like Calcium and Magnesium.
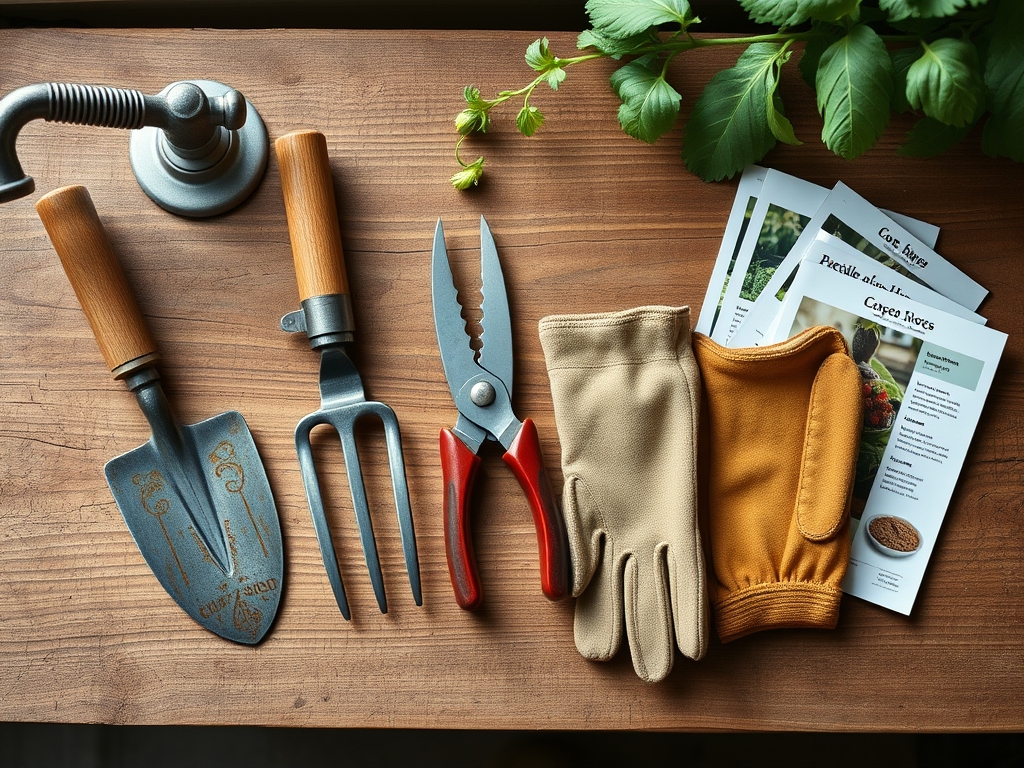
For a productive vegetable plot; maintain an NPK ratio of 5-10-10 for root development or 10-10-10 for general vegetative growth. You will need:
- 15mm copper piping or 20mm MDPE blue water pipe for underground runs.
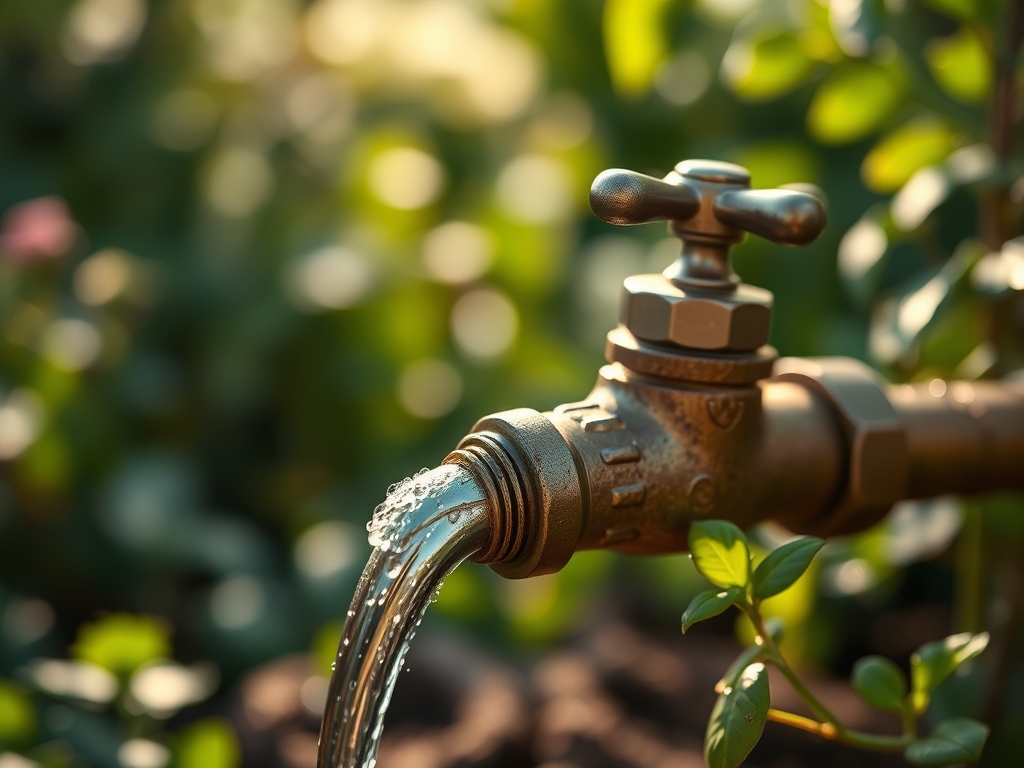
- Brass bib tap with a double check valve to prevent backflow contamination.
- Compression fittings and PTFE tape for watertight seals.
- Wall plate elbow for securing the tap to a post or masonry.
- Pipe insulation to prevent thermal expansion and freezing.
Timing:
Installation must occur outside the frost window for your specific Hardiness Zone. In Zones 5 through 7; this typically falls between late April and early October. Attempting to install plumbing in frozen ground risks pipe fracture and prevents proper soil compaction during backfilling.
The biological clock of your garden dictates the urgency of this installation. During the vegetative stage; plants require high nitrogen and consistent hydration to build biomass. Once the transition to the reproductive stage occurs; water demand spikes to support fruit set and swelling. Installing your tap before the summer solstice ensures that your irrigation infrastructure is operational during the peak evapotranspiration period when plants lose the most moisture through their stomata.
Phases:
Sowing
The first phase involves trenching and pipe placement. Dig a trench at least 450mm deep to stay below the frost line in temperate climates. Lay the MDPE pipe on a bed of sand to prevent sharp stones from puncturing the line over time. Connect the pipe to your main water supply using a stopcock.
Pro-Tip: Proper depth prevents soil heaving from disrupting the pipe. This protects the mycorrhizal symbiosis in the upper soil layers; as deep trenching minimizes the disturbance of fungal networks that assist in phosphorus uptake.
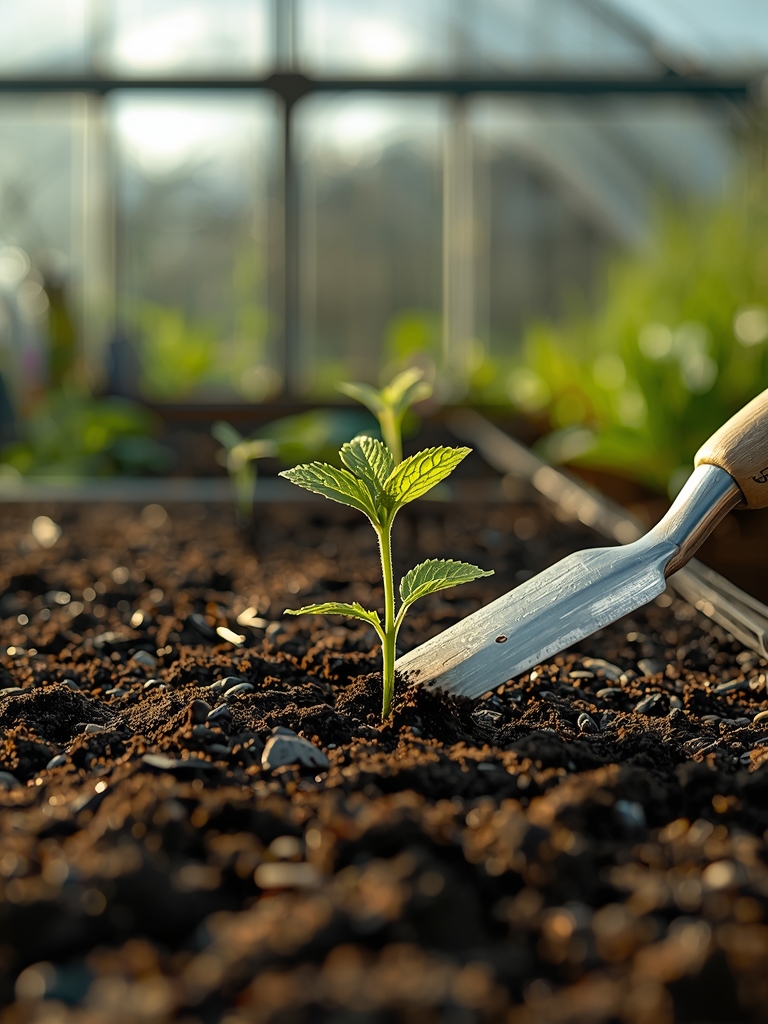
Transplanting
Transition the pipe from the ground to the vertical mounting point. Secure the wall plate elbow to a 4×4 pressure-treated post or a brick wall. Use a pipe cutter for clean; square edges on your copper or plastic lines to ensure the compression rings seat perfectly. Apply PTFE tape in a clockwise direction on all threaded joints.
Pro-Tip: When positioning the tap; consider phototropism. Ensure the tap and its shadow do not obstruct the southern exposure of sun-loving crops; as plants will lean toward the light; potentially causing structural instability in the stems.
Establishing
Flush the system before attaching the final tap head to clear any debris or silt. Once the tap is installed; check for leaks by leaving the system pressurized for 24 hours. Backfill the trench in 150mm layers; tamping down each layer to prevent future sinking.
Pro-Tip: Consistent water pressure maintains auxin suppression in certain crops. By avoiding the stress of drought; you prevent the plant from producing emergency hormones that trigger premature bolting or seed production.
The Clinic:
Physiological disorders often stem from improper watering. Observe your plants for these symptoms:
- Symptom: Interveinal Chlorosis. The leaves turn yellow while veins remain green.
- Solution: This is often a Magnesium deficiency. Apply Epsom salts (Magnesium Sulfate) at a rate of 1 tablespoon per gallon of water via your new tap.
- Symptom: Blossom End Rot. Dark; leathery spots on the bottom of tomatoes or peppers.
- Solution: This is caused by a Calcium transport failure. Ensure consistent soil moisture; as Calcium can only move through the plant via transpiration pull.
- Symptom: Leaf Curl. Edges of leaves rolling upward or downward.
- Solution: Check for extreme transpiration. If the tap is operational; increase irrigation frequency to maintain turgor pressure during high-heat intervals.
Fix-It: For Nitrogen chlorosis (general yellowing of older leaves); apply a liquid fertilizer with a high N rating (like 20-10-10) through a venturi injector attached to your tap.
Maintenance:
Vegetable gardens generally require 1.5 inches of water per week; delivered at the drip line to avoid wetting the foliage. Use a soil moisture meter to verify that the water is penetrating at least 6 inches deep into the soil profile.
Keep your hori-hori knife sharp for weeding around the tap base to prevent root competition. Use bypass pruners to clear any overhanging canopy that might restrict access to the valve. In late autumn; shut off the internal supply and drain the external tap to prevent ice expansion from cracking the brass housing.
The Yield:
A well-watered garden produces crops with superior cellular structure. Harvest leafy greens in the early morning when turgor pressure is at its peak; this ensures the longest shelf life. For root vegetables; water the soil 24 hours before harvesting to lubricate the soil; allowing the roots to slide out without snapping the taproot.
Post-harvest; submerge greens in 40-degree Fahrenheit water to remove field heat and lock in crispness. This rapid cooling slows the process of senescence; preserving the sugars and vitamins within the plant tissues.
FAQ:
How deep should I bury the water pipe?
Bury pipes at least 18 inches (450mm) deep. This depth protects the line from garden forks and prevents freezing in most temperate climates. Always check local building codes for specific regional depth requirements.
What is the best pipe for outdoor taps?
MDPE (Medium Density Polyethylene) is the industry standard for underground runs. It is flexible; corrosion-resistant; and handles high pressure. Use copper piping for the final vertical stretch above ground for UV resistance and durability.
Do I need a double check valve?
Yes. A double check valve is mandatory to prevent backflow. It ensures that fertilizers or bacteria from the garden hose cannot siphon back into your home's potable water supply during a pressure drop.
How do I prevent the tap from leaking?
Apply PTFE tape to all threaded connections and ensure compression fittings are tightened with a wrench. Avoid over-tightening; which can deform the copper pipe or crush the rubber washers; leading to slow drips and water waste.