9 Care Timing Steps to Install a Garden Sundial
Crushing a handful of damp, friable loam reveals the health of your rhizosphere through a sharp, earthy scent of geosmin. High turgor pressure in your brassicas indicates a successful hydration cycle, but true precision in the field requires more than tactile feedback. Integrating the specific steps for installing a vegetable garden sundial allows a grower to track the photoperiod with surgical accuracy. This ensures that light intensive crops, such as solanaceous species, receive the requisite six to eight hours of direct solar radiation. Proper placement of a chronometer within the plot serves as a permanent reference point for seasonal light shifts. By aligning the gnomon with true north, you create a data point that correlates solar noon with peak photosynthetic activity. This installation is not merely decorative; it is a functional instrument for monitoring the environmental variables that dictate plant senescence and reproductive success. Mastery of these steps transforms a standard vegetable patch into a controlled horticultural laboratory where timing is measured by the sun.
Materials:

The foundation for any garden structure begins with the substrate. For a stable sundial base, the soil must be a well-draining, friable loam with a high Cation Exchange Capacity (CEC) above 15 meq/100g. This ensures the soil can support the weight of a stone pedestal without significant compaction that would stifle root respiration in surrounding crops.
If you are installing the dial within a bed, maintain a soil pH between 6.2 and 6.8 to optimize nutrient availability. Prepare the site by incorporating organic matter to achieve an NPK ratio of 5-10-10 in the immediate vicinity. Low nitrogen prevents excessive vegetative growth that might shade the dial face, while higher phosphorus and potassium levels support the structural integrity of nearby root systems. You will need a level, a compass, and a high-density stone or brass dial that can withstand a wide range of thermal expansion.
Timing:
The installation window is critical and should occur during the dormant season or early spring, specifically between USDA Hardiness Zones 4 and 9. Aim for the period after the final hard frost but before the spring equinox. In most regions, this falls between late February and early April.
This timing aligns with the biological clock of the garden. As plants transition from dormancy to the vegetative stage, the soil is most workable. Installing the dial before the "grand period of growth" prevents the disruption of delicate mycorrhizal networks and avoids damaging emerging seedlings. Furthermore, setting the dial during the equinox allows for the most accurate calibration of the gnomon, as the sun crosses the celestial equator, providing a clear baseline for the shifting shadows of the summer solstice.
Phases:

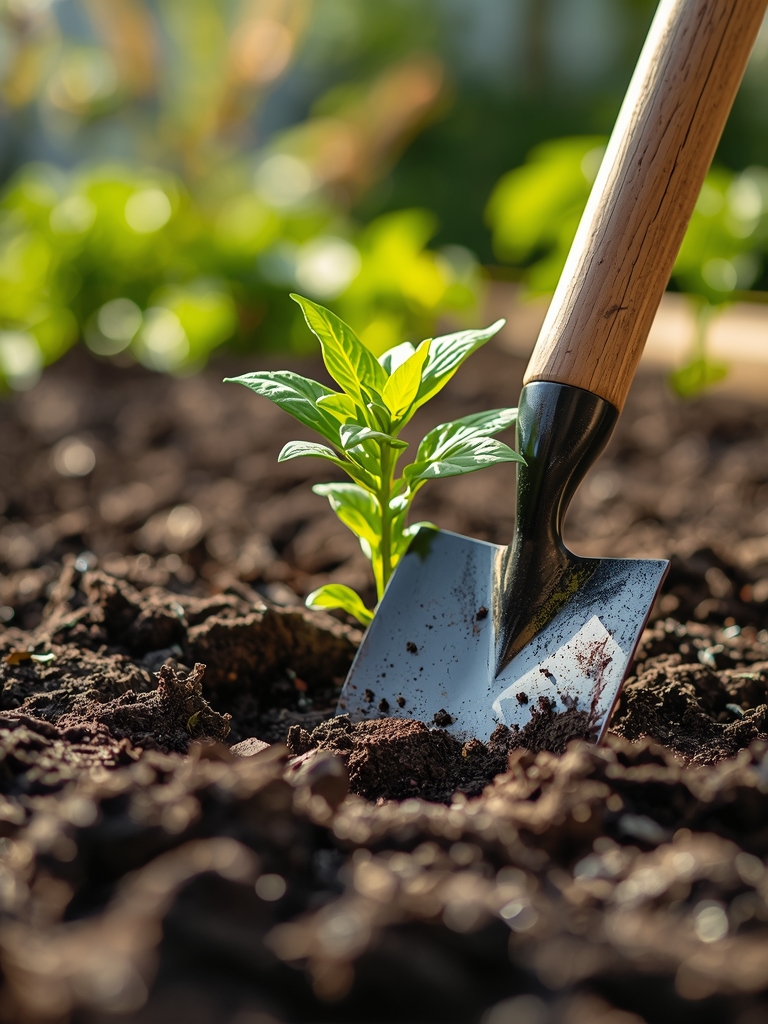
Sowing the Foundation
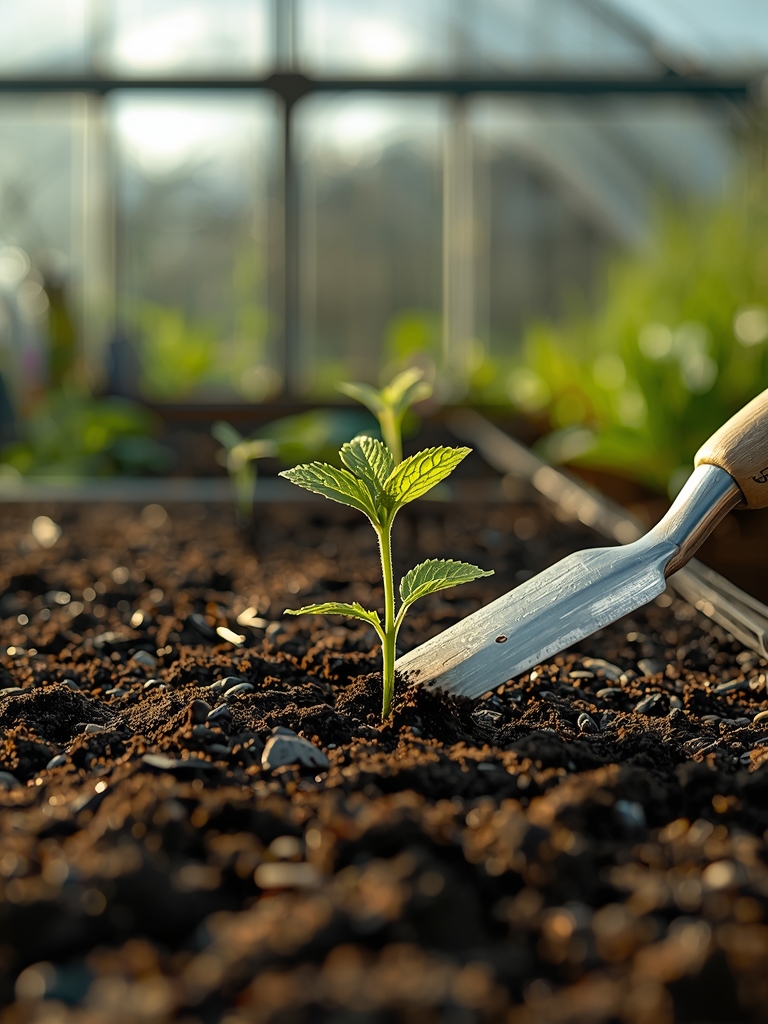
Excavate a hole 12 inches deep and 10 inches wide. Fill the base with four inches of compacted pea gravel to facilitate drainage and prevent frost heave. Place the pedestal on this drainage layer. Use a level to ensure the mounting surface is perfectly horizontal.
Pro-Tip: Proper drainage prevents the "ice lens" effect. In cold climates, water trapped under a pedestal freezes and expands, causing the structure to tilt. This physical shift disrupts the accuracy of the shadow, much like how hydrotropism directs root growth toward moisture gradients, potentially destabilizing the soil structure around the base.
Transplanting the Dial
Secure the sundial plate to the pedestal using weather-resistant adhesive or mechanical fasteners. Use a compass to find True North, which differs from Magnetic North based on your local magnetic declination. Align the gnomon (the shadow-casting piece) so it points directly toward the celestial pole.
Pro-Tip: This alignment is essential for monitoring phototropism. By knowing exactly where the sun is at 12:00 PM, you can observe how plants orient their laminae (leaf blades) to maximize light interception. This helps you identify if a crop is experiencing "shade avoidance syndrome," where it elongates its stem excessively due to low light.
Establishing the Perimeter
Once the dial is set, plant low-growing herbs like Thymus vulgaris or Lavandula around the base. These should be maintained at a height of no more than 6 inches to avoid casting interference shadows on the dial face.
Pro-Tip: Using low-growing perennials around the base encourages mycorrhizal symbiosis. The fungal hyphae stabilize the soil around the pedestal, creating a biological "rebar" that keeps the installation level while improving the nutrient uptake of the surrounding vegetable crops.
The Clinic:
Physiological disorders in the garden often manifest through visual cues. Use the sundial to track light exposure if you notice the following:
- Symptom: Interveinal Chlorosis. Yellowing between leaf veins while veins remain green.
- Solution: This is often a Magnesium deficiency. Apply Epsom salts (Magnesium Sulfate) at a rate of 1 tablespoon per foot of plant height.
- Symptom: Bolting. Sudden elongation of the flower stalk in lettuce or spinach.
- Solution: Check the sundial. If the crop is receiving more than 14 hours of light, it has reached its photoperiod trigger. Provide 40% shade cloth to simulate shorter days.
- Symptom: Blossom End Rot. Dark, leathery spots on the bottom of tomatoes.
- Solution: This indicates a Calcium transport issue caused by inconsistent moisture. Ensure 1.5 inches of water per week and maintain a consistent transpiration rate.
- Fix-It: Nitrogen Chlorosis. If older leaves turn uniform pale yellow, the plant is scavenging nitrogen for new growth. Apply a high-nitrogen liquid fertilizer (10-0-0) to the root zone to restore protein synthesis.
Maintenance:
A precision garden requires disciplined maintenance. Use a soil moisture meter twice weekly to ensure the root zone remains between 60% and 80% field capacity. Most vegetable crops require exactly 1.5 inches of water per week delivered at the drip line to avoid wetting the foliage, which can invite fungal pathogens.
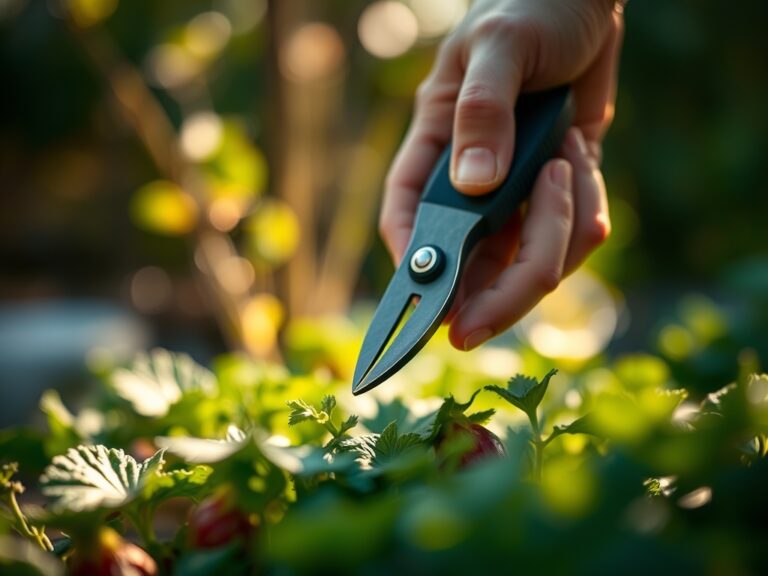
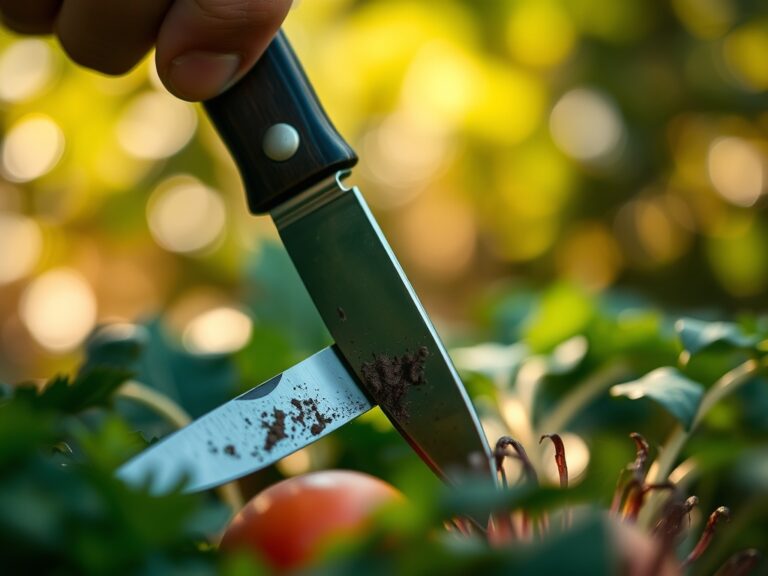
Keep a hori-hori knife sharpened for weeding around the sundial base; this tool allows you to extract taproots without disturbing the leveled soil. Use bypass pruners to manage any encroaching foliage that might obscure the dial. Every six months, verify the level of the dial face. Soil settling or seismic activity can cause a shift of even a few degrees, which results in significant time errors. Clean the brass or stone surface with a soft brush and distilled water to prevent the buildup of bird guano or lichen, which can be acidic and etch the metal.
The Yield:
While the sundial itself is not harvested, the crops it monitors must be gathered at peak physiological maturity. For leafy greens, harvest in the early morning when turgor pressure is highest and the temperature is lowest. This prevents post-harvest wilting. Use a sharp blade to make a clean cut, minimizing the wound surface area to reduce ethylene production and senescence.
For fruiting crops like peppers or tomatoes, harvest when the fruit reaches its "breaker stage" or full color. Place harvested produce immediately in a shaded, cool environment. Reducing the "field heat" by 10 degrees Fahrenheit can double the shelf life of the produce by slowing down the metabolic respiration of the plant tissues.
FAQ:
How do I find True North for my sundial?
Find your local magnetic declination using a topographic map or online calculator. Adjust your compass reading by adding or subtracting the declination degrees to ensure the gnomon points toward the geographic North Pole rather than the magnetic one.
Can I install a sundial in a raised bed?
Yes, provided the bed is structurally sound and the soil is fully settled. Use a concrete footer or a long wooden post driven into the subsoil to prevent the dial from shifting as the organic matter in the bed decomposes.
What is the best material for a garden sundial?
Brass and bronze are superior for longevity and precision. They resist corrosion and maintain sharp edges on the gnomon. Heavy stone or cast iron are also acceptable but may require more frequent leveling due to their significant weight and soil compression.
Why is my sundial showing the wrong time?
Sundials show "Solar Time," which fluctuates throughout the year due to the Earth's elliptical orbit. This is called the Equation of Time. Your dial will only match your watch exactly four times a year unless it has a built-in correction scale.