9 Critical Steps to Prepare a Garden Shed Site
The first shovel thrust into unprepared ground can doom a garden shed to years of settling, rot, and structural failure. How to prepare a site for a new garden shed begins with soil assessment and extends through drainage engineering, foundation leveling, and permanent stabilization. A well-prepared site resists frost heave, channels water away from the structure, and provides a stable platform that outlasts the shed itself.
Materials
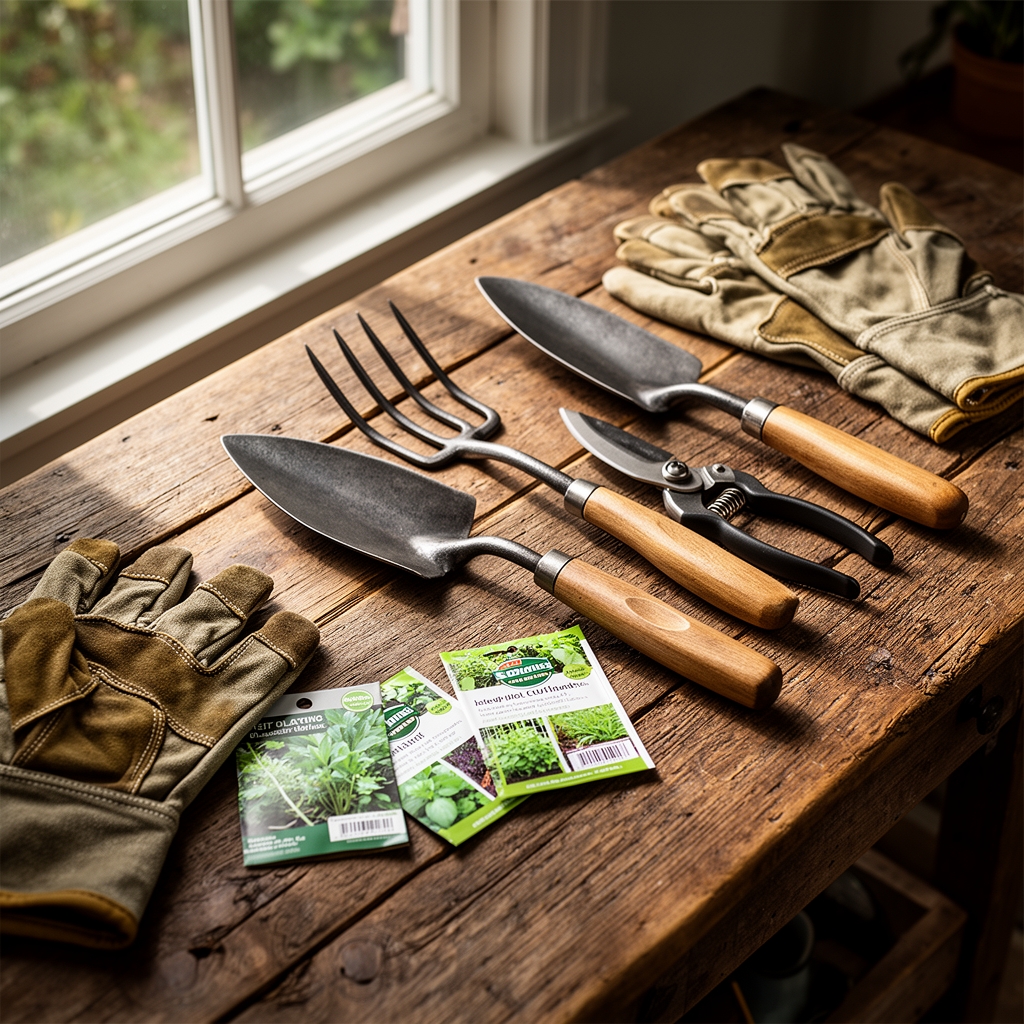
Site preparation demands tools and amendments that address both mechanical and chemical soil properties. Begin with a soil test kit measuring pH (target 6.0-7.0 for optimal compaction), cation exchange capacity, and drainage rate. Procure crushed stone or pea gravel (3/4-inch diameter) at 2 cubic yards per 100 square feet for the base layer. Use coarse sand (0.5-2mm grain size) for leveling adjustments. Landscape fabric (3-ounce polypropylene minimum) prevents soil migration into gravel. Acquire pressure-treated 4×4 lumber or concrete deck blocks rated for 1,800 pounds each as foundation elements.
For soil amendment in perimeter zones, apply a balanced organic fertilizer at 4-4-4 NPK ratio to establish vegetation that stabilizes edges. Incorporate dolomitic limestone at 5 pounds per 100 square feet if pH falls below 5.8. Keep a hand tamper (8×8-inch plate minimum) and a 48-inch builder's level for compaction verification. A plate compactor rental ensures proper base density, achieving 95% standard Proctor density in granular fill.
Timing
Execute site preparation during dry seasons when soil moisture content permits effective compaction. In USDA Hardiness Zones 5-7, late summer through early autumn (August through October) offers firm ground and minimal precipitation interference. Zones 8-9 permit winter preparation from November through February, avoiding summer heat that complicates manual labor.
Avoid ground preparation within four weeks of the first predicted frost date. Frozen subsoil prevents proper drainage system installation. In regions with spring thaw cycles, wait until soil temperature at 6-inch depth stabilizes above 45°F. This temperature threshold ensures mycorrhizal fungi activity in perimeter plantings and prevents frost heave during the first winter.
Phases

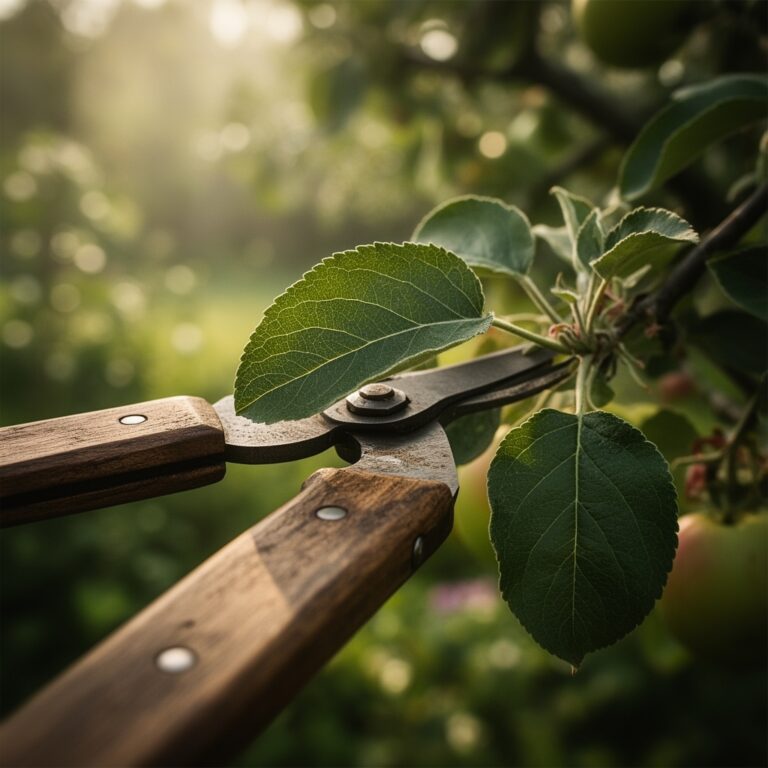
Site Clearing and Layout
Remove all vegetation within the footprint plus 24 inches on all sides. Extract roots to 8-inch depth to prevent regrowth under the foundation. Mark corners with stakes and run mason's line to establish square (verify with 3-4-5 triangle method). Excavate topsoil to 6-inch depth across the entire footprint. Slope excavation at 2% grade (1/4 inch per foot) away from the center point for water dispersal.
Pro-Tip: Apply glyphosate at 2% solution to persistent perennial roots (quackgrass, bindweed) seven days before excavation to ensure complete kill. This prevents auxin-driven regrowth that can crack concrete pads.
Base Installation and Compaction
Spread landscape fabric across excavated area with 6-inch overlaps. Pour crushed stone to 4-inch depth, rake level, then compact in 2-inch lifts. Each lift requires three passes with a plate compactor at 3,000-pound centrifugal force minimum. Test compaction by walking the surface; properly compacted base shows zero footprints and minimal deflection.
Add a second 2-inch layer of pea gravel for fine leveling. Check grade with a 48-inch level in eight directions from center. Variation must not exceed 1/4 inch across the entire span. Position concrete deck blocks or timber skids at 48-inch intervals, ensuring each bears on compacted gravel, not soil.
Pro-Tip: Inoculate perimeter soil with endomycorrhizal fungi (Glomus species) at 1 ounce per 10 square feet before replanting edges. This improves water infiltration and stabilizes soil structure through hyphal networks.
Perimeter Stabilization
Backfill excavated perimeter zones with native soil amended to pH 6.5. Incorporate compost at 2 inches depth to improve cation exchange capacity. Seed with low-growing fescue blend (Festuca rubra) at 6 pounds per 1,000 square feet or plant creeping thyme (Thymus serpyllum) at 12-inch spacing. Water establishment zones at 1 inch per week for six weeks.
Install French drain if site lies in depression or clay content exceeds 40%. Dig trench 18 inches deep along uphill side, line with fabric, fill with 1.5-inch drain rock, and cap with perforated pipe sloped at 1% grade to daylight.
Pro-Tip: Cut grass at 3-inch height around completed shed to reduce moisture reflection onto siding and discourage rodent nesting.
Troubleshooting
Symptom: Ponding Water After Rain
Solution: Inadequate base slope or compaction failure. Re-excavate low spots, add gravel, and re-compact. Verify 2% minimum grade.
Symptom: Foundation Settling on One Corner
Solution: Point load exceeded soil bearing capacity. Excavate beneath block, expand footing area by 50%, add 6 inches of compacted gravel, reposition block.
Symptom: Vegetation Growth Through Gravel
Solution: Landscape fabric failure or seed infiltration. Apply pre-emergent herbicide (pendimethalin at 2 pounds active ingredient per acre) in early spring. Replace fabric if torn.
Symptom: Frost Heave Lifting Blocks
Solution: Base installed above frost line. Excavate to local frost depth (check county extension data), typically 36-48 inches in Zones 4-5, and install gravel base from that depth.
Maintenance
Inspect base level every six months using a 48-inch spirit level. Adjust blocks or shims if deviation exceeds 1/4 inch. Rake and redistribute gravel annually to fill depressions. Remove leaf litter within 3 feet of shed perimeter to prevent moisture accumulation.
Apply pre-emergent herbicide at 2 pounds per acre in March and September. Water perimeter plantings at 1 inch per week during establishment year, then reduce to supplemental irrigation during droughts exceeding 14 days.
Clean gutters and verify downspouts discharge at least 6 feet from foundation. Re-seed bare perimeter patches in spring using 6 pounds of fescue per 1,000 square feet.
FAQ
How deep should the gravel base extend?
Minimum 4 inches of compacted crushed stone, with an additional 2 inches of pea gravel for leveling. Total depth of 6 inches provides adequate load distribution and drainage.
Can I skip landscape fabric?
No. Fabric prevents soil migration into gravel voids, which causes base settling. Use minimum 3-ounce polypropylene rated for ground contact.
What if my site slopes more than 5%?
Build a retaining wall on the downhill side or create a terraced pad. Gravel alone cannot stabilize slopes exceeding 5% grade without lateral containment.
How soon can I install the shed?
Immediately after final compaction verification if using gravel base with blocks. Wait 28 days if pouring concrete pad to allow full curing.
Do I need a permit?
Check municipal codes. Structures under 120 square feet often exempt, but setback requirements and frost-depth foundations may mandate permits regardless of size.