9 Steps to Prepare a Kitchen Hydroponic Kit
Preparing a hydroponic starter kit for the kitchen means creating an environment where roots suspend in nutrient-enriched water rather than soil, eliminating the mess of traditional potting while accelerating growth by up to 30 percent. The scent of basil grown this way carries a sharper, almost peppery note because the plant devotes less energy to root foraging and more to essential oil synthesis. When you assemble your first system on a countertop, the gentle hum of the air pump and the crystalline clarity of the solution signal a shift from passive gardening to active nutrient management. This guide outlines nine precise steps, from selecting reservoir materials to calibrating electrical conductivity, ensuring your first harvest arrives within four to six weeks.
Materials
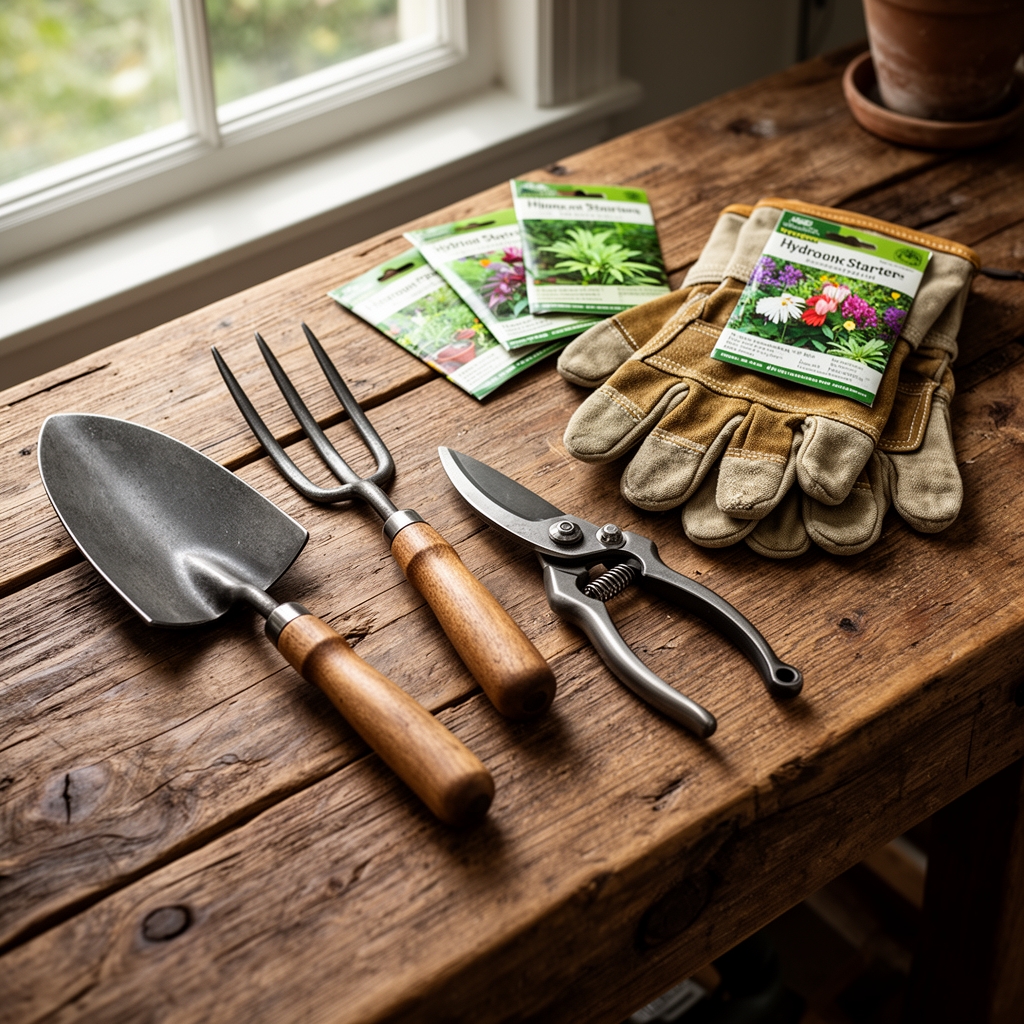
Begin with a food-grade reservoir measuring at least 5 gallons to buffer pH swings. Opaque plastic prevents algae colonization by blocking photosynthesis. Select a water-soluble hydroponic fertilizer with an NPK ratio of 7-9-5 for leafy greens or 4-18-38 for fruiting crops like cherry tomatoes. These ratios deliver nitrogen for chlorophyll, phosphorus for root development, and potassium for osmotic regulation. Add calcium nitrate and magnesium sulfate as separate supplements to prevent nutrient lockout.
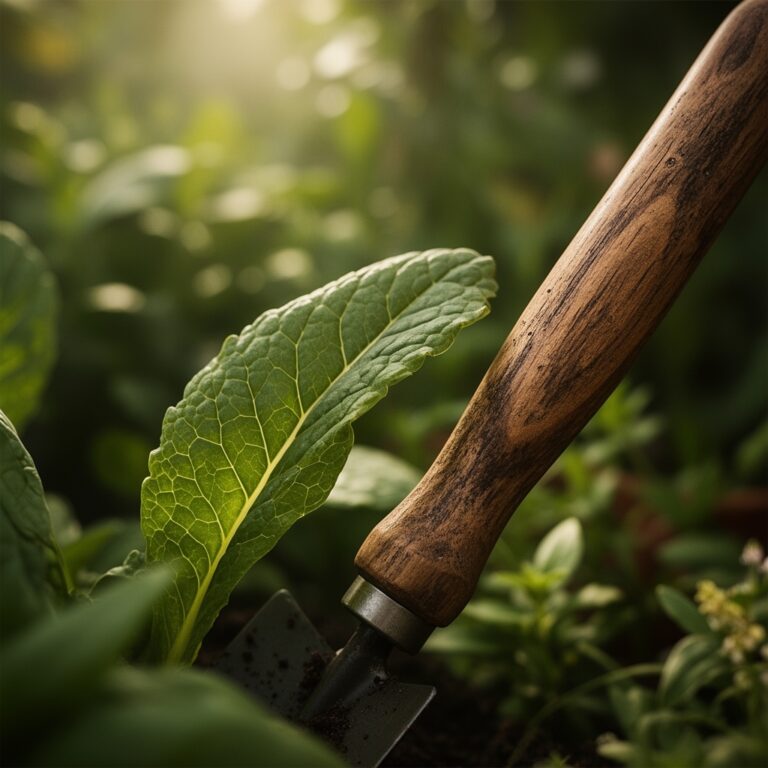
Acquire net pots measuring 2 to 3 inches in diameter, along with expanded clay aggregate or rockwool cubes as inert growing media. These materials provide physical support without altering pH or cation exchange capacity. An air pump rated for aquariums, paired with an air stone, ensures dissolved oxygen levels remain above 6 mg/L to prevent root hypoxia. A pH test kit with a range of 5.5 to 7.0 and an electrical conductivity meter calibrated in millisiemens are non-negotiable. Purchase seedlings or pelleted seeds for uniform germination, focusing on fast-maturing varieties like butterhead lettuce or curly parsley.
Timing
Hydroponic systems sidestep hardiness zones because indoor temperatures remain stable. Position the kit near a south-facing window or install full-spectrum LED grow lights emitting 200 to 400 micromoles per square meter per second. Begin setup in late winter or early spring when outdoor gardens remain dormant, giving you a head start on fresh produce. Seedlings transplant into net pots 10 to 14 days after germination, when the first true leaves emerge. This timing ensures the root system has developed enough to anchor in the growing medium without transplant shock.
Phases
Sowing
Fill seed trays with pre-moistened rockwool cubes or peat pellets. Place one or two seeds per cube at a depth equal to twice the seed diameter. Maintain ambient temperature between 68 and 75 degrees Fahrenheit to trigger gibberellin activity, the hormone responsible for breaking seed dormancy. Cover trays with a humidity dome to sustain 80 percent relative humidity. Remove the dome once cotyledons unfold.
Pro-Tip: Soak rockwool cubes in pH-adjusted water at 5.5 for 30 minutes before sowing. This preconditioning neutralizes the medium's natural alkalinity.
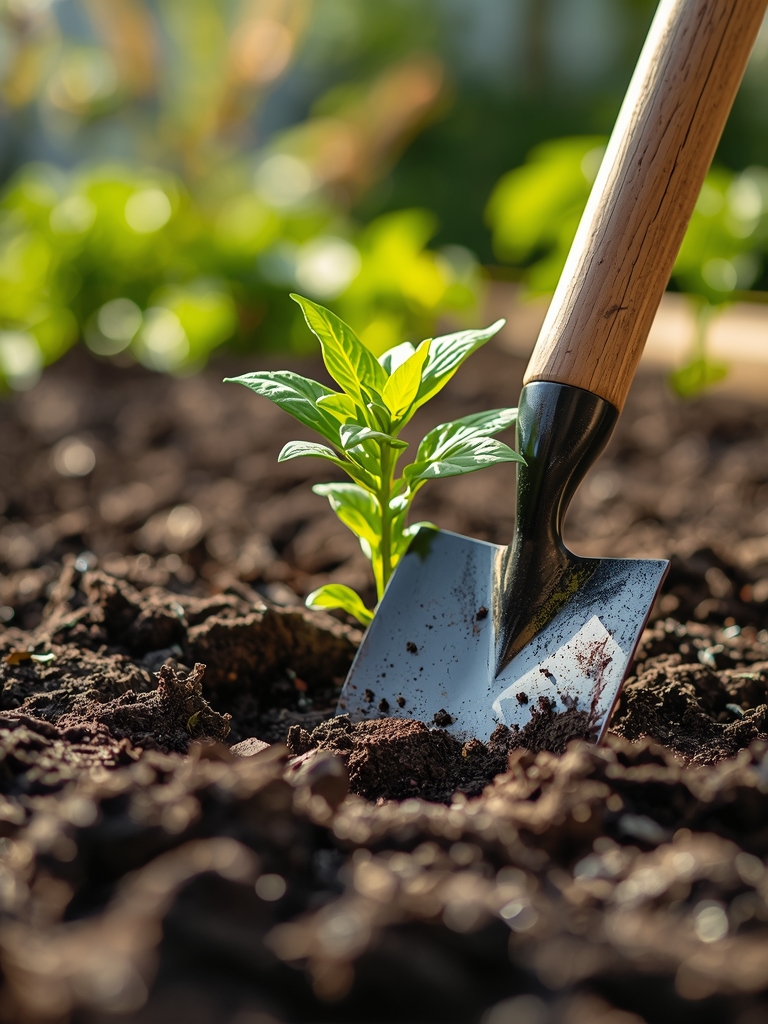
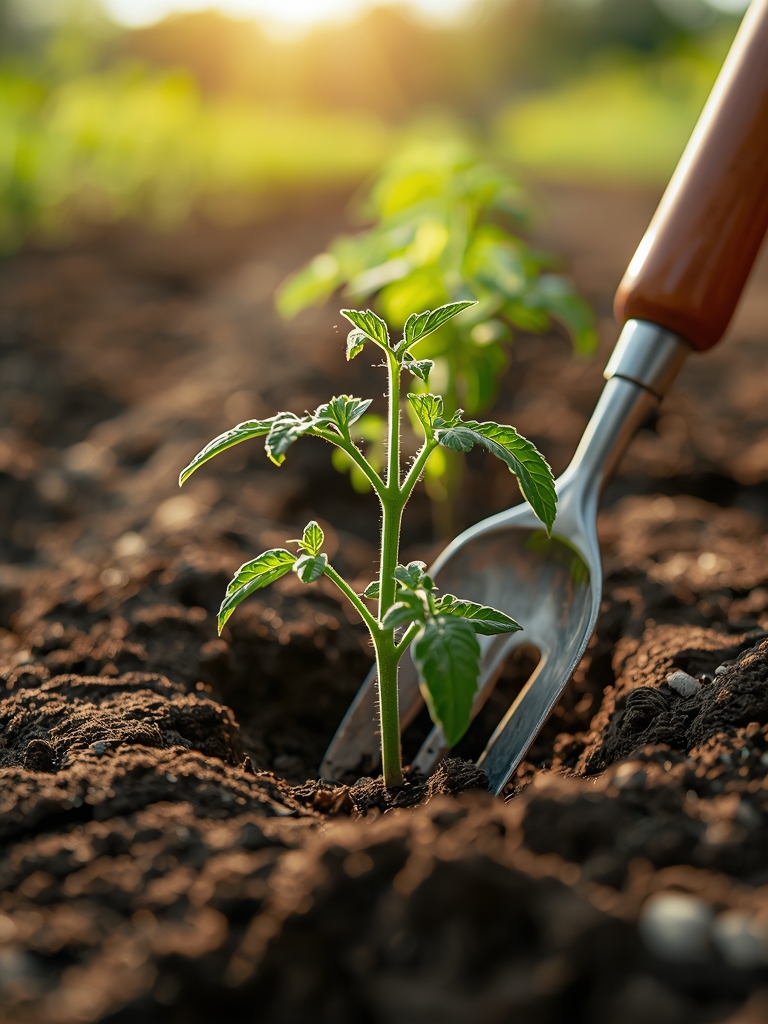
Transplanting
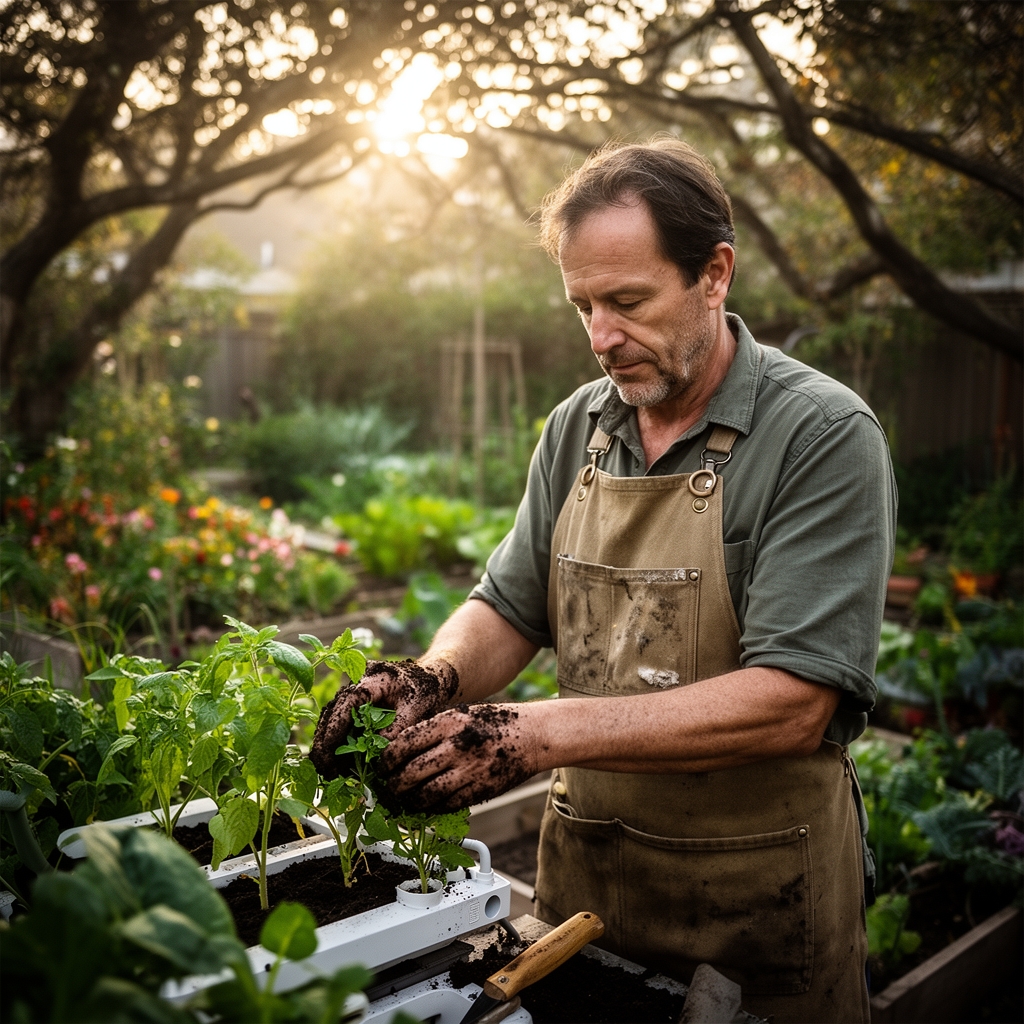
When seedlings display two sets of true leaves and roots protrude from the cube base, they are ready for hydroponic transfer. Gently rinse any residual soil from roots to prevent organic debris from fouling the reservoir. Insert each cube into a net pot, surrounding it with expanded clay to stabilize the plant. Lower the net pots into the reservoir lid, ensuring the bottom quarter of each cube contacts the nutrient solution. Capillary action will wick moisture upward while the air pump oxygenates the root zone.
Pro-Tip: Inoculate transplants with Trichoderma harzianum, a beneficial fungus that colonizes root surfaces and outcompetes pathogenic organisms. Mix 1 gram per gallon of reservoir water.
Establishing
Monitor the nutrient solution daily. Target pH should rest between 5.8 and 6.2 for optimal nutrient availability. Adjust with phosphoric acid to lower or potassium hydroxide to raise. Electrical conductivity for leafy greens should measure 1.2 to 1.8 mS/cm; fruiting crops require 2.0 to 2.5 mS/cm. Top off the reservoir every two to three days with pH-adjusted water to compensate for evapotranspiration.
Pro-Tip: Prune lateral shoots at a 45-degree angle using sterilized shears. This angle maximizes surface area for auxin distribution, promoting bushier growth.
Troubleshooting
Symptom: Yellowing lower leaves with green veins.
Solution: Nitrogen deficiency. Increase base fertilizer concentration by 10 percent and verify pH remains below 6.5 to prevent nitrate lockout.
Symptom: Brown, crispy leaf tips.
Solution: Nutrient burn from excessive electrical conductivity. Dilute the reservoir with 20 percent fresh water and recheck EC levels within 24 hours.
Symptom: Slimy, discolored roots emitting a foul odor.
Solution: Pythium root rot caused by low dissolved oxygen. Boost air pump output, reduce water temperature to 65 degrees, and add 3 percent hydrogen peroxide at 10 mL per gallon.
Symptom: White, powdery coating on leaves.
Solution: Powdery mildew from poor air circulation. Increase ventilation and apply a 1:9 milk-to-water foliar spray every five days.
Maintenance
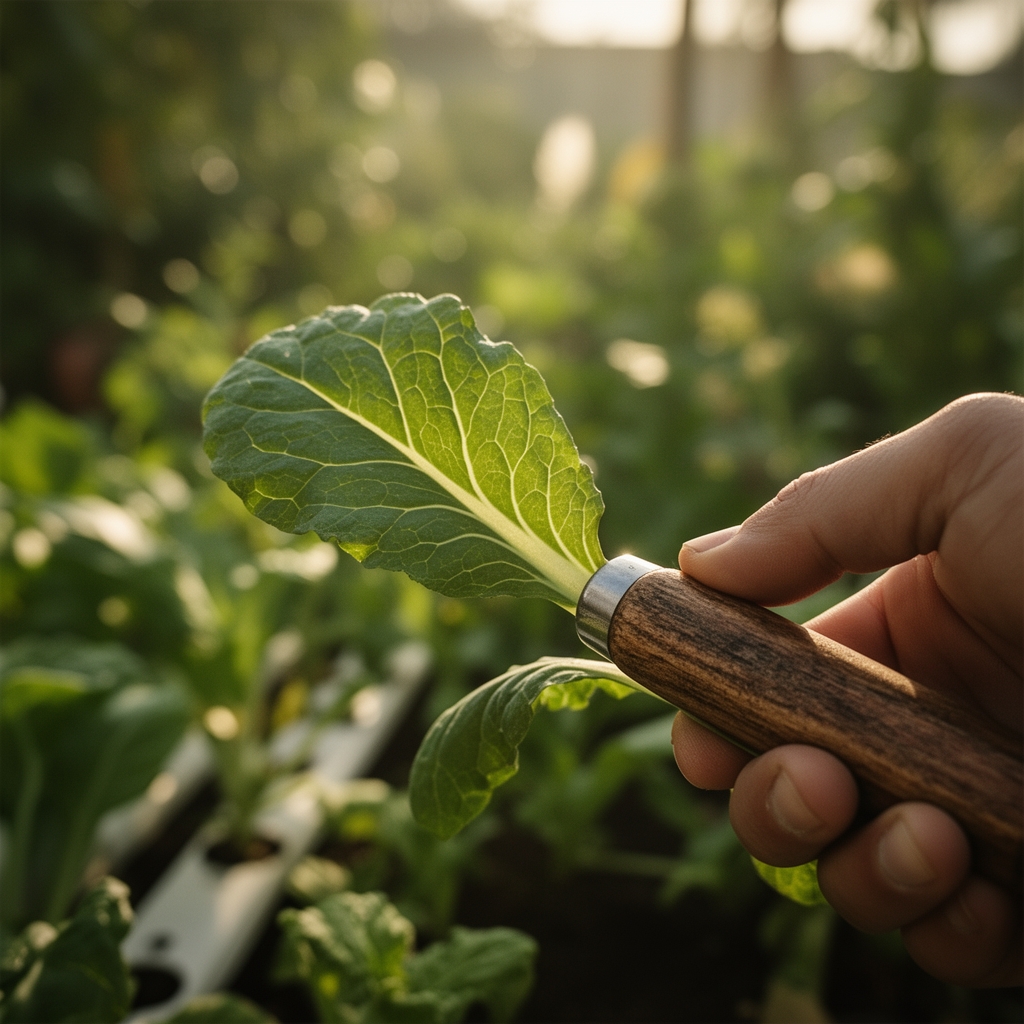
Replace the entire nutrient solution every 14 days to prevent salt accumulation and pathogen buildup. Wipe reservoir interiors with diluted bleach solution (1 tablespoon per gallon of water) during each change. Harvest leafy greens by removing outer leaves first, allowing the central meristem to produce new growth. This cut-and-come-again method extends productivity for eight to twelve weeks.
Feed plants 16 hours of light daily, followed by 8 hours of darkness to regulate circadian rhythms. Inspect roots weekly for color and texture; healthy roots appear white or cream-colored with firm consistency.
FAQ
How often should I check pH?
Daily for the first two weeks, then every other day once the system stabilizes.
Can I grow root vegetables hydroponically?
Yes, but deep-water culture suits carrots and radishes better than net-pot systems.
What causes algae in the reservoir?
Light exposure. Cover all openings with opaque tape or lids.
Is tap water acceptable?
If total dissolved solids measure below 150 ppm. Otherwise, use reverse-osmosis filtered water.
How long do seedlings take to mature?
Lettuce and herbs mature in 28 to 35 days; tomatoes require 60 to 70 days from transplant.