9 Steps to Propagate Snake Plants from Leaf Cuttings: Prep and Tools
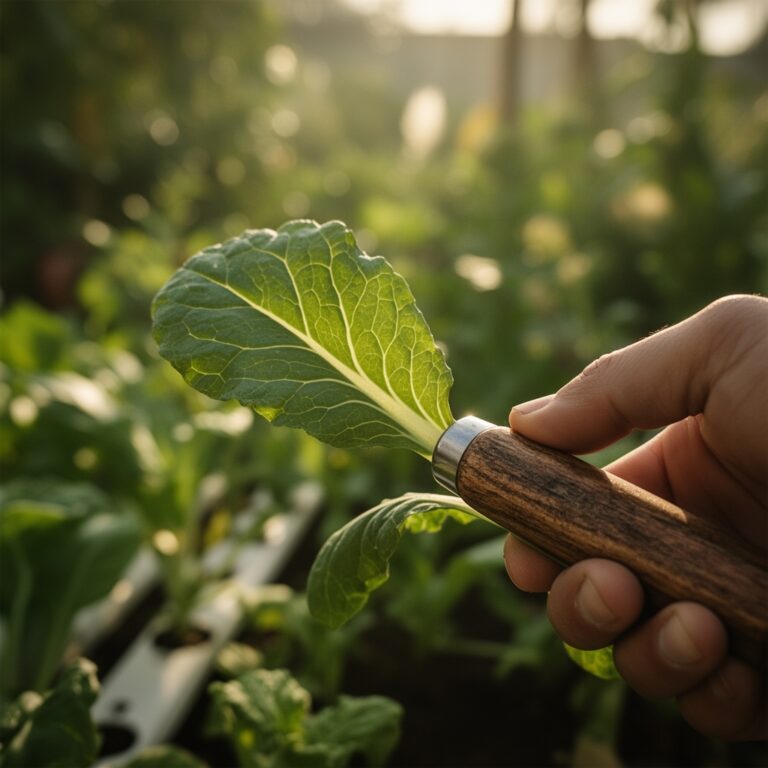
The scent of freshly cut Sansevieria leaves carries a faint, grassy sweetness that mingles with the earthiness of well-draining potting mix. When you slice through a snake plant leaf, the thick, succulent flesh reveals a pale green interior striped with tiny fibers. This tactile experience marks the beginning of one of the most reliable propagation methods for indoor gardeners. Learning the steps to propagate snake plants from leaf cuttings transforms a single mature plant into dozens of offspring with minimal investment and maximum success.
Snake plants (Sansevieria trifasciata, now reclassified as Dracaena trifasciata) tolerate neglect better than most houseplants, but their propagation requires attention to detail. The process takes patience, typically 6 to 8 weeks before root development becomes visible. Understanding proper preparation and tool selection dramatically increases your success rate and prevents the bacterial rot that plagues hasty cuttings.
Materials & Supplies
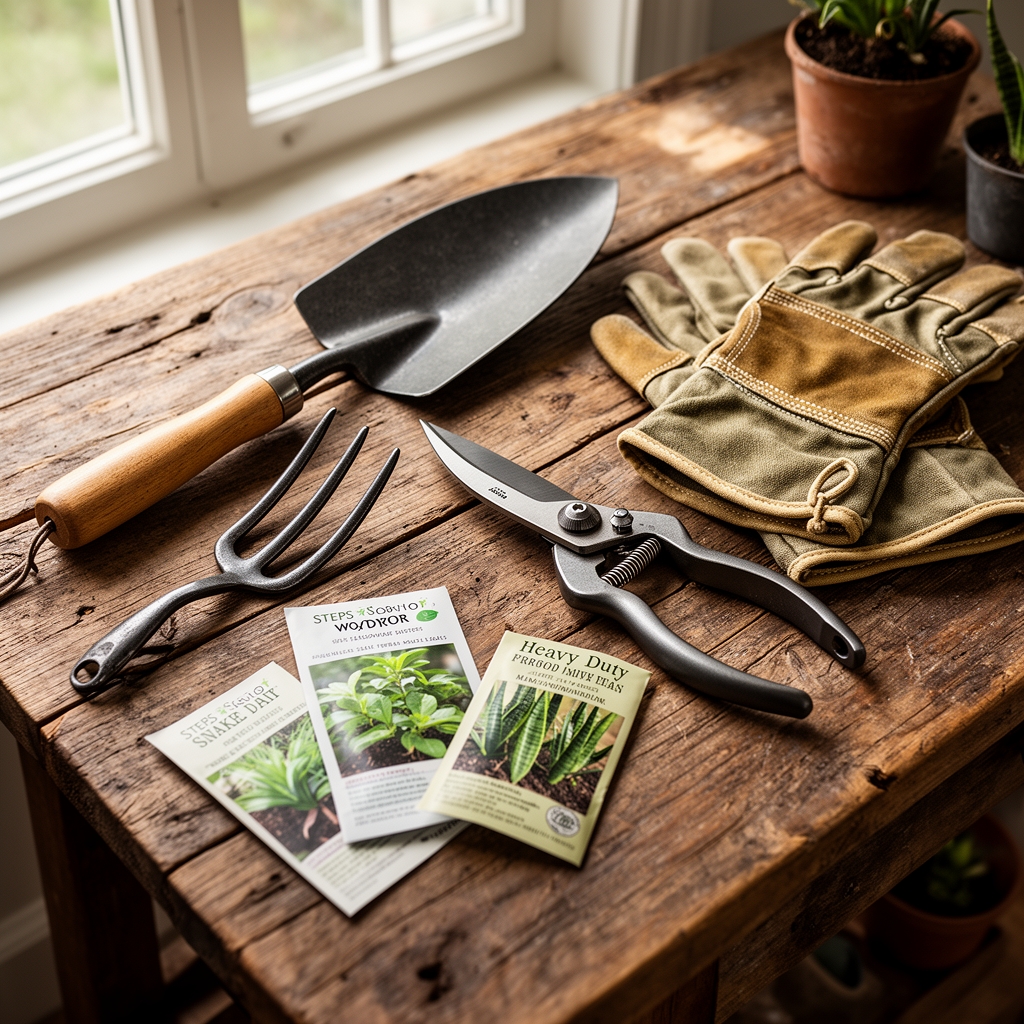
Cutting Tools
Sharp, sterile pruning shears or a razor blade ensure clean cuts without tissue crushing. Sterilize blades with 70% isopropyl alcohol between each cut to prevent pathogen transfer. Dull blades create ragged edges that invite fungal colonization.
Growing Medium
Prepare a soilless mix with these ratios: 50% perlite, 30% coarse sand, and 20% peat moss or coconut coir. Target a pH range of 5.5 to 7.0 for optimal root development. Avoid standard potting soil, which retains excessive moisture and causes rot. The mixture should feel gritty between your fingers and drain water within 10 seconds of saturation.
Containers
Select 3-inch plastic nursery pots with multiple drainage holes. Terracotta pots work excellently due to their porous nature, which wicks excess moisture from the substrate. Avoid decorative containers without drainage.
Rooting Hormone (Optional)
Choose a powder formulation containing 0.1% indole-3-butyric acid (IBA). While snake plants root without supplementation, hormone application reduces rooting time by approximately 2 weeks.
Fertilizer
After root establishment, apply a balanced liquid fertilizer with an NPK ratio of 10-10-10 diluted to one-quarter strength. Snake plants require minimal feeding, roughly once every 6 to 8 weeks during active growth periods.
Environmental Controls
Maintain ambient temperatures between 70°F and 80°F. Place a thermometer near propagation containers to monitor fluctuations. Humidity levels should remain moderate, between 40% and 50%. Excessive humidity encourages bacterial soft rot.
Timing / Growing Schedule
Snake plants thrive in USDA Hardiness Zones 9 through 11 when grown outdoors, but most gardeners cultivate them as indoor specimens regardless of geographic location. As houseplants, they tolerate a wide temperature range but propagate most successfully during spring and summer when ambient warmth accelerates root development.
Optimal Propagation Window
Begin leaf cuttings between late March and early August. Cuttings taken during this period establish roots within 6 to 8 weeks. Fall and winter propagation extends rooting time to 10 to 14 weeks due to reduced metabolic activity in cooler temperatures.
Days to Maturity
From cutting to established plantlet ready for permanent potting: 60 to 90 days. The cutting develops callused tissue within 3 to 5 days, initiates root primordia between weeks 3 and 4, and produces visible roots by week 6. New shoot emergence occurs between weeks 8 and 12.
Light Requirements
Provide bright, indirect light for 8 to 10 hours daily. South-facing or west-facing windowsills work well if shielded by sheer curtains. Avoid direct sun exposure, which scorches cut surfaces before callus formation.
Step-by-Step Instructions

Step 1: Select Healthy Leaf Material
Choose a mature leaf at least 6 inches long without blemishes, yellowing, or pest damage. Mature leaves contain sufficient energy reserves to sustain root development. Inspect for thrips (tiny, elongated insects) or mealybugs (white, cottony clusters) before cutting.
Pro Tip: Select leaves from the outer perimeter of the plant. These are oldest and contain the highest concentration of stored carbohydrates needed for root initiation.
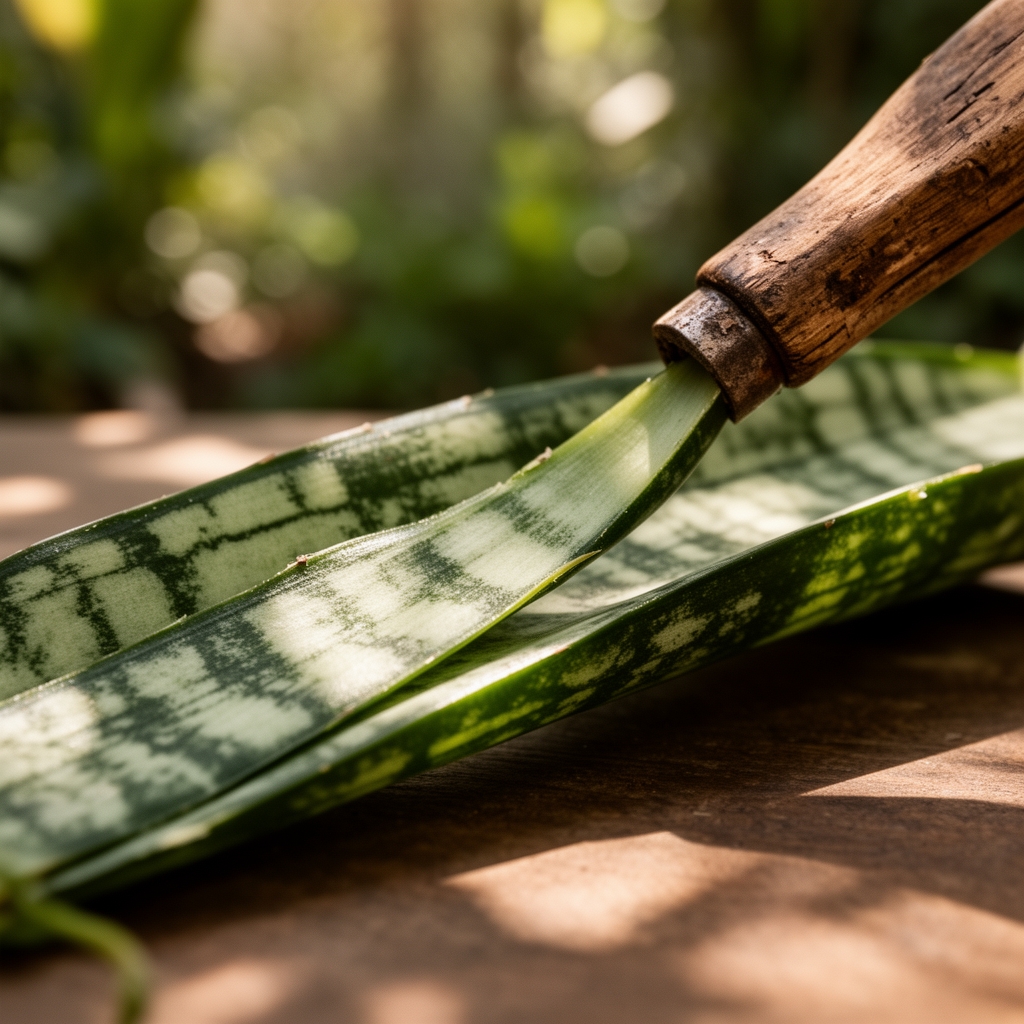
Step 2: Make Clean Cuts
Sterilize your blade, then cut the selected leaf at its base where it emerges from the soil. Create 3 to 4-inch segments from this leaf, making perpendicular cuts. Each segment becomes an individual cutting.
Pro Tip: Mark the bottom of each cutting with a pencil notch. Inverted cuttings fail to root because snake plants exhibit strong polarity in their vascular tissue.
Step 3: Allow Callus Formation
Place cuttings on a clean paper towel in a location with good air circulation. Leave them for 3 to 5 days until cut surfaces dry and form a tan, slightly hardened callus. This tissue barrier prevents bacterial entry.
Pro Tip: Accelerate callusing by positioning cuttings near a fan set to low speed. Air movement reduces surface moisture without desiccating leaf tissue.
Step 4: Prepare Growing Medium
Fill containers with pre-moistened propagation mix. The substrate should feel damp but not saturated. Squeeze a handful; only 1 to 2 drops of water should emerge. Pre-moistening prevents air pockets that cause desiccation.
Pro Tip: Add 5% by volume of horticultural charcoal to the mix. Charcoal absorbs excess salts and inhibits anaerobic bacteria that cause rot.
Step 5: Insert Cuttings
Dip the callused end (the bottom you marked) in rooting hormone powder if using. Insert the cutting 1 to 1.5 inches deep into the medium. Firm the substrate around the base to ensure contact without compacting it excessively.
Pro Tip: Insert cuttings at a 45-degree angle rather than vertically. Angled insertion increases the surface area for root emergence and improves stability.
Step 6: Position and Monitor
Place containers in bright, indirect light with temperatures between 70°F and 75°F. Water only when the top inch of substrate feels completely dry, typically every 10 to 14 days. Overwatering is the primary cause of cutting failure.
Pro Tip: Weight test your containers. Lift them weekly to learn the difference between dry and moist substrate by heft alone. Dry containers feel noticeably lighter.
Step 7: Check Root Development
After 4 weeks, gently tug on the cutting. Resistance indicates root formation. Alternatively, tip the container and examine drainage holes for emerging white roots. Avoid disturbing cuttings unnecessarily.
Pro Tip: Root tips appear translucent white with a slightly mucilaginous coating. This coating contains mycorrhizal associations that enhance nutrient uptake once established.
Step 8: Observe Shoot Emergence
New growth appears as a pointed, cylindrical shoot emerging from the substrate near the cutting base, not from the cutting itself. This shoot represents the new plant. The original cutting serves only as an energy source and eventually withers.
Pro Tip: Once the new shoot reaches 2 inches tall, reduce watering frequency by 20%. This encourages deeper root penetration and prevents the shallow root systems common in overwatered propagations.
Step 9: Transition to Permanent Containers
When the new shoot reaches 4 to 5 inches and the root system fills the propagation container (visible through drainage holes), transplant to a permanent 4 to 6-inch pot. Use a standard cactus and succulent mix with added perlite (70% cactus mix, 30% perlite).
Pro Tip: Water the propagation container thoroughly 2 hours before transplanting. Moist roots suffer less transplant shock than dry or saturated roots.
Nutritional & Environmental Benefits
Snake plants function as CAM (Crassulacean Acid Metabolism) photosynthesizers, opening stomata at night to absorb carbon dioxide while minimizing water loss. This process continues oxygen production during darkness, improving indoor air quality more effectively than typical C3 plants.
Air Purification Data
According to NASA Clean Air Study research, snake plants remove formaldehyde, benzene, trichloroethylene, xylene, and toluene from indoor environments. A single mature plant treats approximately 100 square feet of living space.
Mineral Accumulation
Snake plant tissues concentrate calcium and potassium in their leaves. When spent leaves decompose in compost, they release these minerals slowly, improving soil structure and cation exchange capacity over multiple growing seasons.
Ecosystem Support
While snake plants rarely flower indoors, outdoor specimens in warm climates produce fragrant, tubular blooms that attract nocturnal pollinators including hawk moths (Sphingidae family). These specialist pollinators support broader ecosystem health by servicing other night-blooming plants in the area.
Advanced Methods
Small Space Optimization
Propagate in clear plastic cups instead of standard pots to monitor root development without disturbance. Drill 4 drainage holes in the cup bottom using a heated nail. This method conserves windowsill space and allows simultaneous monitoring of multiple cuttings.
Stack cups in shallow trays lined with pebbles. Water trays rather than individual cups, allowing capillary action to moisten substrate from below. This bottom-watering technique prevents overwatering and reduces fungal gnats (Bradysia species).
Organic and Permaculture Approaches
Replace synthetic rooting hormones with willow water, a natural source of salicylic acid. Collect young willow branches (Salix species), cut them into 1-inch pieces, and steep in water for 24 hours. Soak cutting bases in this solution for 8 hours before insertion.
Incorporate vermicompost at 10% by volume into the propagation medium. Worm castings introduce beneficial microbes including Trichoderma species, which colonize roots and provide protection against pathogenic fungi.
Season Extension Techniques
During winter propagation, use a seedling heat mat set to 75°F to maintain substrate temperature. Place a thermometer probe directly in the growing medium to verify accurate heating. Cold substrates below 65°F halt root development entirely.
Supplement natural light with a full-spectrum LED grow light positioned 12 inches above cuttings. Provide 14 hours of light daily. This extended photoperiod compensates for winter's reduced light intensity and shorter days.
Troubleshooting
Symptom: Cutting Base Turns Mushy and Brown Within 1 to 2 Weeks
Solution: This indicates bacterial soft rot caused by insufficient callus formation or waterlogged substrate. Remove the affected cutting immediately. For remaining cuttings, reduce watering frequency to every 14 to 18 days. Ensure the propagation medium contains at least 50% perlite or coarse sand to improve drainage. Future cuttings require 5 to 7 days of callus formation rather than 3 days.
Symptom: Cutting Remains Firm But No Roots After 10 Weeks
Solution: Low temperatures or insufficient light slow root development dramatically. Verify substrate temperature using a soil thermometer. If below 68°F, apply bottom heat with a heat mat. Move cuttings to a brighter location receiving 10 to 12 hours of indirect light. In extreme cases, remove the cutting, recut the base to expose fresh tissue, allow 3 days of recallusing, and reinsert.
Symptom: Leaves Develop Brown, Papery Tips
Solution: Fluoride toxicity from tap water causes tip burn in Dracaena species. Switch to distilled water, rainwater, or reverse osmosis water for all watering. Alternatively, fill watering containers 24 hours in advance, allowing fluoride and chlorine to dissipate through evaporation. Trim damaged tips with sterilized scissors to improve appearance.
Symptom: White, Crusty Deposits on Substrate Surface
Solution: Salt accumulation from fertilizer or hard water minerals. Flush containers with distilled water equal to twice the pot volume, allowing complete drainage between flushes. This leaches excess salts below the root zone. Reduce fertilizer concentration to one-eighth strength and apply only every 8 to 10 weeks. Use calcium-free water sources.
Symptom: Cutting Produces Roots But No New Shoot After 12 Weeks
Solution: The cutting may be inverted or the apical meristem damaged during cutting. Polarity issues prevent shoot formation. If you marked the bottom correctly, examine the cutting base for signs of meristem tissue (a small, raised bump). If absent, the section lacks regenerative capacity. Start fresh cuttings from different leaf sections, ensuring each contains adequate tissue length (minimum 3 inches).
Storage & Maintenance
Watering Protocol
Established snake plant propagations require water only when the substrate dries completely to a depth of 2 inches. Check moisture by inserting a wooden skewer or your finger into the medium. Water thoroughly until liquid drains from the bottom, then allow complete drainage.
In typical indoor conditions, this translates to watering every 14 to 21 days during active growth (spring and summer) and every 28 to 35 days during dormancy (fall and winter). Container size, humidity, and temperature alter these frequencies. Always prioritize dryness over scheduled watering.
Feeding Schedule
Begin fertilizing 8 weeks after root emergence when the new shoot reaches 3 inches tall. Apply liquid fertilizer with a balanced NPK ratio of 10-10-10 or a succulent-specific formula like 2-7-7 diluted to one-quarter strength. Feed once every 6 to 8 weeks from March through September. Withhold fertilizer completely from October through February.
Long-Term Care
Rotate containers 90 degrees weekly to ensure even light exposure and symmetrical growth. Snake plants exhibit phototropism, bending toward light sources. Rotation prevents leaning.
Repot young plants annually in spring, increasing container size by 1 to 2 inches in diameter. Mature plants tolerate mild rootbinding and may remain in the same container for 3 to 5 years. Refresh the top 2 inches of substrate annually without full repotting.
Leaf Storage
Harvest additional leaves for propagation at any time during the growing season. Store uncut leaves in a cool (60°F to 65°F), dark location for up to 2 weeks before processing into cuttings. Wrap leaf bases in slightly damp paper towels to prevent desiccation, but keep blade surfaces dry to avoid fungal growth.
Conclusion
The steps to propagate snake plants from leaf cuttings reward patient gardeners with an expanding collection of resilient houseplants that purify air and tolerate diverse conditions. Master the techniques of proper callus formation, well-draining substrate composition, and restrained watering to achieve 90% or greater success rates. Your initial investment of a single healthy leaf generates decades of growth across multiple generations of plants. Share rooted cuttings with neighbors, participate in local plant swaps, or donate established plants to schools and community centers to spread both greenery and knowledge throughout your area.
Expert FAQs
How long do snake plant cuttings take to root in water versus soil?
Water propagation produces visible roots in 4 to 6 weeks, approximately 2 weeks faster than soil propagation. However, water-rooted cuttings experience significant transplant shock when moved to soil, often requiring 3 to 4 additional weeks to adapt. Soil propagation takes longer initially (6 to 8 weeks) but eliminates transition stress, resulting in faster overall establishment. Water roots develop thin, fragile structures adapted to aquatic conditions, while soil roots grow thicker and more resilient from the start.
Can I propagate variegated snake plants from leaf cuttings?
Leaf cuttings from variegated varieties (Sansevieria trifasciata 'Laurentii' with yellow margins or 'Moonshine' with silver-green coloration) revert to solid green offspring. Variegation in these cultivars exists only in meristematic tissue at the rhizome. Leaf tissue lacks these cells. To preserve variegation, propagate via rhizome division instead of leaf cuttings. Separate the plant at the root level, ensuring each division contains both roots and at least one variegated shoot.
Why does my snake plant cutting produce multiple shoots instead of one?
Multiple shoot emergence indicates that your cutting section contained multiple latent basal meristems. This occurs frequently in cuttings taken from the lower portion of mature leaves. Rather than a problem, this represents propagation success. Allow all shoots to reach 4 to 5 inches, then separate them during transplanting by gently teasing apart the root system. Pot each shoot individually for faster development.
What causes snake plant cuttings to rot specifically at the soil line?
Rot at the soil interface results from damping off, a fungal disease caused by Pythium or Rhizoctonia species. These pathogens thrive in constantly moist conditions at the substrate surface. Prevent damping off by top-dressing the propagation medium with a 0.25-inch layer of coarse sand or fine gravel. This barrier dries rapidly between waterings, creating an inhospitable environment for fungal spores while maintaining proper moisture at root depth.
Should I remove the original leaf cutting once the new shoot emerges?
Leave the original cutting in place until it withers naturally, typically 4 to 6 months after shoot emergence. The cutting continues supplying carbohydrates and nutrients to the developing plantlet throughout this period. Premature removal forces the young plant to rely entirely on its limited root system before it reaches sufficient size to sustain independent growth. Once the cutting turns brown and papery, gently twist it free or cut it at soil level.