9 Precision Tips to Use a Garden Knife
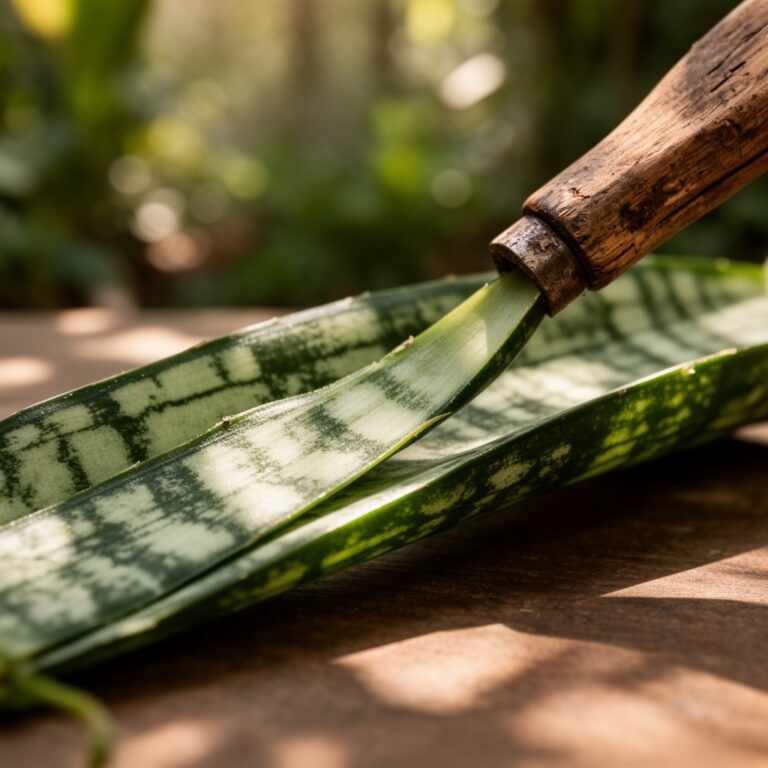
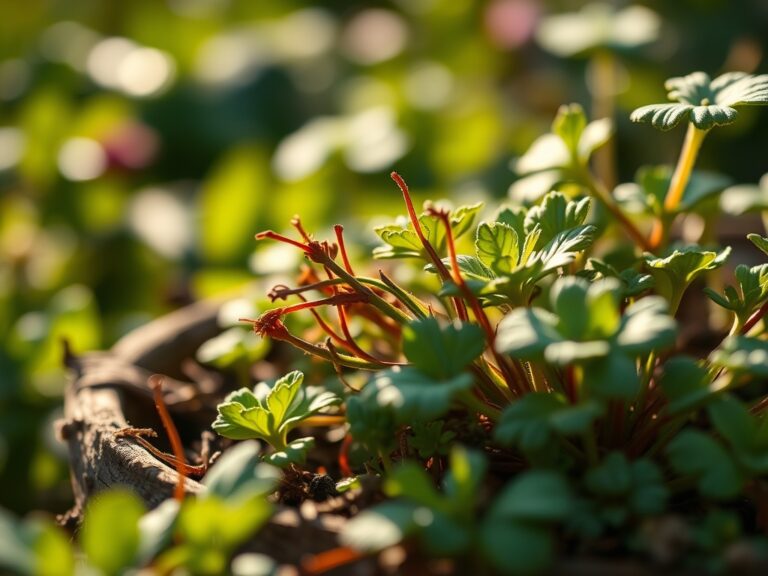
The scent of damp humus and the sound of a blade slicing through cellulose define a successful morning in the field. When the sun hits the dew, plant cells reach maximum turgor pressure; this internal water pressure makes the plant tissue crisp and resistant to tearing. Using a garden knife for vegetable harvesting at this peak moment ensures clean cuts that heal rapidly. A ragged edge is an invitation for fungal pathogens to colonize the vascular system. By contrast, a surgical incision allows the plant to seal the wound through rapid cell lignification. Whether you are severing a thick fibrous pumpkin vine or a delicate head of butterhead lettuce, the physics of the blade must work in tandem with the biology of the plant. Precision in the garden is not a luxury; it is a requirement for maintaining plant health and maximizing secondary yields throughout the growing season. A dull blade crushes the xylem and phloem, which are the essential nutrient transport systems. A sharp, sterile edge preserves the structural integrity of the remaining stalk.
Materials:

Vegetable health starts in the rhizosphere. For high-performance crops that require frequent harvesting, the substrate must be a **friable loam** with a **Soil Cation Exchange Capacity (CEC)** of at least **15 to 25 milliequivalents per 100 grams**. This capacity ensures that the soil can hold onto essential cations like calcium and magnesium. The ideal soil pH for most vegetable crops ranges from **6.2 to 6.8**, which optimizes the bioavailability of phosphorus.
Nutrient management requires specific NPK ratios based on the growth stage. During the vegetative phase, use a 10-5-5 ratio to encourage leaf and stem development. As the plant transitions to the reproductive stage, shift to a 5-10-10 ratio to support fruit set and root density. High nitrogen levels at the time of harvest can lead to increased nitrate accumulation in leafy greens; therefore, reduce nitrogen application 14 days prior to the primary harvest.
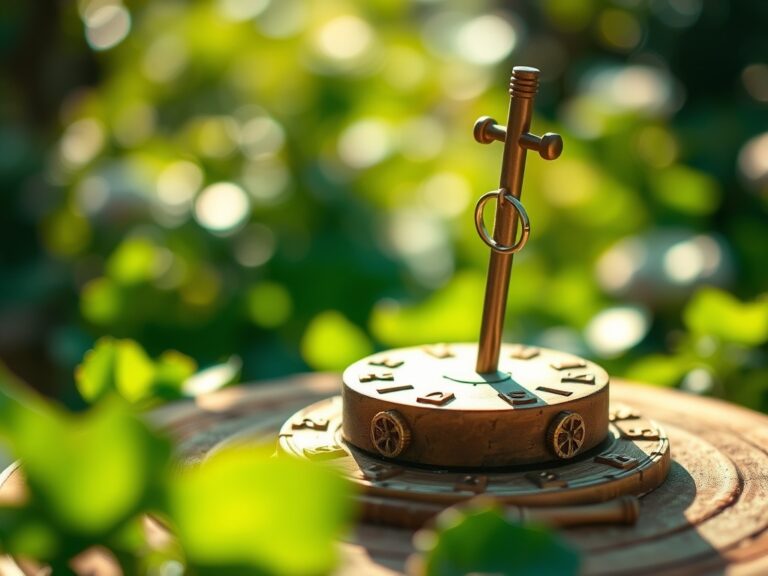
Timing:
The biological clock of a plant is governed by the photoperiod and accumulated growing degree days (GDD). In Hardiness Zones 5 through 7, the window for harvesting cool-season crops like brassicas and alliums closes as the soil temperature exceeds 75 degrees Fahrenheit. Once the plant moves from the vegetative stage to the reproductive stage, also known as bolting, the flavor profile changes as the plant diverts sugars to seed production.
Monitor your local frost dates with precision. For warm-season crops like Solanaceae, the harvest must be completed before the first frost, as temperatures below 32 degrees Fahrenheit cause ice crystals to form within the cell walls, leading to immediate cellular collapse. The best time for using a garden knife for vegetable harvesting is between 6:00 AM and 9:00 AM. During these hours, the plant has recovered from the previous day's transpiration stress and contains the highest concentration of moisture.
Phases:
Sowing and Germination
Success begins with seed depth and soil contact. For most medium-sized seeds, a depth of 0.5 inches is standard. Maintain a consistent soil temperature of 65 to 70 degrees Fahrenheit to ensure uniform germination across the bed.
Pro-Tip: Proper spacing prevents auxin suppression where crowded plants compete for light. When plants are too close, they produce elongated, weak stems as they search for a light source; this is a survival mechanism that sacrifices structural integrity for height.
Transplanting and Root Establishment
When moving seedlings to the field, minimize root disturbance to prevent transplant shock. Dig a hole twice the width of the root ball. Ensure the root crown is level with the soil surface to prevent stem rot.
Pro-Tip: Inoculate the planting hole with mycorrhizal fungi. This symbiotic relationship expands the surface area of the root system by up to 100 times, significantly increasing the plant's ability to uptake phosphorus and water during periods of drought.
Establishing and Growth Maintenance
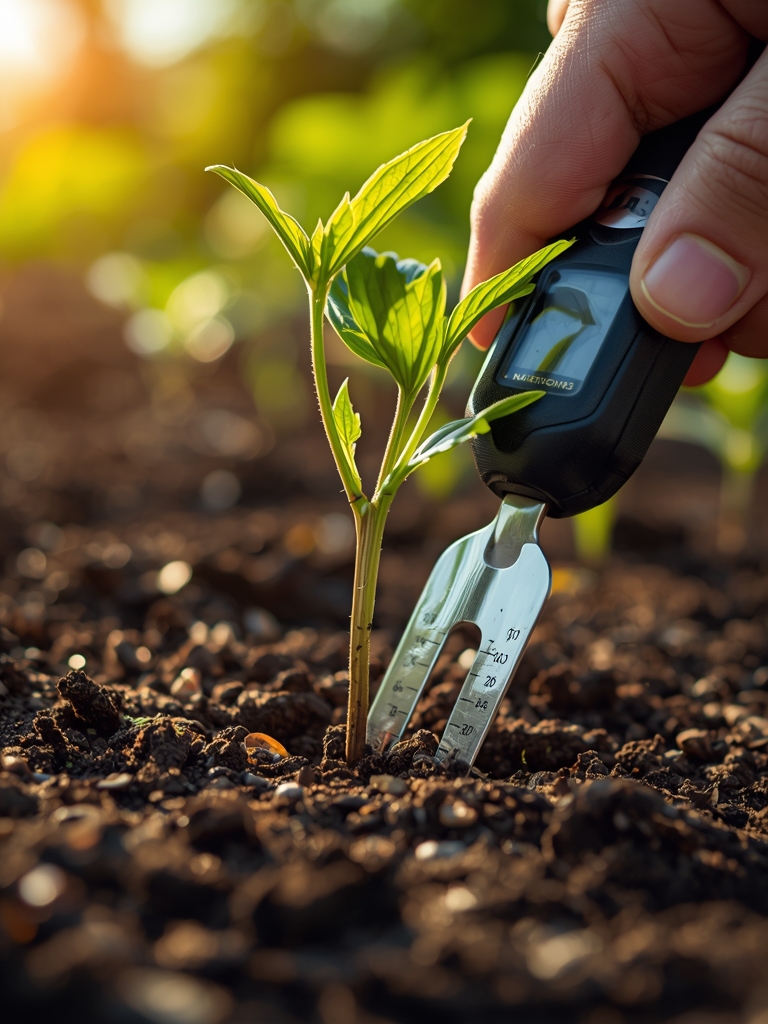
As the plant matures, focus on structural support and moisture consistency. Use a soil moisture meter to ensure the root zone remains at 60 percent to 80 percent of field capacity.
Pro-Tip: Prune lower "sucker" branches on indeterminate tomatoes to redirect energy to the terminal bud. This process utilizes apical dominance, where the plant concentrates growth hormones at the top, leading to larger fruit and better airflow at the base of the plant.
The Clinic:
Physiological disorders often mimic disease but are usually the result of environmental stress or nutrient imbalances.
Symptom: Blossom End Rot
This appears as a sunken, leathery black spot on the bottom of tomatoes or peppers.
Solution: This is caused by a calcium deficiency within the fruit tissue. It is often triggered by inconsistent watering rather than a lack of calcium in the soil.
Fix-It: Maintain consistent soil moisture and apply a foliar spray of calcium chloride if soil tests show low calcium levels.
Symptom: Interveinal Chlorosis
The veins of the leaf remain dark green while the tissue between them turns yellow.
Solution: This indicates a magnesium deficiency, common in acidic soils or those with high potassium levels.
Fix-It: Apply Epsom salts (magnesium sulfate) at a rate of 1 tablespoon per gallon of water as a soil drench.
Symptom: Nitrogen Chlorosis
The oldest leaves at the bottom of the plant turn a uniform pale yellow and eventually drop.
Solution: The plant is scavenging nitrogen from old growth to support new leaves.
Fix-It: Side-dress with a high-nitrogen organic fertilizer like blood meal or a 10-0-0 liquid fish emulsion.
Maintenance:
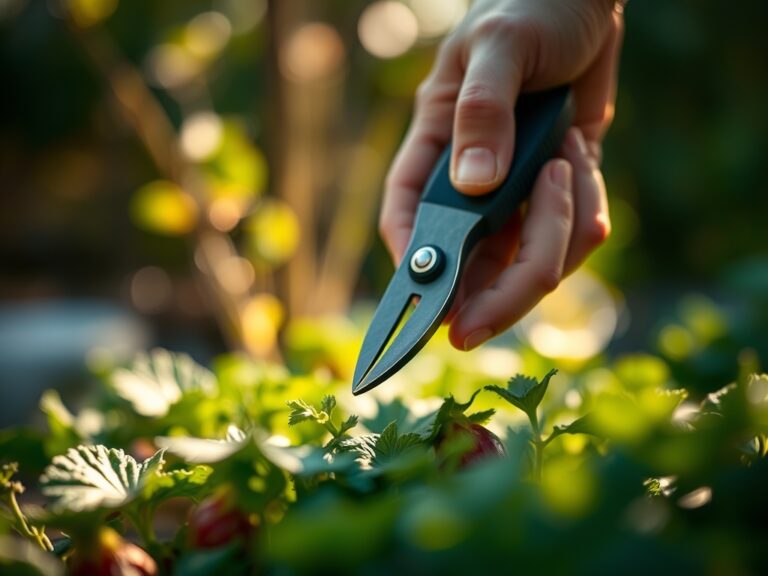
Precision maintenance requires a strict schedule. Provide exactly 1.5 inches of water per week at the drip line; do not water the foliage, as this encourages the spread of bacterial leaf spot. Use a hori-hori knife to remove deep-rooted perennial weeds that compete for nutrients. For woody stems, use bypass pruners to ensure a clean scissor-like cut rather than an anvil-style crush.
Sterilize your tools between every row using a 70 percent isopropyl alcohol solution. This prevents the mechanical transmission of viruses and soil-borne pathogens. Check the calibration of your soil moisture meter monthly by testing it in a bucket of saturated sand.
The Yield:
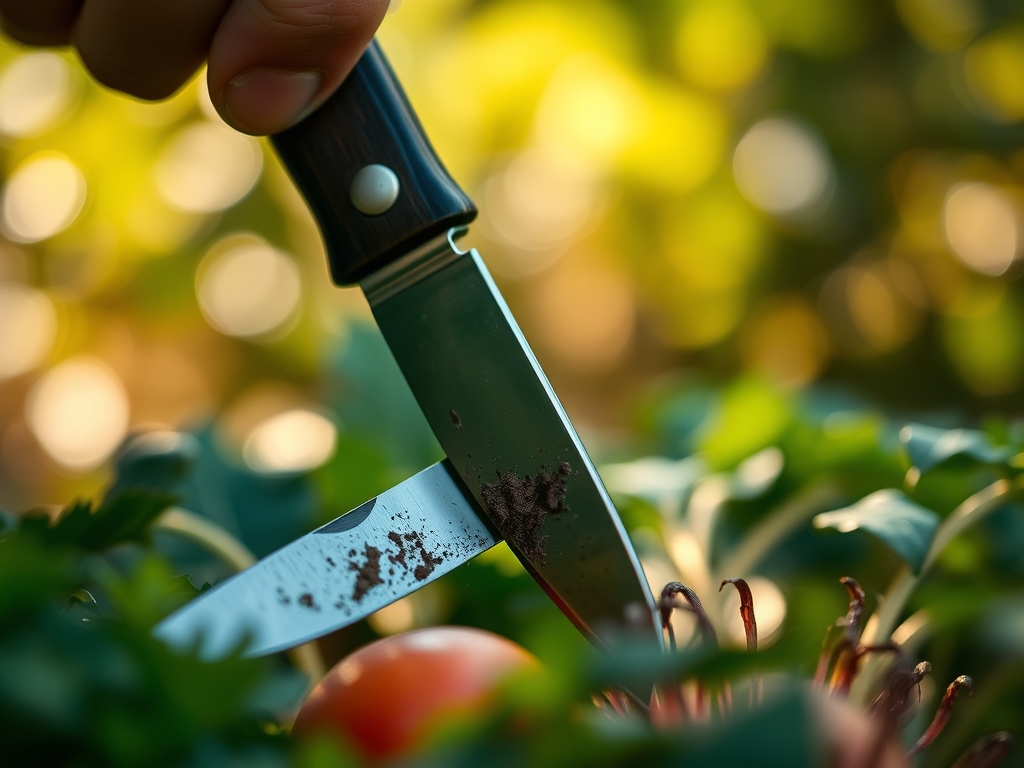
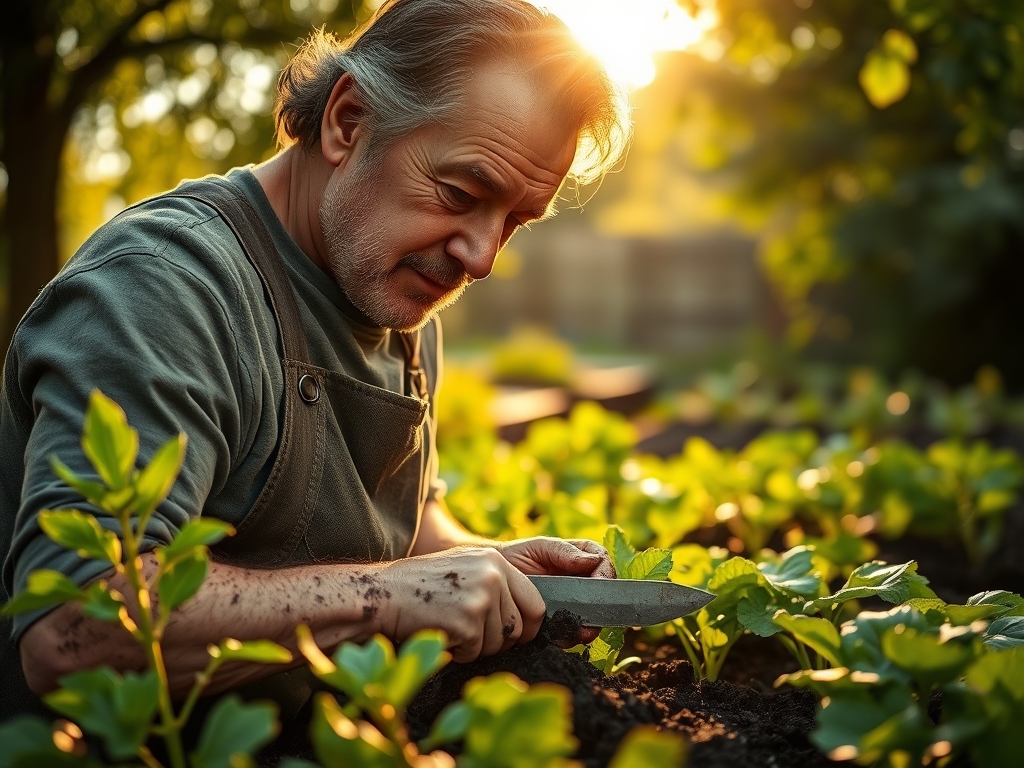
Harvesting is the most critical intervention in the plant's life cycle. When using a garden knife for vegetable harvesting, use a single, fluid motion. For head crops like cabbage or broccoli, cut at a 45-degree angle. This prevents water from pooling on the remaining stalk, which reduces the risk of rot.
For leafy greens, use the "cut and come again" method by removing only the outer leaves. This leaves the central apical meristem intact, allowing the plant to continue producing new foliage. Post-harvest, immediately submerge the vegetables in 40-degree Fahrenheit water. This "hydro-cooling" removes field heat and slows the rate of respiration, preserving the sugars and vitamins for day-one freshness.
FAQ:
How do I sharpen a garden knife properly?
Use a 400-grit whetstone at a 20-degree angle. Move the blade in a consistent circular motion until a burr forms. Flip and repeat. Finish with a 1000-grit stone for a polished, surgical edge that minimizes plant tissue trauma.
Why is my garden knife rusting so quickly?
Sap and soil moisture contain organic acids that corrode high-carbon steel. Clean the blade after every use with soap and water. Dry it completely and apply a thin coat of mineral oil to create a protective moisture barrier.
Can I use a serrated blade for harvesting?
Serrated blades are ideal for fibrous stalks like corn or sunflowers. However, for succulent vegetables like zucchini or lettuce, a straight-edge blade is superior. It creates a smoother surface area, which allows the plant to heal its vascular tissues faster.
How do I sanitize a knife after cutting diseased plants?
Soak the blade in a solution of one part bleach to nine parts water for 30 seconds. Alternatively, use a 70 percent ethanol wipe. This kills pathogens like tobacco mosaic virus or fusarium wilt before they spread to healthy specimens.