7 Best Minimalist Plant Clips for Indoor Vines
The scent of damp humic acid and the crisp snap of a leaf with high turgor pressure define a successful indoor grow space. Managing the structural integrity of climbing aroids requires more than just luck; it requires mechanical support that does not compromise the vascular system of the plant. Selecting the best plant clips involves balancing aesthetic minimalism with the physiological needs of the stem. A vine that is allowed to sprawl loses its vertical dominance and often produces smaller leaves due to a lack of perceived structural security. By securing nodes to a vertical plane, you simulate the natural climbing environment of the rainforest floor. This triggers a hormonal shift that encourages larger leaf morphology and stronger adventitious root development. Every clip must provide enough grip to resist gravity while allowing for the secondary thickening of the xylem and phloem as the plant matures.
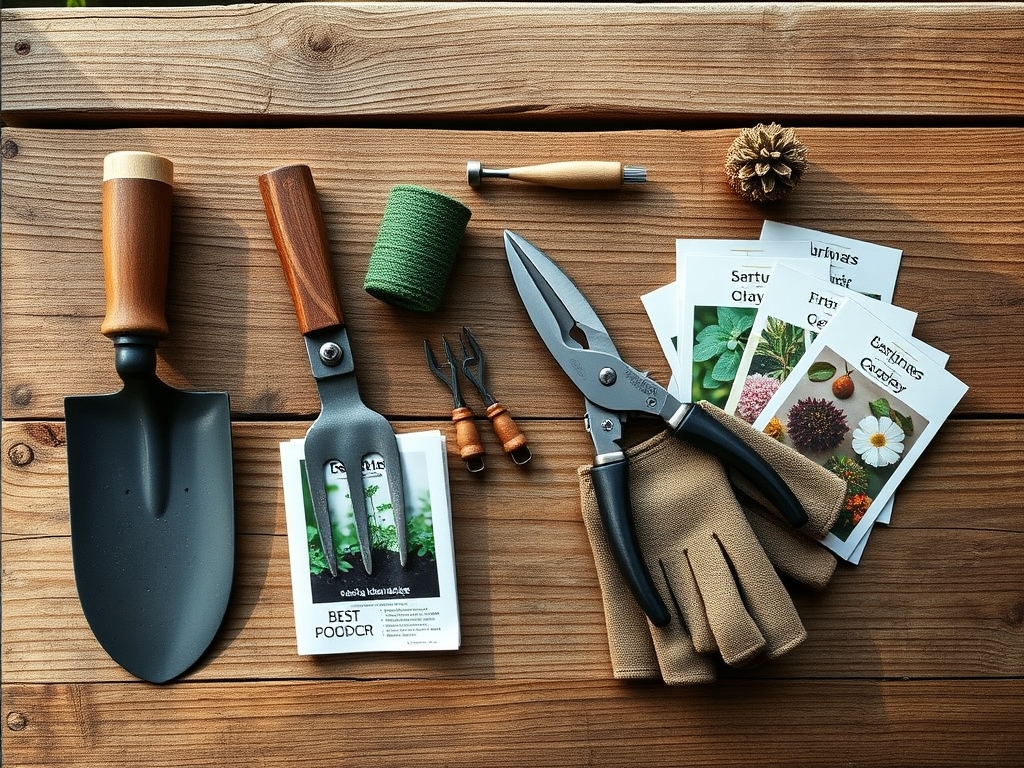
Materials:
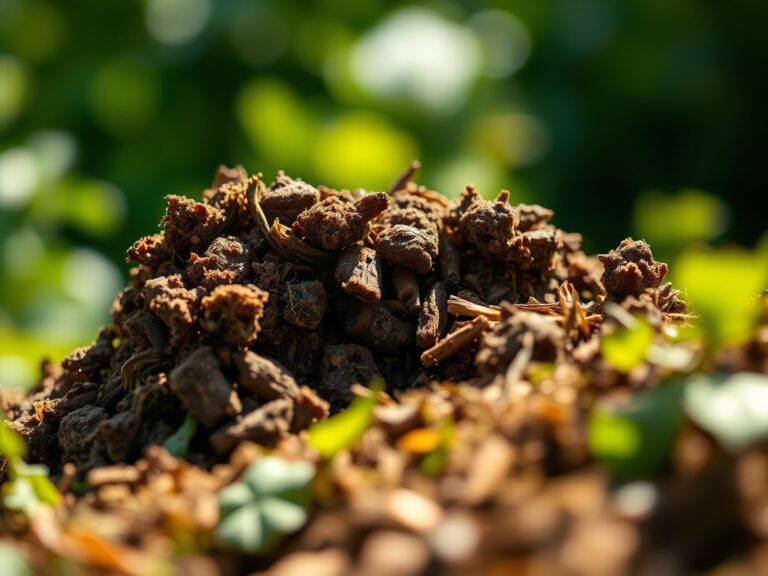
Indoor vines thrive in a substrate with a **pH range of 5.5 to 6.5**. This acidity ensures that micronutrients like iron and manganese remain bioavailable within the rhizosphere. The ideal substrate is a friable loam composed of **40 percent orchid bark, 30 percent coco coir, and 20 percent perlite**, supplemented with 10 percent worm castings. This mixture provides a high Cation Exchange Capacity (CEC), allowing the soil to retain and swap essential ions like potassium and calcium. During the vegetative growth phase, maintain an **NPK ratio of 3-1-2**. This high-nitrogen concentration supports the production of chlorophyll and the expansion of the leaf canopy. The physical texture must be porous enough to allow oxygen to reach the root zone, preventing the anaerobic conditions that lead to pythium or phytophthora.
Timing:
While indoor environments are climate-controlled, plants still respond to the external photoperiod. Most tropical vines are suited for Hardiness Zones 10 through 12, meaning they cannot tolerate temperatures below 55 degrees Fahrenheit. The biological clock of the plant transitions from a slow winter dormancy to active vegetative growth as daylight exceeds 12 hours per day. You should install your clips and training systems during this transition, typically in late March or early April. This timing aligns with the plant's peak auxin production, which is the hormone responsible for cell elongation. By training the plant during its most active growth phase, the stems remain flexible enough to be guided without snapping the delicate epidermis.
Phases:

Sowing and Propagation
When starting vines from cuttings, ensure each section has at least one node and a healthy axillary bud. Place the cutting in a medium with a temperature of 72 to 78 degrees Fahrenheit. Use a heat mat to maintain consistent bottom heat, which accelerates mitosis in the meristematic tissue.
Pro-Tip: Maintain high humidity around the cutting to reduce the transpiration rate. This preserves turgor pressure within the cells, preventing the cutting from wilting before it can establish a functional root system to uptake water.
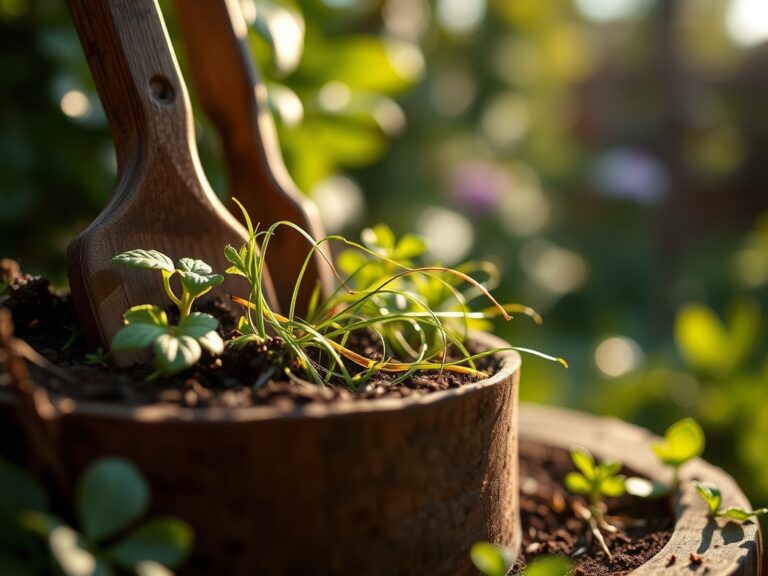
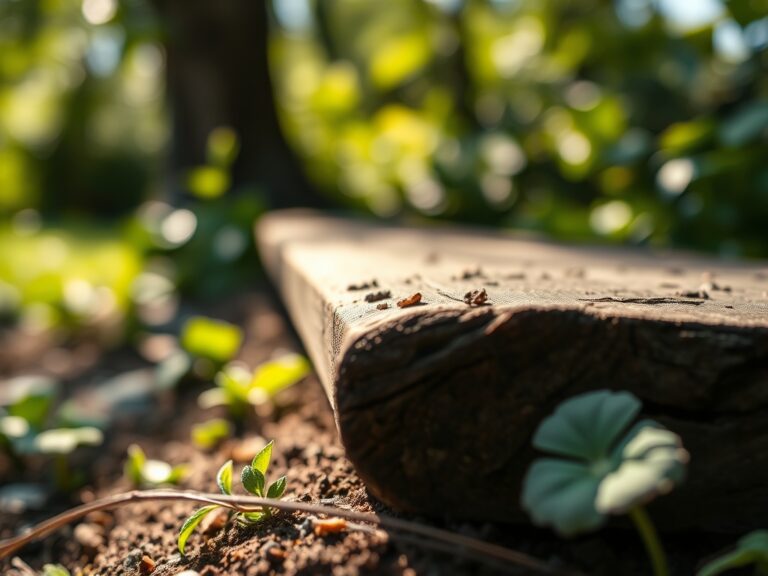
Transplanting
Move the rooted cutting into its permanent vessel once the primary roots reach 2 inches in length. Use a hori-hori knife to create a clean pilot hole in the friable loam. Ensure the root crown is level with the soil surface to avoid stem rot.
Pro-Tip: Inoculate the roots with mycorrhizal fungi during transplanting. This symbiotic relationship extends the reach of the root system, significantly increasing the surface area for phosphorus and water absorption.
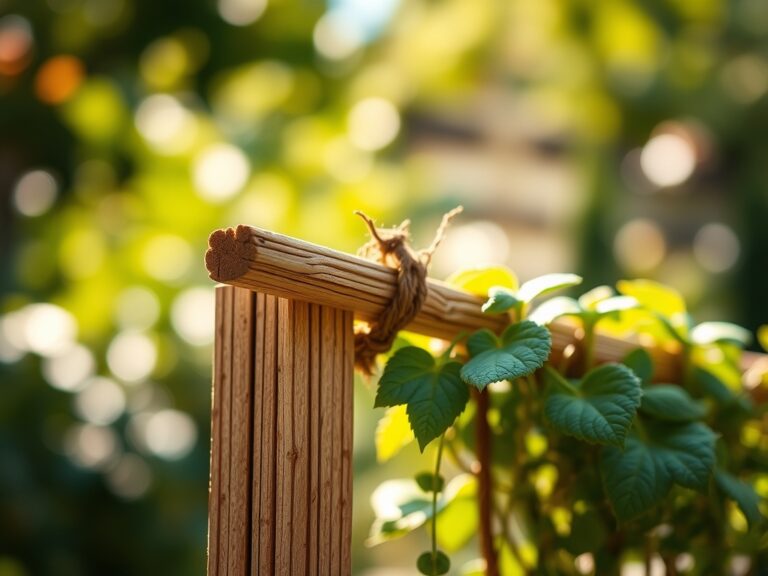
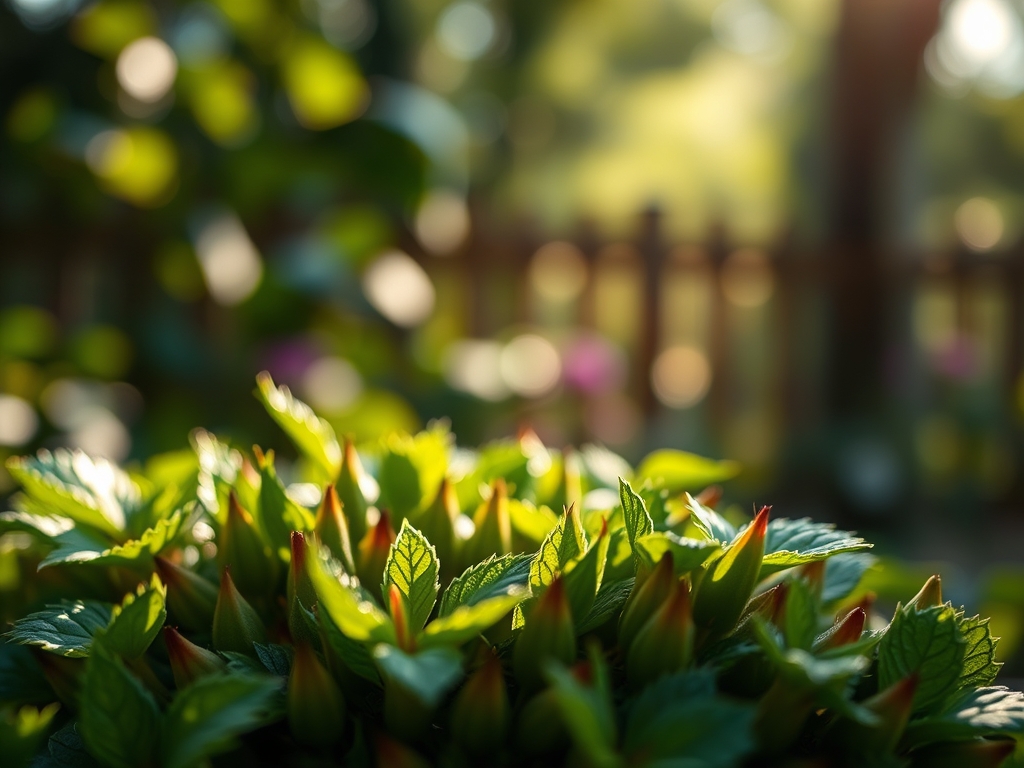
Establishing and Training
Once the vine produces its third new leaf, begin using the best plant clips to secure it to a moss pole or wall. Space the clips 6 to 8 inches apart along the main stem. Always place the clip directly below a node to support the weight of the upcoming foliage.
Pro-Tip: Position the clips to exploit phototropism, the plant's natural tendency to grow toward light. By orienting the leaves toward the primary light source, you maximize the efficiency of the photosynthetic electron transport chain.
The Clinic:
Physiological disorders often manifest through the foliage. Use these diagnostic markers to adjust your care routine.
Symptom: Interveinal Chlorosis
This appears as yellowing between the leaf veins while the veins remain green.
Solution: This is typically a magnesium deficiency. Apply a solution of 1 tablespoon of Epsom salts per gallon of water to restore the magnesium ions necessary for the central atom of the chlorophyll molecule.
Symptom: Leaf Tip Burn
The edges of the leaves turn brown and crispy, indicating salt accumulation or low humidity.
Solution: Flush the substrate with distilled water until the runoff measures below 200 ppm (parts per million) on a TDS meter. Increase ambient humidity to at least 50 percent.
Symptom: Epinstasy (Downward Curling)
Leaves curve downward and appear heavy, often a sign of overwatering or ethylene gas exposure.
Solution: Check the soil moisture with a soil moisture meter. If the reading is in the "wet" zone, cease irrigation until the top 2 inches of soil are dry to the touch.
Fix-It for Nitrogen Chlorosis:
If the oldest leaves turn a uniform pale yellow, the plant is scavenging nitrogen for new growth. Apply a quick-release high-nitrogen liquid fertilizer at half strength to immediately boost nitrate levels in the xylem stream.
Maintenance:
Precision is the hallmark of professional horticulture. Provide 1.5 inches of water per week, delivered directly to the soil surface to keep the foliage dry and discourage fungal spores. Use a soil moisture meter to verify that the root ball is not sitting in stagnant water. For pruning, use bypass pruners that have been sterilized with 70 percent isopropyl alcohol to prevent the spread of pathogens. Make cuts at a 45-degree angle approximately 0.25 inches above a node. This encourages the activation of the axillary bud, leading to a bushier growth habit. Monitor the clips monthly; if a stem has thickened to the point where the clip is constricting the bark, replace it with a larger size to avoid strangling the nutrient flow.
The Yield:
For ornamental vines, the "yield" is the production of mature, fenestrated leaves. To maximize this, ensure the plant receives 400 to 600 foot-candles of light. When the plant reaches the top of its support, you can perform a "top-cut." This involves removing the terminal bud, which suppresses apical dominance and forces the plant to distribute auxins to lower nodes. If you are harvesting cuttings for propagation, use a sharp blade to ensure the vascular bundles are not crushed. Place the cutting in a sterile environment immediately to maintain day-one freshness and prevent the entry of air bubbles into the xylem, which can cause an embolism.
FAQ:
How do I choose the best plant clips for heavy vines?
Select clips with a reinforced hinge and a diameter at least 25 percent wider than the current stem. This allows for secondary growth and prevents mechanical damage to the plant's vascular tissues during rapid growth phases.
Will clips damage the stems of my indoor plants?
Only if they are too tight. Ensure there is a visible gap between the clip and the stem. Use clips made of UV-stabilized plastic or silicone to avoid chemical leaching and physical abrasion of the plant's epidermis.
How often should I move or adjust the clips?
Inspect clips every 30 days. As the plant exhibits phototropism and moves toward the light, you may need to reposition clips to maintain the desired structural orientation and ensure even light distribution across all leaf surfaces.
Can I use clips on woody stems?
Yes, but exercise caution. Woody stems are less flexible than herbaceous ones. Use a soft-tie or specialized wide-grip clip to prevent scarring the bark, which can create entry points for opportunistic pathogens or pests.