6 Steps to Prepare a Tool Storage Layout Review
The smell of damp earth and the crisp snap of a leaf with high turgor pressure define a productive workspace. To maintain this efficiency, a gardener must understand how to prepare a garden for a tool storage review by organizing the physical landscape to match the seasonal workflow. This process involves auditing the proximity of the rhizosphere to storage zones and ensuring that every implement is calibrated for the specific mechanical demands of the current soil density and moisture levels.
Materials:
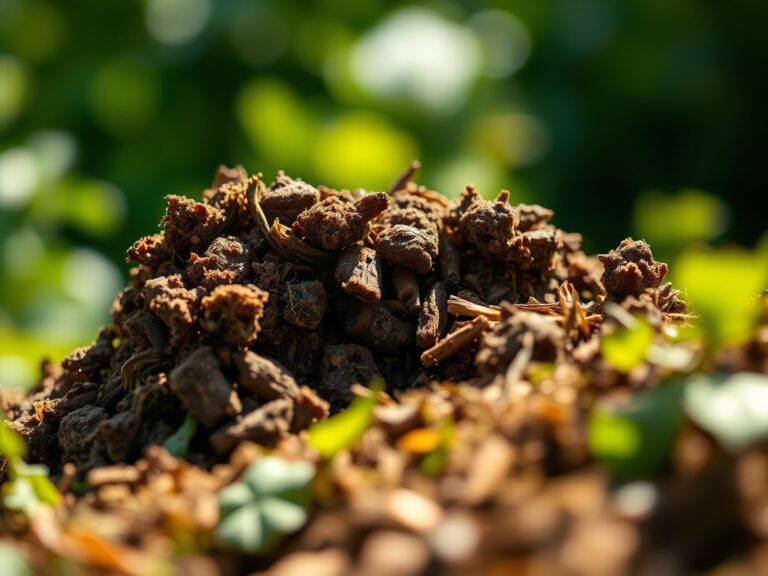
Successful preparation begins with the substrate. A **friable loam** with a **pH between 6.2 and 6.8** provides the ideal resistance for hand tools while maintaining a high **Cation Exchange Capacity (CEC)**. High CEC ensures that the soil retains essential nutrients like ammonium and potassium rather than leaching them during heavy irrigation. For heavy feeders, utilize a **10-10-10 NPK ratio** to provide a balanced baseline of nitrogen for vegetative growth, phosphorus for root development, and potassium for cellular health. If your soil test indicates high organic matter, a **5-10-15 ratio** may be more appropriate to prevent excessive nitrogen-driven foliage at the expense of structural integrity.
Timing:
The biological clock of the garden dictates the tool review schedule. In USDA Hardiness Zones 5 through 7, the primary window for preparation occurs between the last spring frost and the summer solstice. This period marks the transition from the vegetative stage to the reproductive stage for many perennials. Reviewing storage during this phase ensures that pruning tools are sharp before the onset of senescence, the programmed aging process of plant tissues. Aim to finalize the storage layout when soil temperatures consistently reach 55 degrees Fahrenheit, as this triggers microbial activity and increases the physical demand on cultivation tools.
Phases:

### Sowing
The sowing phase requires precision implements that minimize soil compaction. Use a calibrated seeder to maintain exact spacing, which prevents competition for light and nutrients. Ensure your layout places these tools in a dry, accessible zone to prevent rust on metal components.
**Pro-Tip:** Proper seed-to-soil contact is vital because it initiates **imbibition**, the process where the seed absorbs water to activate metabolic enzymes.
Transplanting
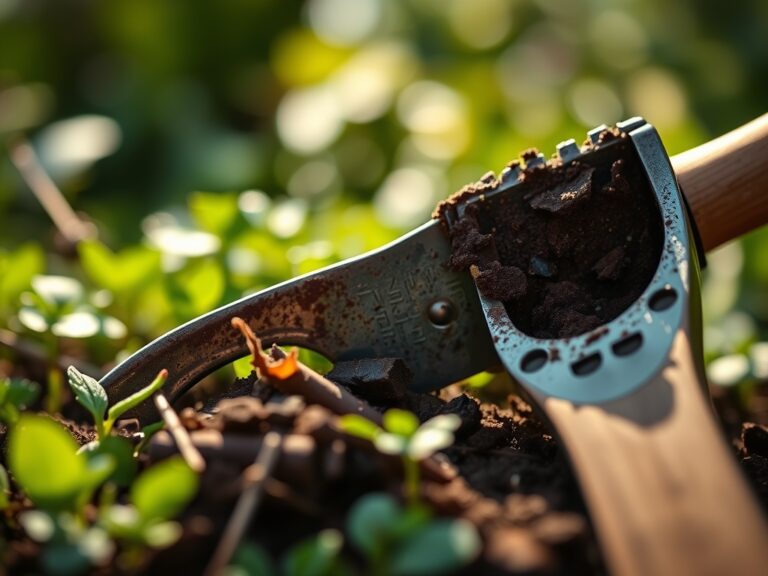
When moving starts from the greenhouse to the field, use a hori-hori knife to create clean incisions in the soil. This minimizes damage to the delicate root hairs and the surrounding mycorrhizal fungi network. The storage review should prioritize easy access to transplanting tools during the early morning hours when transpiration rates are lowest.
Pro-Tip: Minimizing root disturbance prevents transplant shock by maintaining the plant's existing hydraulic conductivity.
Establishing
Once plants are in the ground, the focus shifts to moisture management and structural support. Store your soil moisture meter and irrigation repair kits in a centralized location. Monitoring the volumetric water content of the soil allows for precise adjustments to the irrigation schedule, preventing both drought stress and root rot.
Pro-Tip: Consistent moisture levels support turgor pressure, which allows the plant to remain upright and maximize its surface area for photosynthesis.
The Clinic:
Physiological disorders often stem from improper tool use or environmental stressors. Identify these symptoms to refine your storage and maintenance needs.
- Symptom: Interveinal chlorosis (yellowing between leaf veins) on young leaves.
- Solution: This indicates an Iron deficiency, often caused by a pH above 7.0. Use a soil probe to check the root zone and apply chelated iron.
- Symptom: Blossom end rot in solanaceous crops.
- Solution: This is a Calcium transport issue, not necessarily a soil deficiency. Ensure consistent watering using a drip irrigation system to maintain steady calcium flow through the xylem.
- Symptom: Necrosis on leaf margins.
- Solution: This typically signifies Potassium deficiency. Use a broadcast spreader to apply a high-potash fertilizer (0-0-60) to improve the plant's water-use efficiency.
Fix-It: For Nitrogen chlorosis (general yellowing of older leaves), apply a quick-release high-nitrogen fertilizer (21-0-0). Ensure your storage layout includes a dedicated, dry space for chemical fertilizers to prevent clumping.
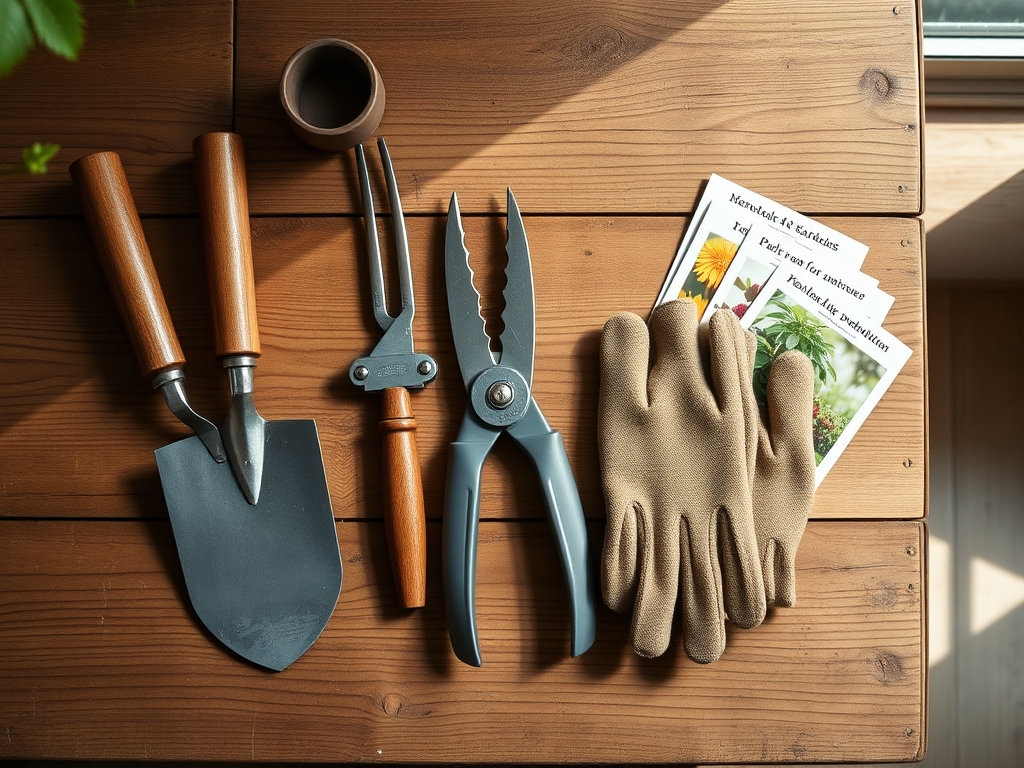
Maintenance:
Precision maintenance requires a data-driven approach. Most garden beds require 1.5 inches of water per week delivered at the drip line to reach the active root zone. Use bypass pruners for live tissue to ensure clean cuts that heal quickly; anvil pruners should be reserved for dead wood to avoid crushing the vascular cambium.
Keep a hori-hori knife and a soil moisture meter in a weather-proof holster for daily checks. Tools should be cleaned with a 10 percent bleach solution or 70 percent isopropyl alcohol after every use to prevent the mechanical transmission of pathogens. Store metal tools in a bucket of sand mixed with mineral oil to displace moisture and prevent oxidation.
The Yield:
Harvesting is the culmination of the horticultural cycle. For most leafy greens and herbs, harvest before the photoperiod reaches its peak intensity to ensure the highest concentration of essential oils. Use a sharp, sterilized blade to make a clean cut, which reduces the surface area for water loss.
Immediately after harvest, move the produce to a cooling station to remove field heat. This slows the rate of respiration and preserves the cellular structure. For flowers, a 45-degree angle cut on the stem increases the surface area for water uptake, maintaining high turgor pressure and extending the post-harvest life of the bloom.
FAQ:
How do I calibrate a soil moisture meter?
Submerge the probe in a container of distilled water to check the "wet" baseline. Then, test it in a sample of completely dry sand for the "dry" baseline. Adjust the calibration screw until the needle matches these known points.
What is the best way to store bypass pruners?
Clean the blades of all organic debris and sap. Apply a light coating of machine oil to the pivot point and the blades. Store them in a dry, hanging position to prevent tension on the spring mechanism.
When should I sharpen my garden hoe?
Sharpen the blade whenever you notice the tool dragging through the soil rather than slicing. A sharp edge reduces the physical force required for weeding and minimizes the disruption to the top two inches of the soil crust.
Why does soil pH matter for tool storage?
While pH affects plant growth, high-acidity soils can accelerate the corrosion of metal tool heads left in contact with the ground. Maintaining a neutral pH in storage areas helps preserve the integrity of carbon steel implements over time.