7 Expert Steps to Sharpen a Saw with a File
The scent of damp humus and the high turgor pressure of a healthy oak limb indicate a plant at its physiological peak. Attempting to prune these specimens with a dull blade results in ragged vascular tears rather than clean, compartmentalized wounds. To maintain the health of the rhizosphere and prevent the entry of pathogens through jagged cuts, you must master the steps for sharpening a garden saw with a file. A sharp blade ensures that the plant can initiate the process of walling off the cut area, known as CODIT (Compartmentalization of Decay in Trees). When the teeth of your saw are properly honed, the friction is minimized; this prevents heat damage to the cambium layer during the stroke. Professional arborists understand that tool maintenance is a direct extension of plant pathology. A dull saw requires more physical force, which increases the risk of slipping and damaging the surrounding bark or the gardener. Precision in the workshop translates directly to precision in the orchard.
Materials:
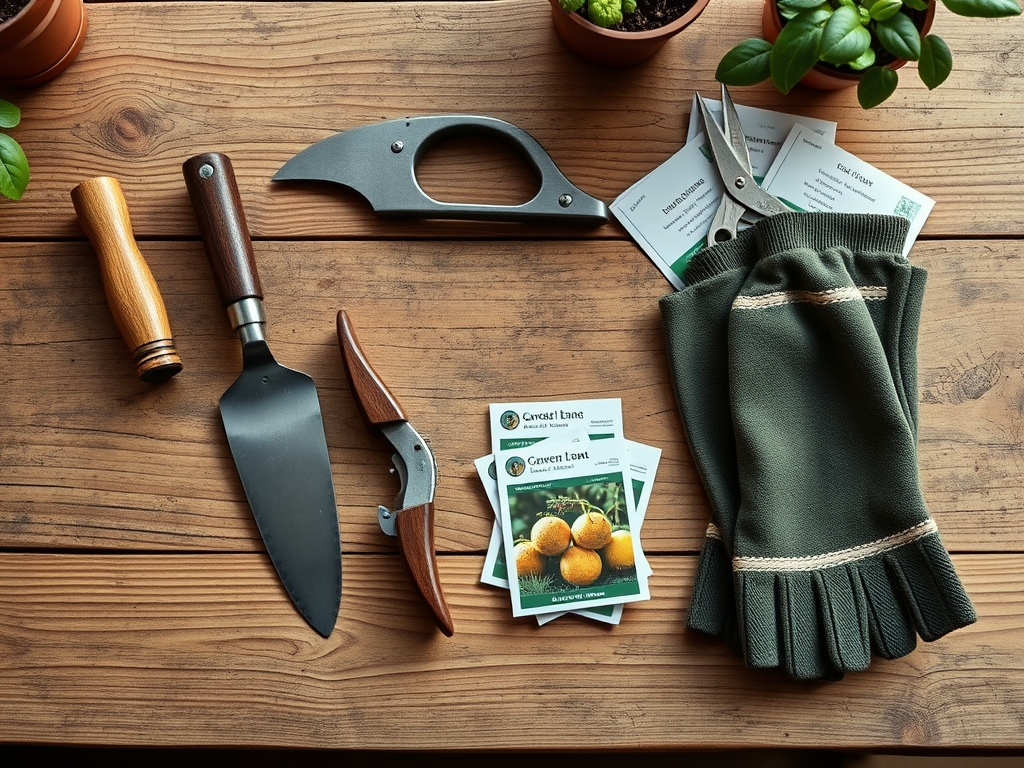
While tool maintenance occurs on the workbench, the garden environment dictates the necessity of the task. For optimal plant health, soil should maintain a **pH between 6.2 and 6.8** to ensure nutrient bioavailability. High-production fruit trees require a specific **NPK ratio of 10-10-10** during the early spring to support cellular expansion. The ideal substrate for these plants is a friable loam with a high Cation Exchange Capacity (CEC), allowing the soil to hold onto essential ions like calcium and magnesium. To maintain this biological system, you will need a **slim taper saw file**, a **bench vise with soft jaws**, and **3-in-1 machine oil**. Ensure your workspace is illuminated by at least **500 lumens** to identify the “shining” flat spots on dull teeth.
Timing:
Sharpening should occur during the dormant season, typically between Hardiness Zones 4 and 8 from late November to early March. This window precedes the spring flush when sap flow increases and the "Biological Clock" shifts from the dormant vegetative state to the high-energy reproductive stage. Performing maintenance before the first frost-free date ensures that your tools are ready for the critical pruning window. Pruning during the transition to the reproductive phase without a sharp blade can cause excessive sap loss and weaken the plant's immune response. Monitor your local extension office for specific frost-date windows to align your tool preparation with the physiological needs of your specific cultivars.
Phases:

Sowing the Foundation: Cleaning and Inspection
Before filing, remove all resin and organic debris using a solvent. Inspect the "set" of the teeth; they must be angled outward from the center of the blade to create a "kerf" or channel wider than the blade itself. This prevents binding.
Pro-Tip: Removing resin prevents the file from "skipping," which ensures even metal removal. In biological terms, a clean cut prevents the crushing of xylem vessels, maintaining the plant's ability to transport water via transpirational pull even after a limb is removed.
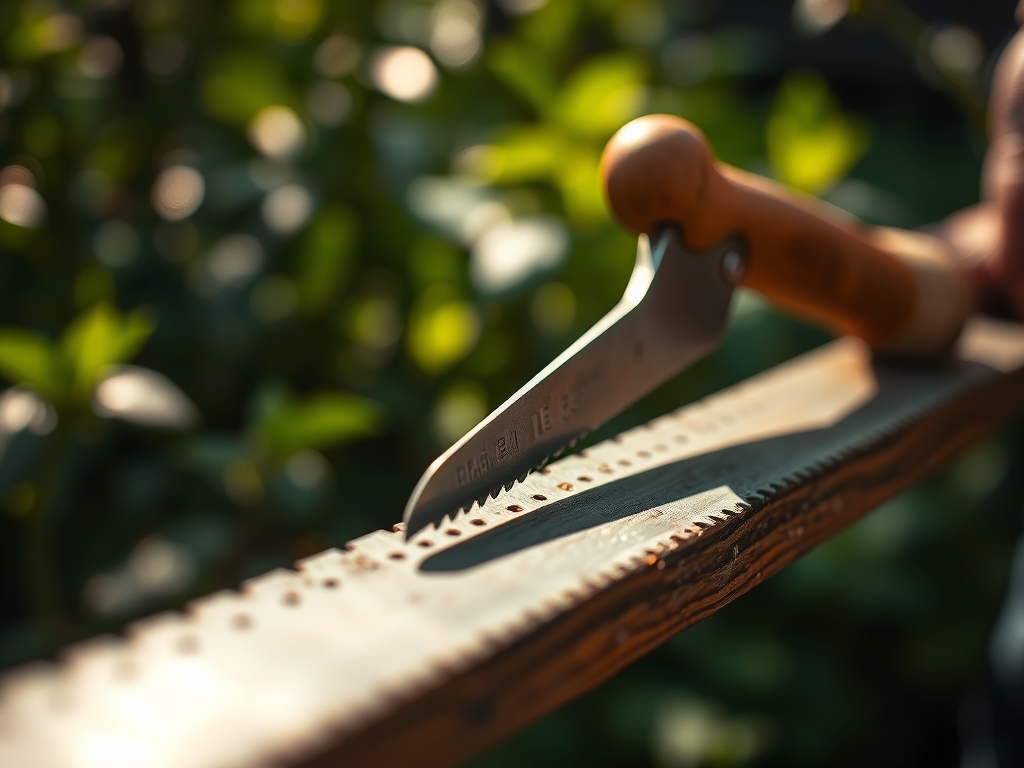
Transplanting the Edge: The Filing Process
Secure the saw in a vise at chest height. Position the file in the gullet between two teeth at a 60-degree angle to the blade. Push the file forward in a single, smooth stroke. Never draw the file backward, as this damages the microscopic teeth of the tool.
Pro-Tip: Consistent filing angles preserve the geometry of the tooth. This is critical because jagged edges on a plant wound increase the surface area for fungal spores to land, disrupting the mycorrhizal symbiosis in the soil if the plant's overall vigor is compromised by infection.
Establishing the Set: Final Honing
After sharpening every tooth, use a "set tool" if the kerf has narrowed. Lightly pass a whetstone over the sides of the blade to remove any burrs.
Pro-Tip: Removing burrs reduces friction. High friction during pruning can cause localized heat that kills the meristematic cells near the cut, preventing the formation of a proper callus roll.
The Clinic:
Physiological disorders in plants often stem from poor pruning cuts or nutritional imbalances.
- Symptom: Dieback at the tip of a pruned branch.
- Solution: This is often caused by a "crushing" cut from a dull saw. Re-cut the limb using a sharp saw at the branch bark ridge to stimulate proper wound sealing.
- Symptom: Interveinal chlorosis (yellowing between leaf veins).
- Solution: This indicates a Magnesium deficiency. Apply Epsom salts (magnesium sulfate) at a rate of 1 tablespoon per foot of plant height to restore chlorophyll production.
- Symptom: Stunted growth and pale green foliage.
- Solution: Nitrogen chlorosis. Apply a high-nitrogen fertilizer with an NPK of 21-0-0 (Ammonium Sulfate) to boost vegetative vigor and protein synthesis.
Fix-It: If your soil test reveals a low CEC, incorporate organic matter to increase the soil's ability to hold nutrients. This prevents the "leaching" of cations like potassium and calcium during heavy rain cycles.
Maintenance:
A garden is a high-maintenance biological engine. Provide exactly 1.5 inches of water per week at the drip line of your trees; do not water the trunk, as this encourages fungal pathogens. Use a soil moisture meter to verify that the root zone at a depth of 6 inches remains at 20 percent to 30 percent volumetric water content. When using your hori-hori knife for weeding or your bypass pruners for light work, clean the blades with a 10 percent bleach solution between plants to prevent cross-contamination of viruses. Store your sharpened saw in a dry environment with a light coat of oil to prevent oxidation, which can dull the microscopic edge of the steel.
The Yield:
For fruit-bearing trees, the yield is the ultimate metric of success. Harvest timing is determined by the "Brix level" or sugar content of the fruit. Use a refractometer to ensure the fruit has reached its peak physiological maturity. When harvesting, use your sharpened saw for any necessary "heading cuts" to open the canopy for the following season. To maintain "day-one" freshness, hydro-cool the produce immediately after harvest to remove field heat and slow the rate of senescence. This preserves the turgor of the cells and extends the shelf life by reducing the respiration rate of the harvested tissue.
FAQ:
How do I know my saw is dull?
If the saw slides across the wood without "biting" or if the sawdust is fine like flour rather than coarse chips, the teeth have lost their edge. A dull blade also produces excessive heat during the cut.
What file size should I use?
Use a slim taper triangular file matched to the "Points Per Inch" (PPI) of your saw. A 6-inch file is standard for most medium-toothed garden saws. Ensure the file fits snugly into the tooth gullet.
Can I sharpen a hard-toothed saw?
Most modern saws have "impulse-hardened" teeth, indicated by a black or blue tint on the tips. These are harder than a standard file and generally cannot be sharpened; they must be replaced once they lose their edge.
Why is the "set" of the teeth important?
The set refers to the outward bend of the teeth. It creates a cut wider than the blade, preventing the wood from pinching the saw. Without a proper set, friction increases, damaging the plant's vascular tissue.