9 Steps to Prepare an Indoor Repotting Workspace
The scent of damp peat and clean plastic greets you before you even crack the potting soil bag. Your fingers are already anticipating the press of root balls and the give of fresh medium. Preparing a workspace for indoor repotting transforms a chaotic chore into a controlled operation, reducing transplant shock and maximizing root establishment. A dedicated zone minimizes soil spillage, keeps tools within arm's reach, and protects flooring from moisture damage. The difference between a makeshift setup and a proper station is measured in healthier plants and hours saved over a growing season.
Materials
Assemble a waterproof work surface at least 24 inches by 36 inches. Heavy-duty plastic sheeting rated at 4 mils or a dedicated potting tray with raised edges prevents runoff. Select a base potting mix with pH 6.0 to 6.8 for most ornamentals and vegetables. For acid-loving species such as blueberries or azaleas, blend sphagnum peat to lower pH to 4.5 to 5.5.
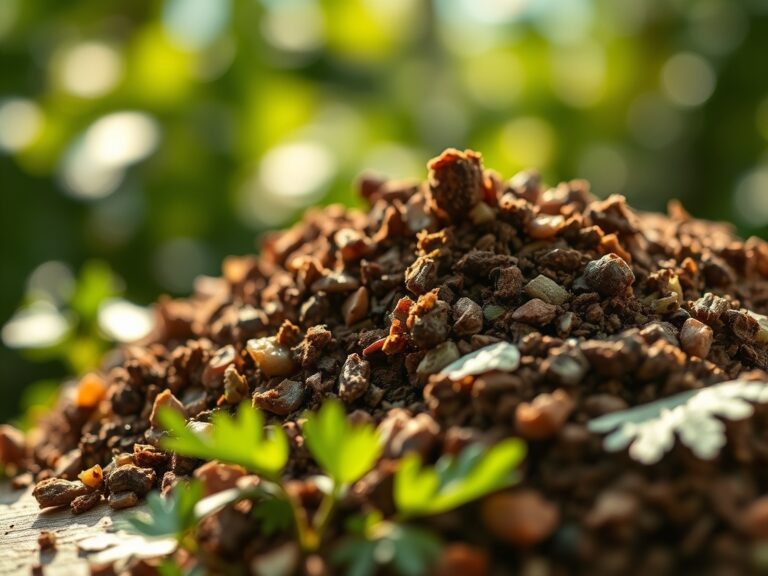
Choose an organic amendment with a balanced NPK ratio of 4-4-4 or 5-5-5. Bone meal (3-15-0) supplies phosphorus for root initiation. Blood meal (12-0-0) delivers nitrogen for foliar growth. Kelp meal (1-0.5-2) provides trace minerals and natural auxins that stimulate lateral root branching. Mycorrhizal inoculant in powder form increases cation exchange capacity and nutrient uptake by 30 to 50 percent in field trials.
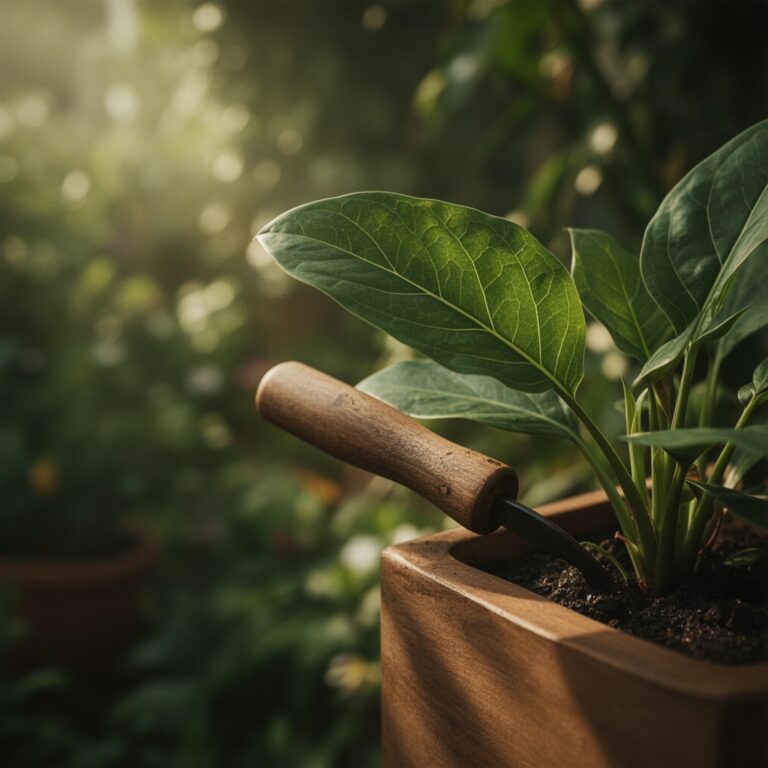
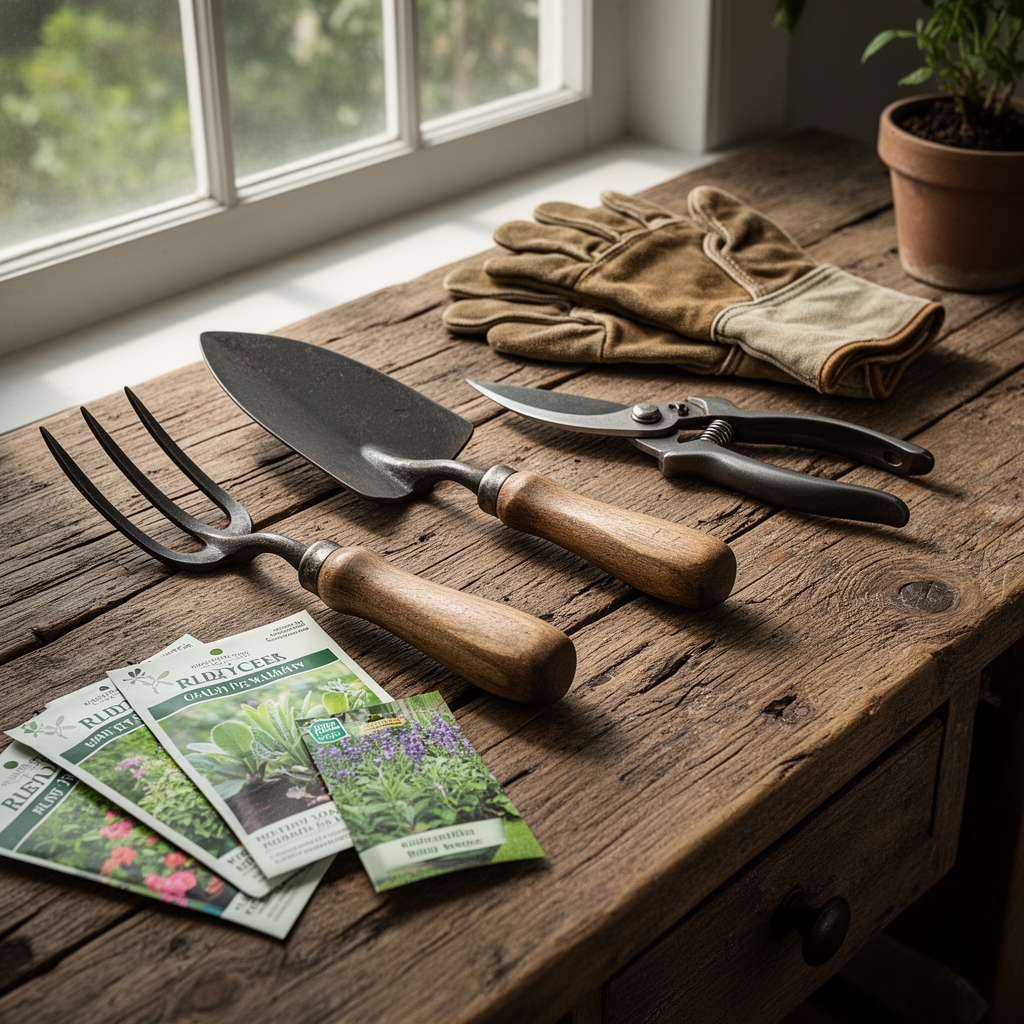
Stock hand tools include a soil scoop, pruning shears sterilized in 10 percent bleach solution, a root rake for teasing bound roots, and a hand trowel. Label makers or waterproof markers ensure accurate variety tracking. Have containers in 4-inch, 6-inch, and 1-gallon sizes ready, each with drainage holes at least 0.25 inches in diameter.
Timing
Indoor repotting follows the plant's phenological calendar rather than outdoor frost dates. Most perennials and woody ornamentals benefit from repotting in late winter or early spring, when auxin distribution favors root growth over shoot elongation. For Hardiness Zones 3 through 5, this window opens between late February and mid-March. Zones 6 through 8 can begin in mid-January. Zones 9 through 11 maintain year-round flexibility but should avoid repotting during peak summer heat above 90 degrees Fahrenheit.
Tropical houseplants such as Ficus and Monstera respond best to repotting when daytime indoor temperatures stabilize above 68 degrees and photoperiod exceeds 12 hours. This typically occurs from late March through May in northern latitudes. Succulents and cacti prefer repotting during active growth in late spring, from April through June, when evapotranspiration rates allow roots to dry between waterings.
Phases
Sowing and Initial Potting
Fill starter cells or 2-inch pots with a sterile seed-starting mix composed of fine peat, perlite, and vermiculite at a 2:1:1 ratio. Moisten the medium until water drains freely from the bottom. Sow seeds at twice their diameter in depth. Cover with a humidity dome until germination. Maintain substrate temperature at 70 to 75 degrees Fahrenheit using a heat mat.
Pro-Tip: Dust seeds with Trichoderma harzianum powder at 0.5 grams per 100 seeds to suppress damping-off fungi and accelerate radicle emergence by up to 48 hours.
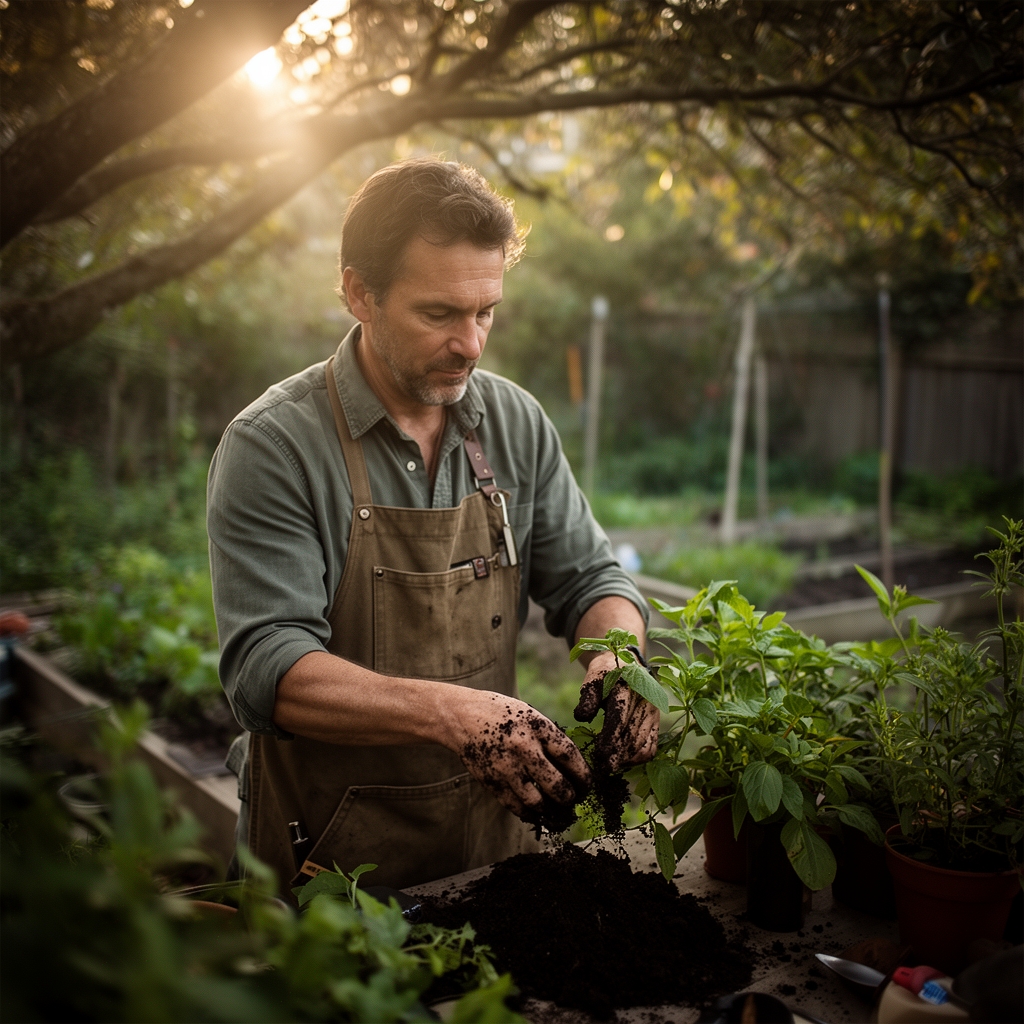
Transplanting to Intermediate Containers
When seedlings develop two sets of true leaves, transplant into 4-inch pots. Water the original cell thoroughly one hour before handling to reduce root tearing. Tip the cell and slide the root ball into your palm. Examine roots for brown discoloration or mushy texture. Healthy roots appear white to cream-colored and firm.
Center the root ball in the new pot so the crown sits 0.5 inches below the rim. Fill gaps with potting mix, tamping lightly to eliminate air pockets. Water with a diluted seaweed solution at 1 tablespoon per gallon to supply cytokinins that counteract transplant stress.
Pro-Tip: Score the outer root ball vertically with a sterile blade at four equidistant points, penetrating 0.25 inches. This mechanical disruption stimulates lateral root proliferation within 10 to 14 days.
Establishing in Final Containers
Move plants into 1-gallon or larger pots once roots circle the intermediate container's perimeter. Add 1 tablespoon of slow-release granular fertilizer (14-14-14) per gallon of potting mix. Blend mycorrhizal inoculant at the label rate, typically 0.25 teaspoons per gallon, directly into the root zone. Position the plant at the same depth as before to prevent stem rot.
Firm the mix around the root ball with gentle pressure. Water until runoff appears, then allow the top inch to dry before the next irrigation. Place the container in bright indirect light for seven days before introducing direct sun.
Pro-Tip: Apply a 0.5-inch layer of fine pine bark mulch to the soil surface. This stabilizes substrate temperature, reduces evaporation by 20 percent, and inhibits fungus gnat reproduction.
Troubleshooting
Symptom: Yellowing lower leaves with green veins.
Solution: Iron deficiency induced by high pH. Drench with chelated iron at 1 tablespoon per gallon every two weeks until new growth resumes normal coloration.
Symptom: Brown leaf tips and margins, crunchy texture.
Solution: Salt accumulation from overfertilization. Leach pots with distilled water at three times the container volume. Reduce fertilizer concentration by 50 percent for the next four applications.
Symptom: Wilting despite moist soil, foul odor from drainage holes.
Solution: Root rot caused by Pythium or Phytophthora. Unpot immediately. Remove all brown, mushy roots with sterilized shears. Repot into fresh, well-draining mix with additional perlite at 30 percent by volume. Drench with a phosphorous acid fungicide at label rate.
Symptom: Stunted growth, roots forming tight spirals at container edge.
Solution: Root-bound condition. Prune circling roots back by one-third. Tease remaining roots outward at 45-degree angles before repotting.
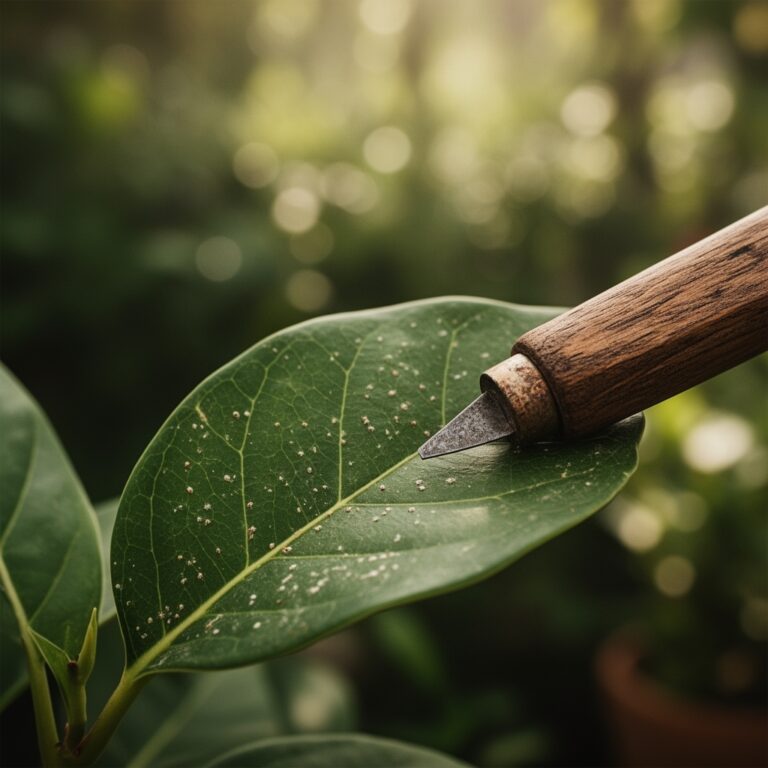
Symptom: White cottony masses on leaf axils or soil surface.
Solution: Mealybug infestation. Dab colonies with 70 percent isopropyl alcohol on a cotton swab. Apply neem oil spray at 2 tablespoons per gallon weekly for three consecutive weeks.
Maintenance
Water when the top 1 inch of soil feels dry to the touch. Deliver water until 10 to 15 percent drains from the bottom, ensuring complete root-zone saturation. Frequency depends on container size, ambient humidity, and plant species. A 6-inch pot typically requires watering every four to seven days indoors.
Fertilize every two weeks during active growth with a water-soluble formula at half the manufacturer's recommended strength. Cease fertilization when day length drops below 10 hours or when plants enter dormancy. Rotate containers 90 degrees weekly to promote even canopy development and prevent phototropic leaning.
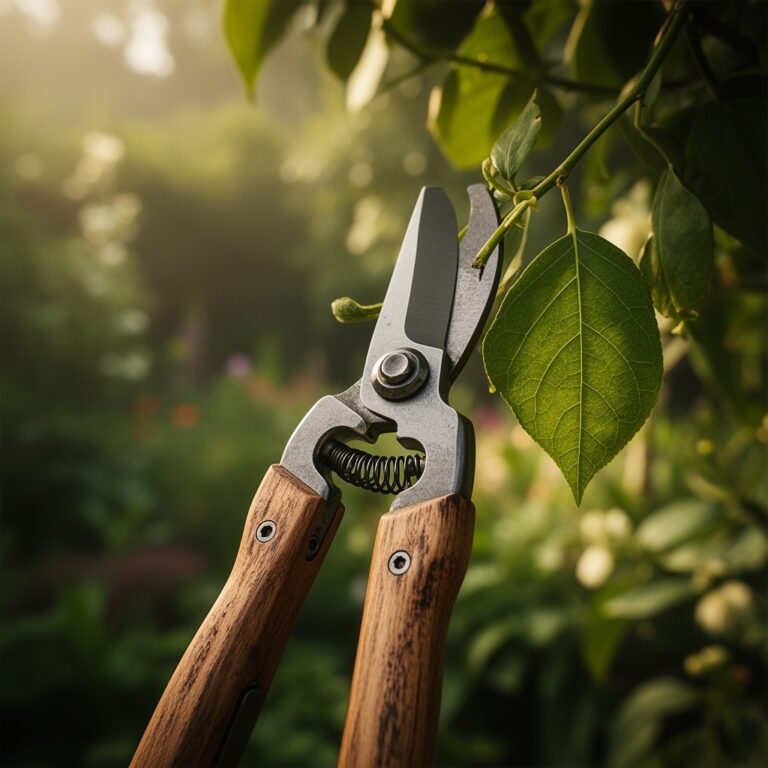
Monitor for pests by inspecting leaf undersides and stems every five days. Maintain indoor humidity between 40 and 60 percent to discourage spider mites while preventing fungal issues. Prune dead or damaged foliage at a 45-degree angle, cutting 0.25 inches above a node to stimulate axillary bud activation.
FAQ
How often should I repot houseplants?
Most houseplants require repotting every 18 to 24 months. Fast growers such as Pothos and Philodendron may need annual repotting. Slow-growing cacti and succulents can remain in the same container for three to five years.
Can I reuse old potting soil?
Reuse only if the previous plant showed no disease symptoms. Pasteurize old mix by baking at 180 degrees Fahrenheit for 30 minutes. Amend with 25 percent fresh compost and perlite to restore structure.
What size container should I choose?
Select a pot 1 to 2 inches larger in diameter than the current container. Oversized pots retain excess moisture, increasing root rot risk.
Should I water immediately after repotting?
Yes. Initial watering settles the soil, eliminates air pockets, and establishes root-to-soil contact. This improves hydraulic conductivity and reduces transplant shock.
How do I sterilize pots between uses?
Scrub containers with hot soapy water to remove organic debris. Soak in a 10 percent bleach solution (1 part bleach to 9 parts water) for 10 minutes. Rinse thoroughly and air-dry before reuse.