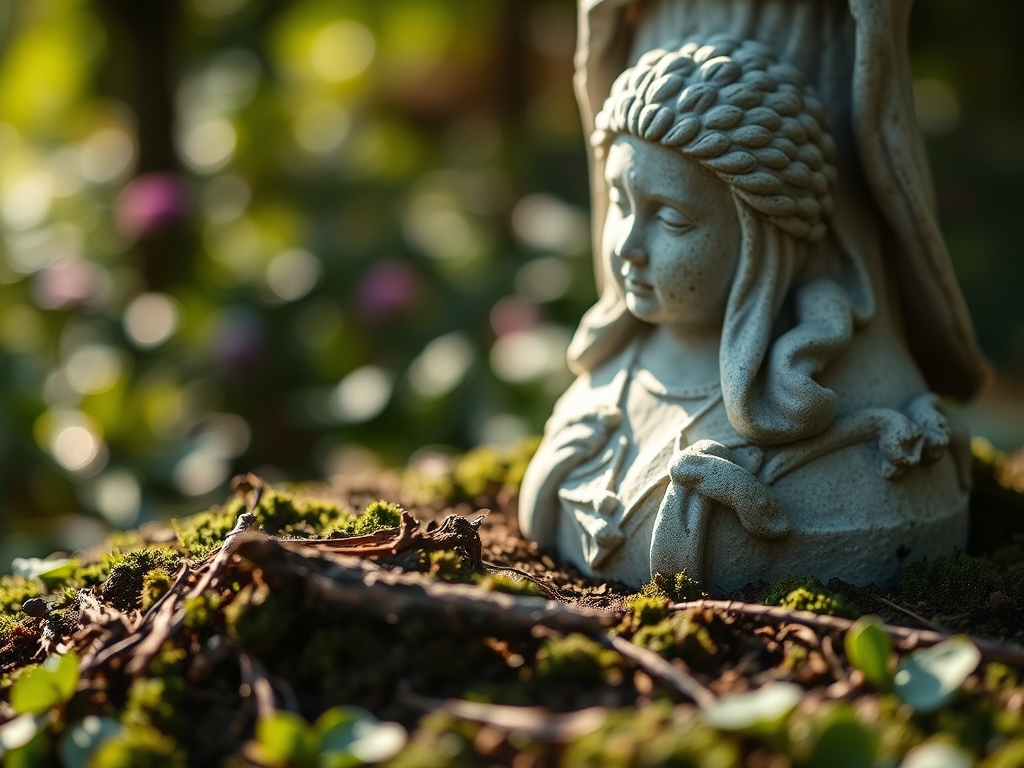
6 Steps to Prepare an Artistic Garden Statue Base
The smell of damp, anaerobic clay mixed with the metallic tang of a well-used spade signals the start of a structural installation. Success depends on the structural integrity of the rhizosphere and the stability of the subsoil. Learning how to prepare a site for a garden statue requires more than aesthetic placement; it demands an understanding of soil compaction, drainage rates, and the load-bearing capacity of the local geology. A heavy stone plinth can exert significant downward pressure, leading to localized soil subsidence if the substrate lacks the necessary density. Proper site preparation ensures that the installation remains level despite the seasonal fluctuations in soil moisture and the expansion-contraction cycles of the frost-thaw period. By managing the soil physics before the first stone is set, you prevent the gradual tilting or sinking that plagues poorly planned garden features.
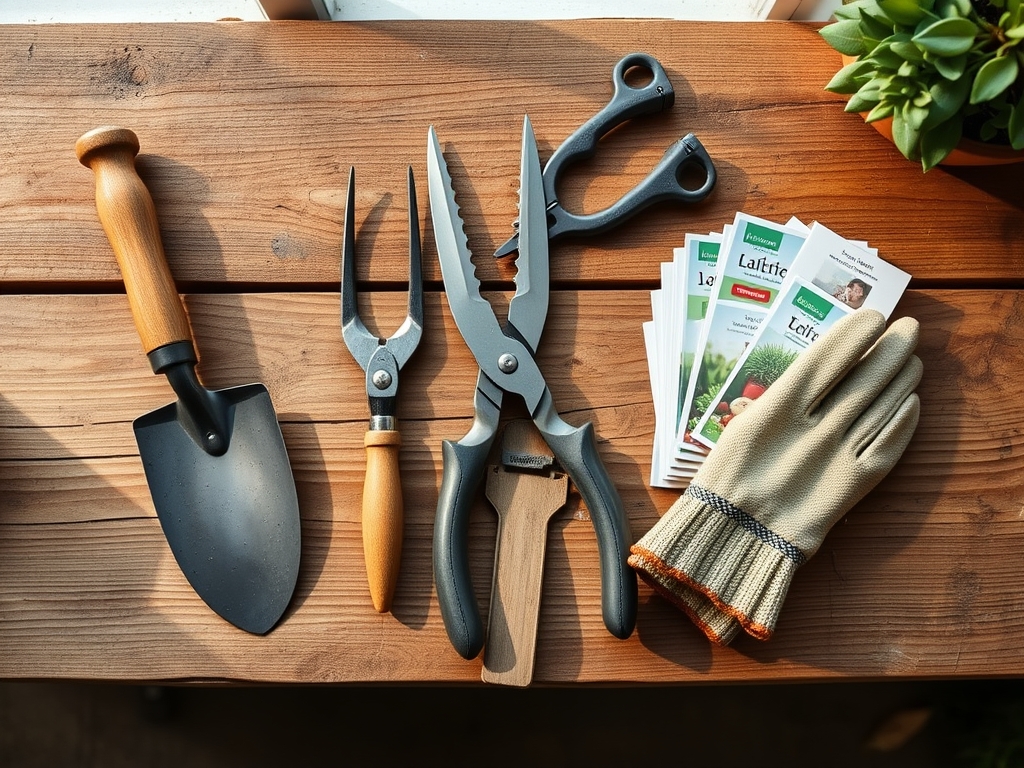
Materials:
The ideal substrate for a garden statue base is a well-compacted, friable loam with a high mineral content and low organic matter in the immediate footprint to prevent decomposition-related settling. If you are planting around the base, the surrounding soil should maintain a pH between 6.0 and 7.0 to optimize nutrient availability.
For the vegetation framing the statue, utilize a balanced NPK ratio of 10-10-10 for general establishment. If the goal is to encourage flowering perennials to accentuate the stone, transition to a 5-10-10 ratio to prioritize phosphorus for root development and bloom production over vegetative biomass. Ensure you have crushed limestone or 3/4-inch minus gravel for the base layer. This material provides the necessary Cation Exchange Capacity (CEC) stability for surrounding plants while ensuring rapid drainage away from the statue's foundation.
Timing:
In Hardiness Zones 4 through 7, site preparation should occur at least four weeks before the first autumn frost or immediately after the spring thaw once the soil is no longer saturated. Working wet soil destroys its structure, leading to massive compaction that inhibits root respiration.
The biological clock of the surrounding flora is critical. Aim to install the base during the transition from the vegetative stage to the reproductive stage for existing perennials. This timing minimizes the impact of root disturbance. By installing when the photoperiod is shortening in late summer, you allow the soil to settle through the winter, ensuring the statue is stable before the spring surge of turgor pressure and rapid growth begins in the surrounding landscape.
Phases:

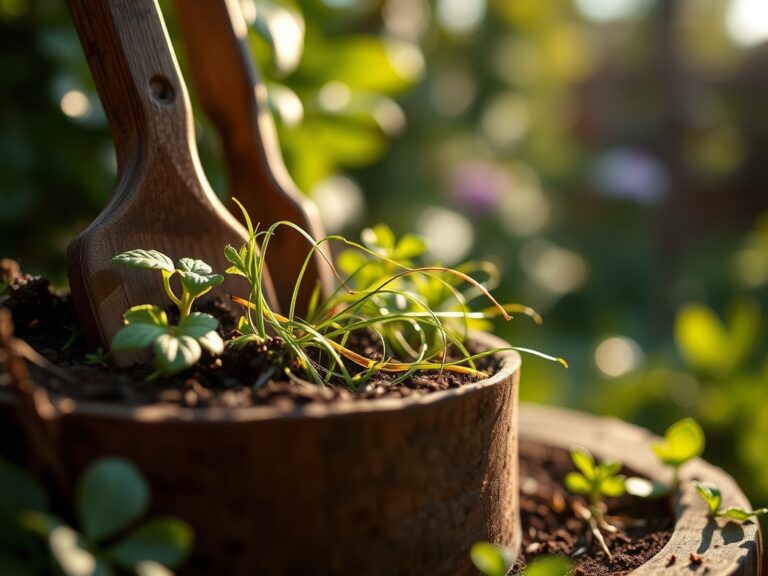
Sowing the Foundation
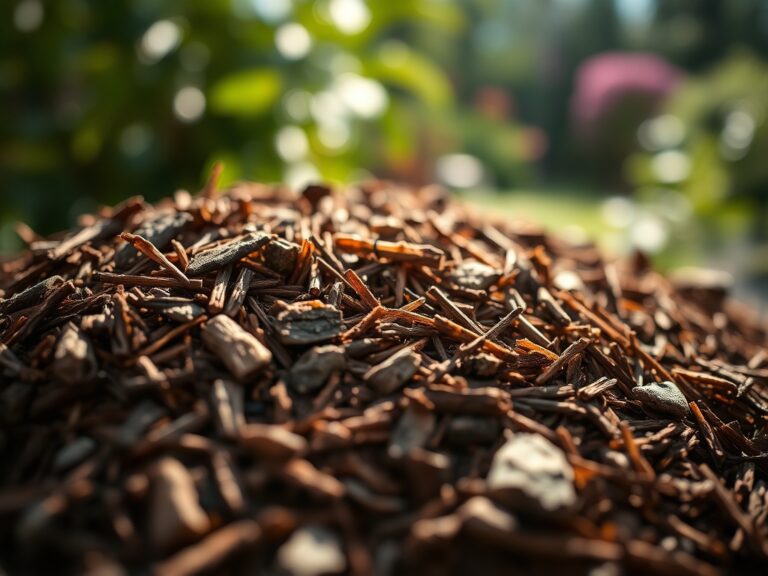
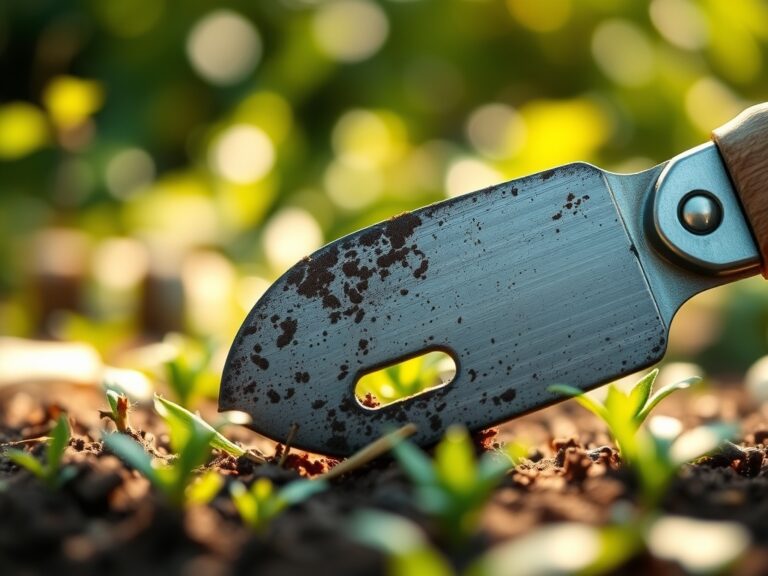
Excavate the area to a depth of 8 to 12 inches, depending on the weight of the ornament. Remove all organic debris, including roots and decomposing mulch. The bottom of the pit must be leveled and tamped until the soil density reaches approximately 1.5 to 1.7 grams per cubic centimeter.
Pro-Tip: Proper compaction prevents the disruption of mycorrhizal symbiosis in the surrounding area by limiting the shifting of soil aggregates. Maintaining a stable soil structure ensures that fungal hyphae can continue to transport phosphorus to nearby plants without mechanical shearing.
Transplanting and Leveling
Fill the excavation with 4 to 6 inches of compacted gravel, followed by a 2-inch layer of leveling sand. Use a carpenter's level to ensure the surface is perfectly horizontal. If placing a concrete pad, ensure it is cast with a slight 1-degree slope to allow water runoff, preventing ice wedging during winter.
Pro-Tip: Utilizing a sand interface allows for micro-adjustments that account for phototropism in surrounding plants. As plants grow toward the light, they may visually crowd the statue; a perfectly level base allows you to rotate the ornament slightly without compromising its center of gravity.
Establishing the Perimeter
Backfill the edges with a mixture of 60% native soil and 40% finished compost. This creates a transition zone that encourages lateral root growth from surrounding groundcovers. Firm the soil by hand to remove large air pockets while maintaining enough porosity for oxygen exchange.
Pro-Tip: Avoid over-fertilizing the immediate perimeter. High nitrogen levels can cause auxin suppression in some species, leading to leggy, weak growth that may flop over and obscure the artistic details of the statue base.
The Clinic:
Physiological disorders in the plants surrounding a statue often stem from the altered microclimate created by the stone or concrete.
- Symptom: Iron Chlorosis. Yellowing leaves with green veins in alkaline soils.
- Solution: Check the pH. Concrete pedestals can leach lime into the soil, raising the pH. Apply chelated iron and elemental sulfur to lower the pH to 6.5.
- Symptom: Root Rot (Phytophthora). Wilting despite moist soil.
- Solution: Improve drainage. The statue base may be acting as a dam. Install a French drain or increase the gravel depth.
- Symptom: Nitrogen Deficiency. General paling of older foliage.
- Fix-It: Apply a high-nitrogen (20-0-0) water-soluble fertilizer at a rate of 0.5 pounds per 100 square feet to rapidly restore chlorophyll production.
Maintenance:
Precision is the hallmark of a professional garden. Provide exactly 1.5 inches of water per week at the drip line of the surrounding plants, measured by a rain gauge. Do not spray the statue directly; the mineral salts in well water can cause efflorescence and staining.
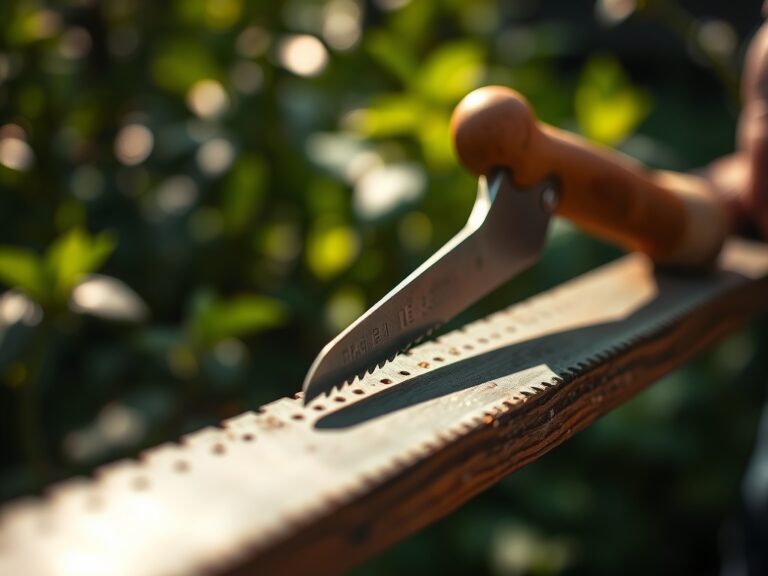
Use a hori-hori knife to sever any encroaching rhizomes that threaten to undermine the gravel base. Annually check the level of the statue using a soil moisture meter to ensure the ground is not becoming oversaturated, which could lead to "heaving" during a freeze. Use bypass pruners to maintain a 3-inch clearance between any foliage and the statue surface to prevent moss and lichen buildup.
The Yield:
For gardens featuring statues among cut flowers or herbs, harvesting should occur during the coolest part of the morning when cell turgidity is at its peak. Use sharp shears to make a clean 45-degree cut, which maximizes the surface area for water uptake.
To ensure "day-one" freshness, immediately submerge the stems in 110-degree Fahrenheit water and move them to a cool, dark location for two hours. This "hardening off" process stabilizes the plant's internal pressure and extends the aesthetic life of the arrangement.
FAQ:
How deep should the gravel base be for a heavy statue?
For statues exceeding 100 pounds, excavate 8 to 10 inches. Fill with 6 inches of compacted 3/4-inch gravel and 2 inches of leveling sand. This prevents sinking and ensures proper drainage away from the sculpture.
Can I place a statue directly on the grass?
No. Direct placement leads to soil compaction and anaerobic conditions, killing the turf. The weight will cause the statue to tilt as the organic matter decomposes. Always install a dedicated mineral-based foundation.
How do I prevent the statue from leaning over time?
Ensure the subsoil is compacted to a density of 1.5g/cm3. Use a leveling base of sand and check it annually. If leaning occurs, use a pry bar to add more sand under the low side.
What is the best soil for plants near a concrete base?
Use a sandy loam with a pH of 6.5. Concrete can leach calcium, raising the pH over time. Regular testing with a soil pH meter ensures the environment remains hospitable for acid-loving species.