
9 Steps to Prepare a Tool Cleaning Sand Bucket
Preparing a sand and oil bucket for tool cleaning transforms garden maintenance from a frustrating chore into a ritual of precision. Steel blades plunge into coarse silica grains saturated with mineral oil, shedding clay particles and sap residues in seconds. The abrasive action of sharp-edged sand crystals coupled with the rust-inhibiting properties of oil creates a dual-phase cleaning system that extends tool life by years. This method, refined across generations of professional horticulturists, requires no electricity, minimal space, and delivers consistent results whether you're maintaining Japanese hori-hori knives or full-size spading forks. The bucket sits ready near the potting bench, always prepared to receive dirty implements.
Materials
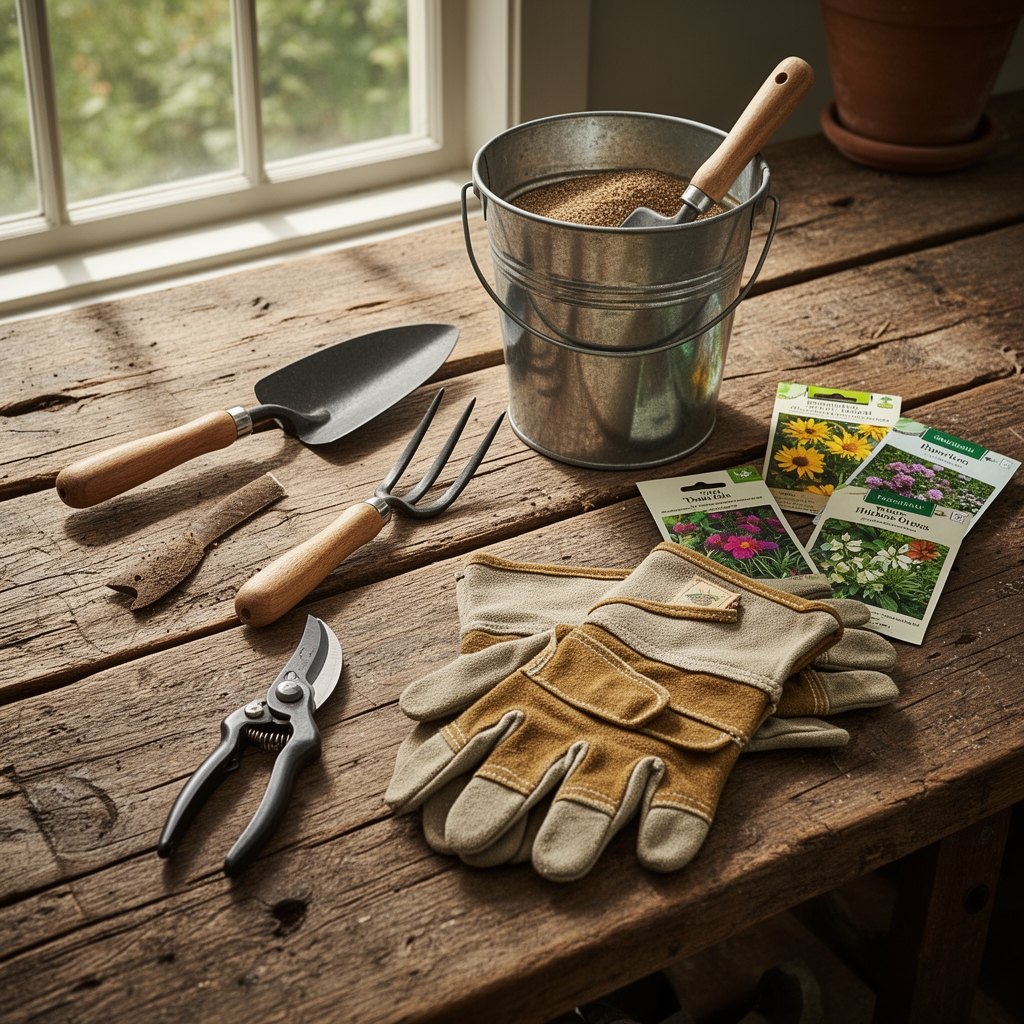
Select a galvanized steel bucket with 10 to 12 quart capacity. Avoid plastic containers, which crack under repeated tool impacts. The sand component demands coarse construction-grade silica with particle sizes between 0.5 and 2.0 millimeters. Fine sandbox sand lacks the aggressive abrasive properties needed for caked soil removal. Purchase 50 pounds to fill the bucket two-thirds full while allowing room for tool insertion.
Mineral oil serves as the liquid phase. Food-grade mineral oil works perfectly, offering pH-neutral properties that won't interact with steel or aluminum tool surfaces. One quart sufficiently saturates 30 pounds of sand. Avoid motor oil, which contains detergents and additives that leave sticky residues. The oil creates a rust-preventive film while binding fine dust particles that would otherwise become airborne.
Optional amendments improve performance. Add one cup of diatomaceous earth per bucket to enhance abrasive action against stubborn organic matter. This fossilized algae material increases cation exchange capacity within the sand matrix, helping pull charged soil particles away from metal surfaces. For tools used in high-fungal-pressure environments, incorporate 2 tablespoons of copper sulfate crystals. These provide mild antifungal properties without promoting corrosion.
Timing
Prepare the bucket during late winter, ideally 4 to 6 weeks before the last frost date in your hardiness zone. Zones 3 through 5 should complete setup by early March. Zones 6 through 8 can prepare buckets through mid-February. Zone 9 and above may establish buckets year-round, though autumn setup prevents summer heat from thinning the oil phase excessively.
The sand and oil mixture requires a 72-hour equilibration period. Oil migrates through sand pores via capillary action, creating uniform distribution. Rushing this process leaves dry sand pockets that fail to coat tools properly. Temperature affects viscosity. Conduct setup when ambient temperatures hold between 50 and 70 degrees Fahrenheit for optimal oil flow characteristics.
Phases

Initial Fill Phase: Pour dry sand into the bucket until it reaches 8 inches from the rim. Tap the bucket sides sharply to settle particles and eliminate air pockets. This compression increases sand density by 15 to 20 percent, creating a firmer cleaning substrate. Check depth with a ruler. Consistent fill height ensures tools penetrate to the same cleaning zone with each use.
Pro-Tip: Bake sand at 200 degrees Fahrenheit for 30 minutes before use. This pasteurization eliminates weed seeds and pathogenic bacteria that hitchhike in bulk construction materials.
Oil Integration Phase: Pour mineral oil slowly in a spiral pattern, starting at the bucket's outer edge and working toward the center. Use one quart for every 30 pounds of sand. Allow the oil to percolate downward for 15 minutes, then stir thoroughly with a clean trowel. Turn the mixture 20 times, bringing bottom sand to the surface. The properly mixed substrate appears uniformly damp, never pooling liquid at the bottom or showing dry patches at the top.
Pro-Tip: Test oil saturation by plunging a clean pruner blade to full depth. When withdrawn, the blade should show a thin, even oil film without drips. Insufficient oil leaves the blade dry. Excessive oil creates runs down the handle.
Conditioning Phase: Allow the prepared bucket to rest for 72 hours. During this period, oil molecules coat individual sand grains while excess settles to the bucket floor. Stir once daily to redistribute the oil phase. After three days, perform a final depth check. Sand may compact an additional half-inch, requiring a top-dress of fresh, oil-mixed sand to restore working depth.
Pro-Tip: Place a piece of burlap over the bucket's rim between uses. This breathable cover prevents debris accumulation while allowing moisture vapor to escape, maintaining optimal oil viscosity.
Troubleshooting
Symptom: Sand clumping into hard aggregates. Solution: Oil concentration exceeds optimal ratios. Remove half the sand, spread it on newspaper to drain for 24 hours, then remix with dry sand at 1:1 ratio. Clumping also indicates contamination with organic debris. Screen the sand through quarter-inch hardware cloth to remove plant material.
Symptom: Tools emerge with rust spots after cleaning. Solution: Sand has become saturated with water, displacing protective oil. Empty the bucket completely. Spread sand in a single layer on tarps under direct sun for 48 hours. Remix with fresh mineral oil at standard ratios. Store the bucket under shelter to prevent rain infiltration.
Symptom: Excessive dust rising during tool insertion. Solution: Oil has degraded or evaporated. Add one additional cup of mineral oil and stir thoroughly. In climates with temperatures above 90 degrees Fahrenheit, oil viscosity drops significantly. Switch to heavier-weight mineral oil or add 10 percent paraffin wax melted into the mixture.
Symptom: Sand turns black or develops foul odor. Solution: Organic contamination has introduced anaerobic decomposition. Discard the entire mixture. Sanitize the bucket with 10 percent bleach solution. Rinse thoroughly and dry completely before preparing a fresh batch. Always knock heavy soil clods off tools before bucket cleaning.
Symptom: Oil separates into a surface layer. Solution: Inadequate initial mixing or sand particle size too uniform. Drain visible oil from the surface. Add 5 pounds of coarser sand with 2 to 3 millimeter particles to diversify the pore structure. Remix thoroughly, incorporating the recovered oil evenly.
Maintenance
Replenish mineral oil monthly during active gardening seasons. Add one cup per month to compensate for evaporation and tool absorption. Stir the mixture weekly to prevent stratification. Every six months, screen the sand through quarter-inch mesh to remove accumulated organic debris, small pebbles, and rust particles. This sieving process restores abrasive efficiency.
Replace sand annually or after cleaning 500 tool insertions, whichever comes first. Degraded sand develops rounded particle edges that lose cutting action. Fresh angular sand restores optimal cleaning power. Dispose of spent sand in household waste, not in garden beds, due to accumulated rust and oil content.
Add water only if working in extremely arid climates where sand becomes electrostatically charged. A fine mist from a spray bottle, no more than 2 tablespoons total, settles dust without compromising rust prevention. Excess moisture promotes oxidation and must be avoided.
Store the bucket in a shed or covered area. Freezing temperatures increase oil viscosity to the point where sand grains lock together. If the mixture freezes, allow it to return to 60 degrees Fahrenheit and restir before use. UV exposure degrades mineral oil over time, creating sticky polymers. A simple plywood lid prevents photodegradation.
FAQ
How deep should tools penetrate the sand mixture?
Insert blades and tines to full working depth, typically 6 to 8 inches. This ensures complete coverage of cutting edges and soil-contact surfaces. Shallow insertion leaves tool shoulders uncleaned.
Can I substitute vegetable oil for mineral oil?
No. Vegetable oils oxidize rapidly, turning rancid and sticky. They promote rather than prevent rust formation. Only use mineral oil or specialized tool-care petroleum products.
Does sand particle size affect cleaning performance?
Absolutely. Particles between 0.5 and 2 millimeters provide ideal abrasive action. Finer sand polishes without cleaning. Coarser gravel damages tool edges and handles.
How do I clean tools with wooden handles?
Plunge only the metal portions. Oil wicks up wooden handles through capillary action in the grain, which protects fibers from moisture damage. Avoid submerging handles completely, as excessive oil creates slippery grips.
What indicates the sand needs complete replacement?
Three signs demand full replacement: persistent black coloration despite screening, development of a petroleum odor distinct from fresh mineral oil, or failure to clean tools after proper technique. These indicate irreversible contamination or sand degradation.