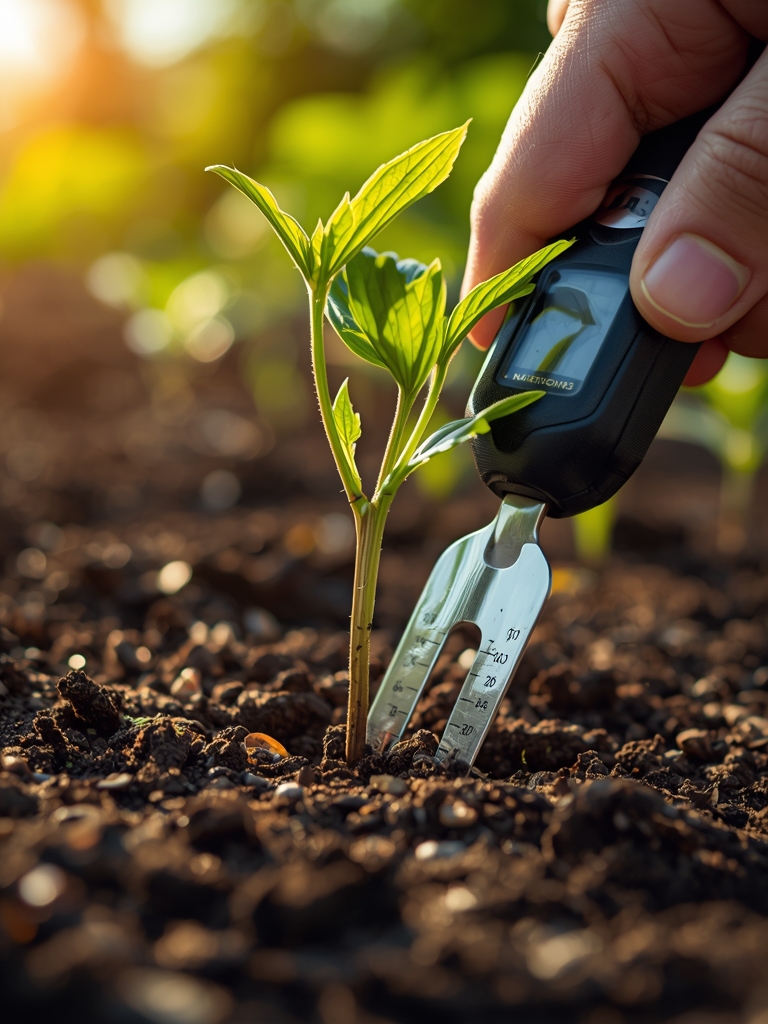
9 Expert Ways to Use a Soil pH Tester Kit to Optimize Your Vegetable Growth
The soil’s pH isn’t just a number on a chart; it’s the difference between your tomato plants thriving with vibrant green leaves or stalling out with yellowed, curled edges.** It’s the unseen gatekeeper in your garden, directly controlling how your vegetables access nutrients. Understanding and managing your soil acidity with a soil pH tester kit for vegetables is the most direct route from mediocre harvests to baskets overflowing with flavor and abundance. Forget about guessing—this tool puts raw, actionable data in your hands, the kind that separates hobbyists from master gardeners.
Materials & Supplies
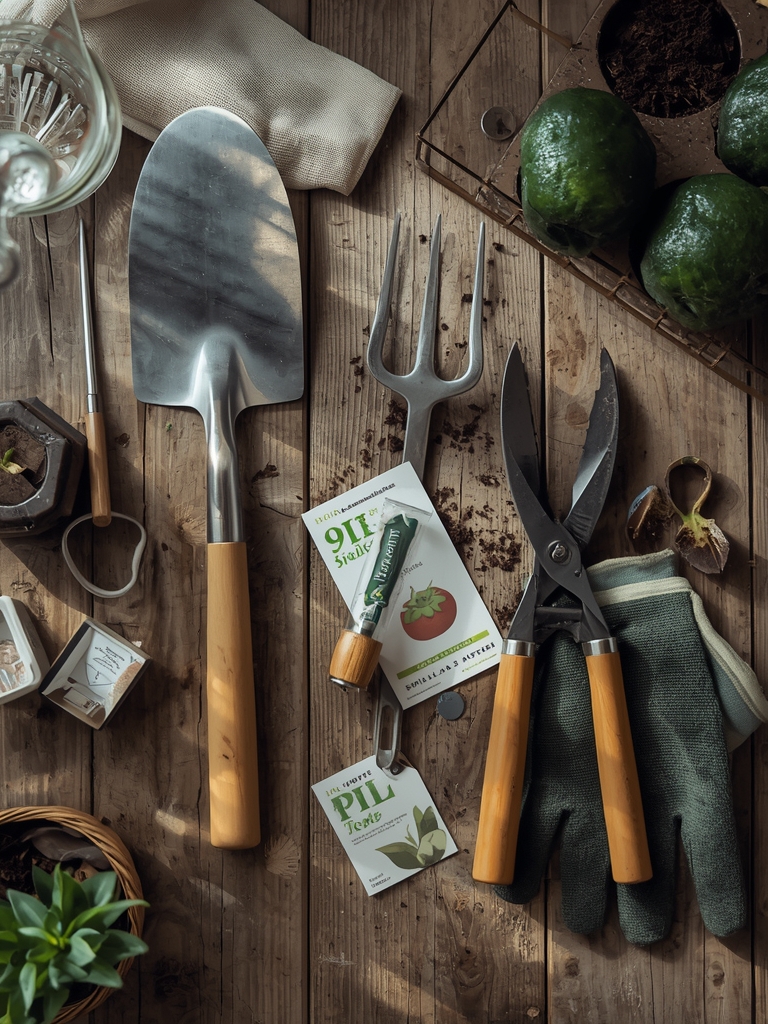
* **Testing Gear:** A reliable soil pH tester kit (meters are faster, chemical kits can be more comprehensive). Have distilled water for calibration and sample preparation, plus clean plastic buckets for mixing.
* **Soil & Amendments:**
* **For Lowering pH (Making soil more acidic):** Pelletized elemental sulfur or ammonium-based fertilizers. Pine needle or oak leaf mulch works gradually.
* **For Raising pH (Making soil more alkaline):** Garden lime (calcitic or dolomitic). Crushed eggshells are a slow-release, minor amendment.
* A well-draining potting mix with a pH of 6.0–7.0 for container work.
* **Tools:** A soil sampler or a stainless steel trowel. A notebook for recording dates, locations, and pH readings.
Timing / Growing Schedule
Conduct your first pH test in early spring, before you plant a single seed. This gives you 4-6 weeks to properly amend your soil, as products like sulfur and lime require time and moisture to become biologically active. Perform follow-up tests mid-season, especially if plants show nutrient deficiency symptoms. Most vegetables peak in performance within a pH range of 6.0 to 7.0. Cool-season crops like brassicas can tolerate slightly more alkalinity (up to 7.5), while potatoes and blueberries demand more acidity (5.0-5.5). Your hardiness zone dictates your planting window, but your soil pH dictates your plant’s health within that window.
Step-by-Step Instructions

**1. The Baseline Test:** Collect soil samples 4-6 inches deep from several spots in your garden bed, avoiding areas recently fertilized. Mix them in a clean bucket. Follow your specific kit’s instructions precisely—moisten with distilled water for a meter, or combine with the chemical solution for a color test.
**Pro-Tip:** Label samples by bed or crop type. A “tomato bed” reading of 6.8 is useless if your “potato trench” reads 7.5.
**2. Interpreting & Amending:** Match your reading to your target crop’s ideal range. To lower pH by 1.0 point, work in 1 pound of elemental sulfur per 100 square feet for sandy soil, or 2 pounds for clay. To raise pH by 1.0 point, apply 5 pounds of lime per 100 square feet.
**Pro-Tip:** Always apply amendments to moist (not soggy) soil and water them in thoroughly. They work with soil moisture and microbial activity, not magic.
**3. Post-Amendment Monitoring:** Wait 4-6 weeks, then retest the same locations. Adjust further if needed, but in smaller increments. Once in range, plant your starts or seeds.
**Pro-Tip:** A stable, correct pH encourages beneficial mycorrhizal fungi networks to form, which vastly improve plant nutrient and water uptake.
Nutritional & Environmental Benefits
Correct pH unlocks the soil’s nutrient bank. At 6.5, elements like phosphorus, nitrogen, and potassium are fully soluble and available for root uptake, leading to vegetables with higher vitamin C, lycopene, and mineral content. Proper pH also supports robust soil microbiology, from nitrogen-fixing bacteria to predatory nematodes that suppress pests like root-knot nematodes. A healthy soil food web is the best defense you can buy.
Advanced Methods & Variations
- Small Space/Container Gardening: Test your potting mix every 4 weeks. Frequent watering leaches nutrients and can shift pH quickly. Use a liquid organic fertilizer designed for containers to help maintain stability.
- Organic/Permaculture Methods: Rely on long-term amendments like compost and leaf mold to buffer pH. While slower, they improve soil structure and biology. Use cover crops like buckwheat to gently lower pH.
- Season Extension: Soil chemistry changes more slowly in cold soil. Test in late summer for your fall garden and amend then, giving amendments months to integrate before spring planting.
Troubleshooting: Common Mistakes
- Symptom: Yellowing between leaf veins on new growth.
Solution: High pH is likely locking out iron and manganese. Apply a chelated iron supplement as a foliar spray for a quick fix, then amend soil with sulfur. - Symptom: Stunted plants with purplish tinges on leaves.
Solution: Low pH is locking out phosphorus. Apply bone meal or a balanced, fast-release fertilizer to correct, then add lime to bring pH into range. - Symptom: Inconsistent readings from the same bed.
Solution: You’re testing too shallow, or local fertilizer/compost pockets are skewing results. Take a larger, more uniform composite sample from the full root zone depth. - Symptom: Amendments aren’t changing the pH reading.
Solution: You likely have high-buffer-capacity clay soil or organic matter is overwhelming the change. Increase amendment rates by 25% and ensure the soil stays consistently moist for microbial activity.
Storage & Ongoing Maintenance
Clean and dry your pH meter probes after every use. Store chemical test kits in a cool, dark place. For your garden, retest pH annually, ideally in the fall. This allows winter freeze-thaw cycles to help integrate any new amendments. Water consistently to maintain soil microbial life, which helps stabilize pH. Keep detailed records—your pH log is your most valuable garden diary.
Conclusion
Success starts with a baseline pH test before planting. Make amendments gradually and retest to confirm the change. Maintain records and monitor plant health, using leaf color and growth as your biofeedback. Now, go get your hands dirty—test your soil this weekend and share your before-and-after pH readings in the comments below.
Expert FAQs
What is the most accurate soil pH tester for home gardeners?
For ease and repeatability, a quality digital pH meter with automatic temperature compensation is best. Calibrate it monthly with standard buffer solutions for reliable results.
How often should you test container vegetable soil pH?
Test the potting mix in your containers every 3-4 weeks. Frequent watering and fertilizing can cause significant pH drift in a confined root zone much faster than in-ground beds.
Can compost change your soil pH level?
Finished compost is typically neutral and acts as a pH buffer, helping to stabilize soils that are either too acidic or too alkaline. It won’t dramatically shift pH but is essential for long-term soil health.
Why is my soil pH always too high (alkaline) for blueberries?
Blueberries require intensely acidic soil (pH 4.5-5.5). In-ground, create a dedicated raised bed filled with a 50/50 mix of peat moss and soil, and amend annually with sulfur. Alternatively, grow them in large containers for complete control.
Does wood ash raise soil pH for vegetables?
Yes, wood ash is a fast-acting source of potassium and will raise pH. Use it sparingly—no more than 1 pound per 100 square feet—and only if your soil test confirms you need both potassium and reduced acidity.