7 Pro Tips for Using a Garden Rake for Perfect Seedbed Leveling
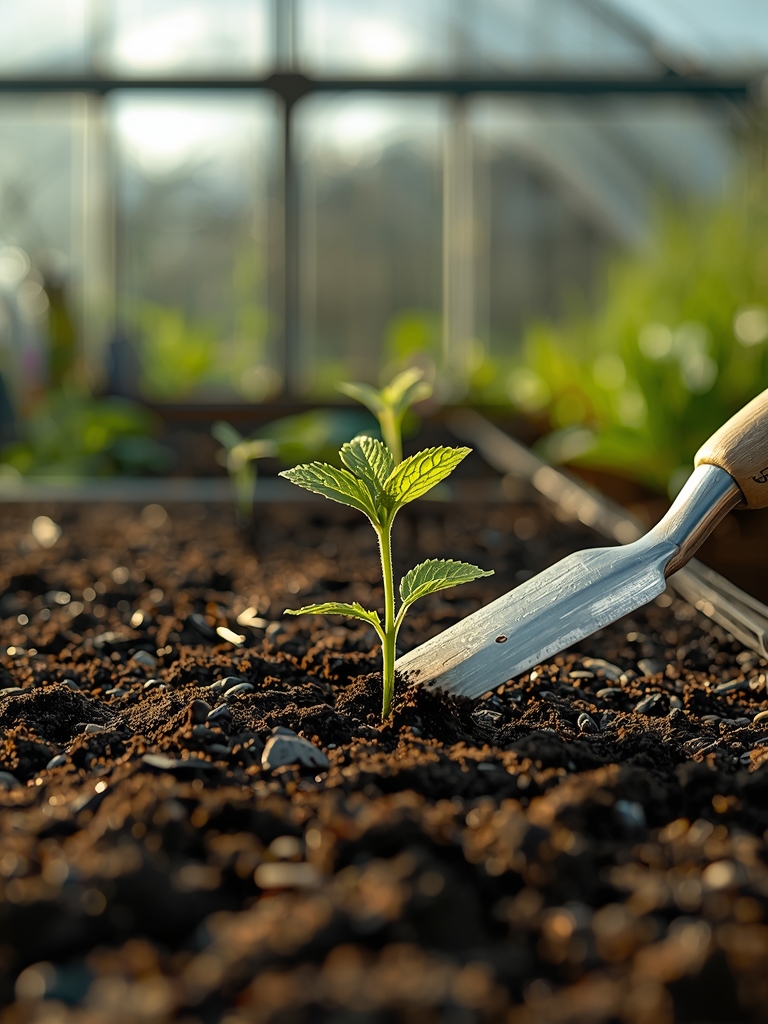
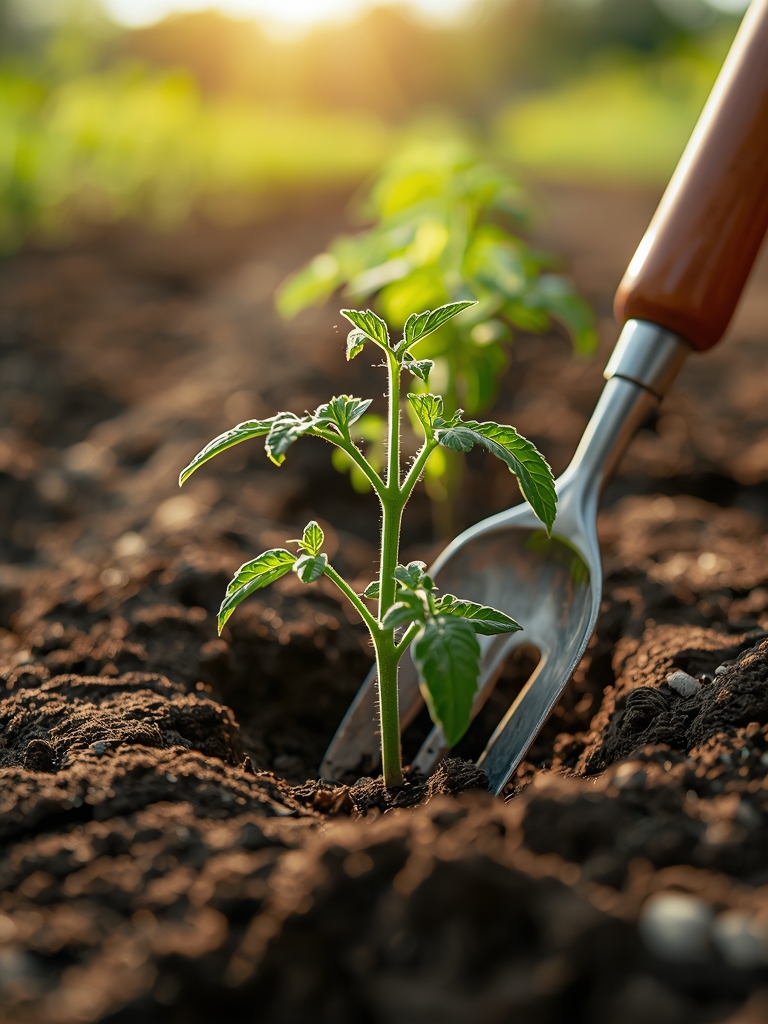
The scrape of steel tines against damp soil produces a sound somewhere between whisper and scratch, releasing that earthy petrichor scent of freshly turned ground. Your rake drags across uneven clumps, transforming rough terrain into a smooth canvas where seeds can nestle at uniform depth. Learning how to use a garden rake for seedbed leveling separates frustrated gardeners from those who achieve germination rates above 85 percent. The difference lies not in expensive equipment but in technique, timing, and understanding what happens in those critical first inches of topsoil.
Most gardeners underestimate the physics of soil particle arrangement. When you rake correctly, you create air pockets that balance oxygen availability with moisture retention. Seeds require contact with soil particles on multiple sides, but they also need pathways for the radicle (first root) to push downward without obstruction. A poorly leveled bed creates high spots that dry out within hours and low spots where water pools, suffocating seeds before they sprout.
Materials & Supplies
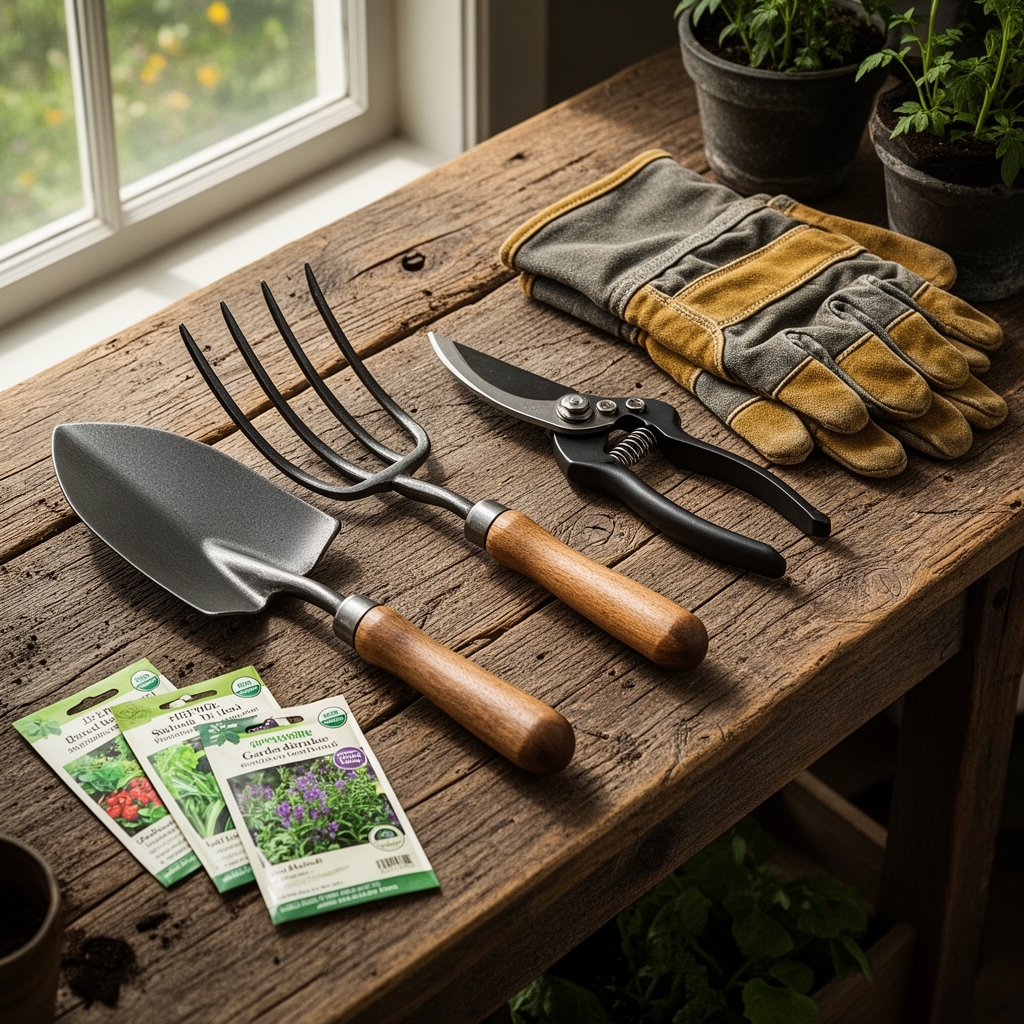
Primary Tools:
- Bow rake (14 to 16 tines, steel construction, 36-inch handle minimum)
- Level rake (aluminum, 24-inch head for final smoothing)
- Soil thermometer (analog preferred, 6-inch probe)
- String line and stakes (for establishing grade)
Soil Amendments (Pre-Raking Application):
- Compost (well-aged, 2 to 3 inches broadcast layer, pH 6.5 to 7.0)
- Granular fertilizer (5-10-5 NPK for root development, apply 2 pounds per 100 square feet)
- Bone meal (phosphorus source, 3-15-0 ratio, use 1 pound per 100 square feet for heavy feeders)
- Greensand (potassium and micronutrients, 0-0-3, broadcast 5 pounds per 100 square feet)
- Gypsum (calcium sulfate for clay soil structure, not a pH modifier, 5 pounds per 100 square feet)
Testing Equipment:
- Soil test kit (NPK plus micronutrients, pH range 4.0 to 9.0)
- Moisture meter (analog tensiometer, measures at 4 and 8 inches)
Soil pH between 6.0 and 7.0 suits most vegetable crops. Test amendments before incorporating. Mycorrhizal fungi colonization increases by 40 percent in properly aerated seedbeds compared to compacted ones.
Timing & Growing Schedule
Seedbed preparation timing depends on Hardiness Zones and soil temperature thresholds. Cool-season crops (lettuce, peas, spinach) require soil temperatures between 40°F and 65°F. Warm-season crops (tomatoes, peppers, squash) demand 60°F minimum, with optimal germination occurring at 70°F to 85°F.
Spring Preparation Windows:
- Zones 3 to 5: Late April through mid-May (wait until soil crumbles when squeezed)
- Zones 6 to 7: Mid-March through April
- Zones 8 to 10: February through March
Attempting to rake when soil moisture exceeds field capacity creates compaction. The squeeze test determines readiness: grab soil and compress it. If water drips out, wait three days. If the ball holds shape but crumbles when poked, conditions are perfect. If it refuses to form a ball, irrigation is necessary before raking.
Days to Maturity calculations start from transplant or direct sowing date. Cool-season greens mature in 45 to 60 days. Root vegetables require 50 to 70 days. Warm-season fruiting crops need 70 to 90 days from transplant.
Fall preparations begin 10 to 12 weeks before first frost dates. Soil temperatures drop slower than air temperatures, extending the planting window for brassicas and root crops.
Step-by-Step Instructions

Phase 1: Initial Soil Preparation (Sowing Foundation)
Remove debris, rocks larger than 1 inch, and existing vegetation. Broadcast soil amendments evenly across the bed surface. Use the bow rake with tines angled at 45 degrees, pulling toward your body in overlapping passes. Work perpendicular to the bed's length first, then parallel. This cross-hatch pattern breaks clumps to particles between 0.25 and 0.5 inches.
Pro-Tip: Flip the rake and use the back edge to pulverize stubborn clods. The flat surface crushes without digging, preserving the soil structure you've just created.
Phase 2: Establishing Grade and Drainage
Set string lines at desired bed height. Most vegetable beds perform best with a 1 to 2 percent slope (1 to 2 inches drop per 10 feet) for drainage. Use the rake in long, smooth strokes following the slope direction. Push excess soil to low spots. Avoid short, choppy movements that create washboard texture.
Pro-Tip: Wet the rake tines every 10 minutes. Moist steel glides through soil without dragging particles, creating a smoother finish with less effort.
Phase 3: Final Surface Preparation (Transplanting and Establishing)
Switch to the aluminum level rake or flip the bow rake teeth-up. Hold the handle at a 30-degree angle, barely touching the surface. Move backward, pulling the rake toward you. Your goal: eliminate ruts deeper than 0.25 inches. The surface should show rake marks but no valleys.
Pro-Tip: Walk on planks, never on prepared beds. A single footstep compresses the top 4 inches, reducing pore space by 60 percent and delaying germination by 5 to 7 days.
Phase 4: Seed Furrow Creation
Use the rake handle (not tines) pressed into soil to create furrows. Depth specifications: small seeds (lettuce, carrots) require 0.125 to 0.25 inches; medium seeds (beans, peas) need 1 to 1.5 inches; large seeds (squash, corn) demand 1.5 to 2 inches.
Pro-Tip: Sprinkle a thin layer of vermiculite in furrows before sowing. This mineral amendment reflects light, warms soil 3°F to 5°F faster, and prevents crusting that traps emerging seedlings.
Nutritional & Environmental Benefits
Properly leveled seedbeds support robust nitrogen fixation in legume crops. Rhizobium bacteria colonize root nodules only when oxygen levels in the root zone exceed 18 percent. Compacted, poorly prepared beds suffocate these beneficial microbes, reducing nitrogen contribution by half.
The smooth surface created by correct raking techniques allows ground beetles and other beneficial predators to patrol efficiently. Research shows pest damage decreases by 30 percent in level beds compared to rough, cloddy surfaces where pests hide in crevices.
Level beds maximize solar gain. South-facing slopes (created intentionally with rake grading) absorb 20 percent more solar radiation than flat surfaces, extending the growing season by 2 to 3 weeks. This benefits early spring crops and fall plantings when light angles are low.
Mason bees and native pollinators prefer nesting in bare, level ground between planted rows. Leave 6-inch pathways between beds, raked smooth and free of mulch. These solitary bees pollinate 95 percent of flowers they visit, compared to 5 percent for honeybees.
Well-prepared seedbeds reduce water waste. Level surfaces distribute irrigation evenly, eliminating runoff channels that carry away topsoil and nutrients. Studies document 40 percent water savings in properly graded beds versus uneven ones.
Advanced Methods
Small Space Optimization:
Container gardens and raised beds (24 inches wide or less) benefit from Japanese-style hand rakes with 8-inch heads. Work from bed edges toward the center, maintaining a crown (slight peak) that sheds excess water while keeping the root zone moist.
Create microclimates by varying surface texture. Rake one section smooth for heat-loving crops. Leave adjacent areas slightly rougher for cool-season plants that benefit from afternoon shade created by soil texture.
Organic and Permaculture Applications:
Replace synthetic fertilizers with a pre-raking application of compost tea (1:5 ratio, brewed 24 hours). Rake immediately after applying to incorporate beneficial bacteria and fungi into the top 2 inches where seeds germinate.
Incorporate biochar (2 percent by volume) before final leveling. This carbon-rich amendment hosts beneficial microbes and retains moisture. Raking distributes biochar particles evenly, preventing concentration pockets.
Plant nitrogen-fixing cover crops (crimson clover, hairy vetch) in fall. In spring, mow and rake the residue into the top inch of soil. Wait 10 days before creating the final seedbed, allowing decomposition to provide slow-release nitrogen.
Season Extension Strategies:
Rake beds inside cold frames or hoop houses 2 weeks before outdoor beds. Protected environments warm faster, allowing earlier sowing. The controlled climate reduces the freeze-thaw cycles that roughen outdoor seedbeds.
Create sunken beds by raking soil to the perimeter, leaving the center 2 inches lower. These frost pockets protect cold-hardy crops (spinach, mache) by trapping dense, cold air while surrounding soil insulates roots.
For fall planting, rake in late afternoon after soil warms. Evening preparation retains daytime heat through the night, helping seeds planted immediately germinate 30 percent faster.
Troubleshooting
Symptom: Seeds germinate in patches with bare spots between.
Solution: Uneven raking created high spots that dried quickly and low spots where seeds washed into clumps. Re-rake before next planting, using a string line to identify grade variations. Apply water with a fan nozzle to test drainage patterns.
Symptom: Soil crusts within 48 hours, preventing seedling emergence.
Solution: High clay content or sodium levels cause surface sealing. Before raking, broadcast 1 inch of compost and 5 pounds gypsum per 100 square feet. Rake twice: once to incorporate amendments 3 inches deep, then final pass for smooth surface. Cover furrows with vermiculite or seed-starting mix.
Symptom: Seedlings emerge yellow and stunted despite adequate water.
Solution: Over-raking compacted soil below the surface, creating a hardpan that restricts root penetration and oxygen exchange. Use a broadfork to fracture soil 8 to 12 inches deep before any raking. Limit rake passes to four total: two perpendicular, two parallel.
Symptom: Rake drags heavily, requiring excessive effort.
Solution: Soil moisture is too high (above field capacity) or too low (dust conditions). Wait for proper moisture levels. If timing is critical, mist the surface lightly 2 hours before raking or irrigate 24 hours prior.
Symptom: Fine seeds (carrots, lettuce) wash away after first watering.
Solution: Surface too smooth with no texture to hold seeds in place. Final rake pass should leave shallow grooves parallel to furrows. These micro-ridges trap seeds and slow water movement. Press seeds gently with a board after sowing to ensure soil contact.
Storage & Maintenance
Irrigation Protocol:
Newly raked seedbeds require light, frequent watering until germination. Apply 0.25 inches daily using a fan spray that won't disturb the surface. After seedlings establish (true leaves appear), transition to deep watering: 1 inch per week in a single session. This encourages roots to grow downward rather than spreading horizontally near the surface.
Use a rain gauge to measure application rates. Most sprinklers deliver 0.5 inches per hour. Water early morning (5:00 AM to 8:00 AM) to minimize disease and allow foliage to dry before evening.
Feeding Schedule:
Side-dress established plants 3 weeks after germination with balanced fertilizer (10-10-10), applying 1 tablespoon per linear foot of row. Rake lightly (0.5 inches deep) to incorporate without disturbing roots. Repeat every 4 weeks for heavy feeders (tomatoes, squash, corn).
Foliar feed with kelp solution (1 tablespoon per gallon) every 2 weeks. The trace minerals support stress tolerance and disease resistance that soil applications can't match.
Tool Maintenance:
Clean rake tines after each use. Soil left to dry creates rust and dulls edges. Scrape debris with a wire brush, then wipe with an oiled rag. Store hanging to prevent tine warping.
Sharpen bow rake tines twice per season with a mill file. Sharp edges cut through soil rather than pushing it, reducing effort by 30 percent. File at the original angle (typically 45 degrees) with 3 to 5 strokes per tine.
Replace wooden handles when cracks appear near the ferrule (metal connector). Splits here create dangerous separation during use. Sand and oil handles annually to prevent moisture absorption that weakens wood grain.
Post-Harvest Bed Management:
Remove plant debris within 48 hours of final harvest. Rake smooth and broadcast cover crop seeds at recommended rates (3 to 4 pounds per 1,000 square feet for rye, 2 to 3 pounds for clover). A light final raking (0.25 inches deep) covers seeds without burying them too deeply.
For spring preparation, mow cover crops when they reach 8 to 10 inches. Rake residue off the bed or incorporate shallowly. Wait 2 weeks before planting to allow decomposition gases (which inhibit germination) to dissipate.
Conclusion
The "Success Blueprint" condenses to three fundamentals: proper soil moisture at raking time, four-pass cross-hatch technique for uniform particle size, and maintaining grade that sheds excess water while retaining moisture in the root zone. These practices transform unpredictable germination into reliable establishment. Share your seedbed preparation results with your local garden club or extension office; experienced growers document techniques that benefit entire communities facing similar soil and climate challenges.
Expert FAQs
How deep should I rake when preparing a seedbed?
Rake only the top 2 to 3 inches for seedbed preparation. Deeper disturbance buries organic matter and beneficial organisms while bringing weed seeds to the surface. Use a broadfork for deeper loosening (8 to 12 inches) before surface raking begins.
Can I rake wet soil if planting deadlines are approaching?
Never rake saturated soil. The compaction damage requires months to reverse and reduces yields by 40 percent. If deadlines pressure you, create temporary raised beds using purchased topsoil mixed with compost (1:1 ratio). This allows planting while native soil dries to workable moisture levels.
Which rake type works best for clay versus sandy soil?
Clay soils require bow rakes with wider tine spacing (1 inch between tines) to prevent clogging. Sandy soils need closer spacing (0.5 inches) to catch and level fine particles. Aluminum level rakes work for final smoothing in both soil types.
How often should I re-rake established beds between plantings?
Re-rake only if surface crusting or compaction occurred. Excessive raking destroys soil structure and kills beneficial organisms. For succession plantings, simply rake the planting furrow or hole location, leaving surrounding soil undisturbed.
What causes rake marks to remain visible after planting?
Insufficient final smoothing or raking when soil is too dry. The last pass should use minimal pressure, barely touching the surface. If marks persist, mist lightly and re-rake 30 minutes later when moisture softens particles without creating mud.