7 Steps to Install a Solar Garden Path Light
The weight of a solar garden path light in your hand tells you nothing about its longevity. The soil beneath it, however, speaks volumes. Most failures occur not in the photovoltaic cell but in the foundation: compacted clay that locks moisture against the stake, or sandy loam so loose the fixture tilts after the first rain. Learning the proper steps for installing a solar powered garden light transforms a decorative impulse into a decade of reliable illumination along walkways and borders.
Materials
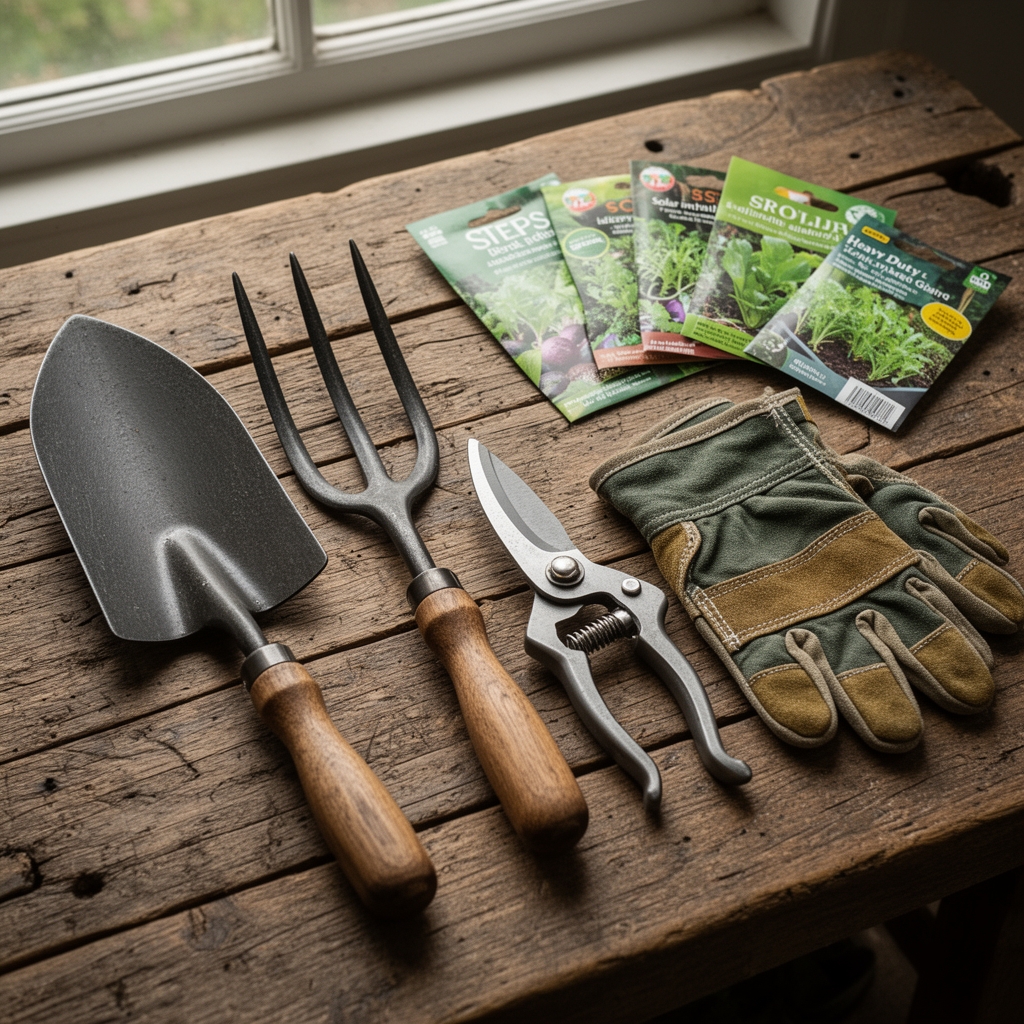
Solar path lights demand less from the soil than any perennial, but site preparation still matters. The ground stakes penetrate 4 to 6 inches depending on model. For installation in beds amended with compost (typical NPK value of 1-1-1), no additional fertilizer is necessary. The stakes are inert plastic or coated metal. In native soils, assess cation exchange capacity. Clay-heavy substrates (pH 6.5 to 7.2) grip stakes firmly but retain water that corrodes electrical contacts. Sandy substrates (pH 5.8 to 6.5) drain freely but surrender their hold during freeze-thaw cycles.
Gather a soil probe or 12-inch screwdriver to test compaction. A rubber mallet protects plastic stakes from cracking. Keep a 1-gallon bucket of coarse sand (0.5 to 2 mm grain size) and another of pea gravel (5 to 10 mm) to adjust drainage or provide lateral stability. A bottle of isopropyl alcohol and a microfiber cloth will clean the solar panel surface. No organic amendments, mycorrhizal inoculants, or bone meal (3-15-0) are relevant here. The only living element is the lawn or groundcover you may disturb during installation.
Timing
Solar lights install in any season when the ground remains unfrozen. Hardiness zones dictate soil workability, not the fixture itself. In Zones 7 through 10, winter installation is feasible November through February when frost penetration stays above 2 inches. Zones 4 through 6 see reliable installation windows from late March through early November, bracketing the average last and first frost dates. Zone 3 gardeners work May through September to avoid permafrost layers that crack stakes.
Avoid installation during active mud season. Soil moisture content above 25 percent by volume creates suction that pulls stakes crooked as the ground dries. Wait three days after heavy rain. The solar panel requires unobstructed southern exposure in the Northern Hemisphere (northern exposure below the equator). Measure sunlight duration with a solar pathfinder or simple observation: mark the spot at solar noon in June for maximum annual insolation.
Phases

Site Preparation: Clear a 6-inch diameter circle of mulch, groundcover, or turf. Remove organic debris to soil level. Test compaction by driving the screwdriver 6 inches deep with hand pressure alone. If resistance stops penetration above 4 inches, loosen the top layer with a trowel. Do not cultivate deeper than necessary; this invites settling.
Pro-Tip: In clay soils that retain water, excavate a 3-inch diameter hole to the full stake depth, then backfill with coarse sand. This creates a moisture-shedding column around electrical components while the surrounding clay grips the sand jacket.
Stake Insertion: Hold the light fixture vertically. Align the solar panel true south (or north, if southern hemisphere). Apply downward pressure steadily. Avoid twisting, which scores the stake and weakens structural integrity. If resistance halts progress, withdraw the stake and remove the obstruction. Forcing past a buried rock fractures plastic stakes at the midpoint.
Pro-Tip: For loose sandy soils, pour 2 ounces of water into the pilot hole before insertion. Capillary action temporarily binds sand grains, creating a firm grip that solidifies as moisture evaporates.
Leveling and Testing: Stand 10 feet back and verify the fixture stands plumb on two perpendicular sightlines. A 5-degree tilt reduces solar capture by 8 percent annually. Pack removed soil or add pea gravel around the stake base to stabilize. Switch the unit on if it includes a manual control. Most activate automatically at dusk once the photoresistor detects less than 10 lux.
Pro-Tip: Wipe the solar panel with isopropyl alcohol before first use. Manufacturing residue reduces initial charge efficiency by up to 15 percent.
Troubleshooting
Symptom: Light flickers or extinguishes within two hours of dusk.
Solution: The rechargeable battery has reached end of life, typically after 500 to 800 cycles (roughly two to three years). Replace with an NiMH cell of identical voltage and mAh rating. Clean battery contacts with alcohol to remove corrosion.
Symptom: Fixture tilts within weeks of installation.
Solution: Frost heave or soil settling has loosened the stake. Excavate a 4-inch diameter zone around the stake, insert a PVC collar cut from 2-inch pipe to a depth of 5 inches, and backfill with gravel. The collar distributes lateral force.
Symptom: Light operates weakly even after full sunny days.
Solution: The solar panel surface carries a film of dust, pollen, or algae. Clean monthly with isopropyl alcohol. Reposition if canopy growth now shades the panel more than one hour daily.
Symptom: Stake cracks at soil line during winter.
Solution: Freeze-thaw cycles expand soil moisture. Remove fixtures in Zone 5 and colder regions each November. Store indoors, allowing batteries to cycle once per month.
Maintenance
Wipe solar panels every four weeks during the growing season. Inspect battery contacts biannually and clean with alcohol if oxidation appears. Replace NiMH batteries every 24 to 30 months regardless of performance. Trim encroaching vegetation to maintain the minimum 6-hour solar exposure window. After heavy snow, brush accumulation from panels gently. Do not use salt near fixtures; sodium ions accelerate corrosion of both metal stakes and solder joints inside the housing.
FAQ
How deep should stakes go?
Insert stakes to the manufacturer's depth marker, typically 4 to 6 inches. Shallow placement invites tipping; excess depth stresses the stake joint.
Can I install lights in pure clay soil?
Yes, but excavate the hole and backfill with sand to prevent water accumulation around electrical components.
Do solar lights need fertilizer?
No. They draw no nutrients and require no soil amendments beyond what supports physical stability.
Why do new lights fail to turn on?
Most ship with a battery isolation tab or off switch. Remove the tab or toggle the switch. Allow 8 hours of sunlight for the first full charge.
How many hours will a fully charged light run?
Quality units provide 8 to 10 hours of illumination after a full solar charge under optimal conditions.