6 Steps to Build an Artistic Garden Pergola
Crushing a handful of friable loam reveals the structural integrity of your site; it should crumble under light pressure while retaining enough moisture to support high turgor pressure in surrounding flora. A pergola is not merely a wooden frame. It is a structural support system for vertical biomass. Understanding the technical steps for building a garden pergola requires a synthesis of structural engineering and botanical science. You are creating a microclimate where light filtration and airflow dictate the success of your climbing cultivars.
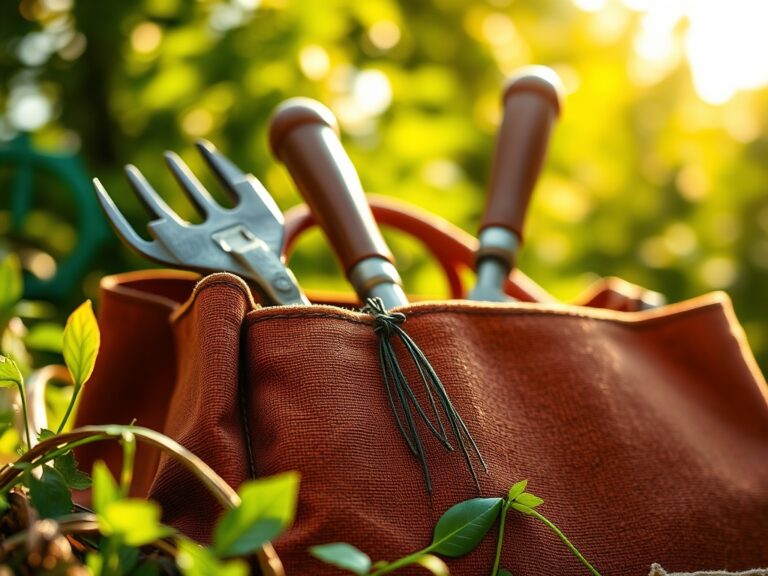
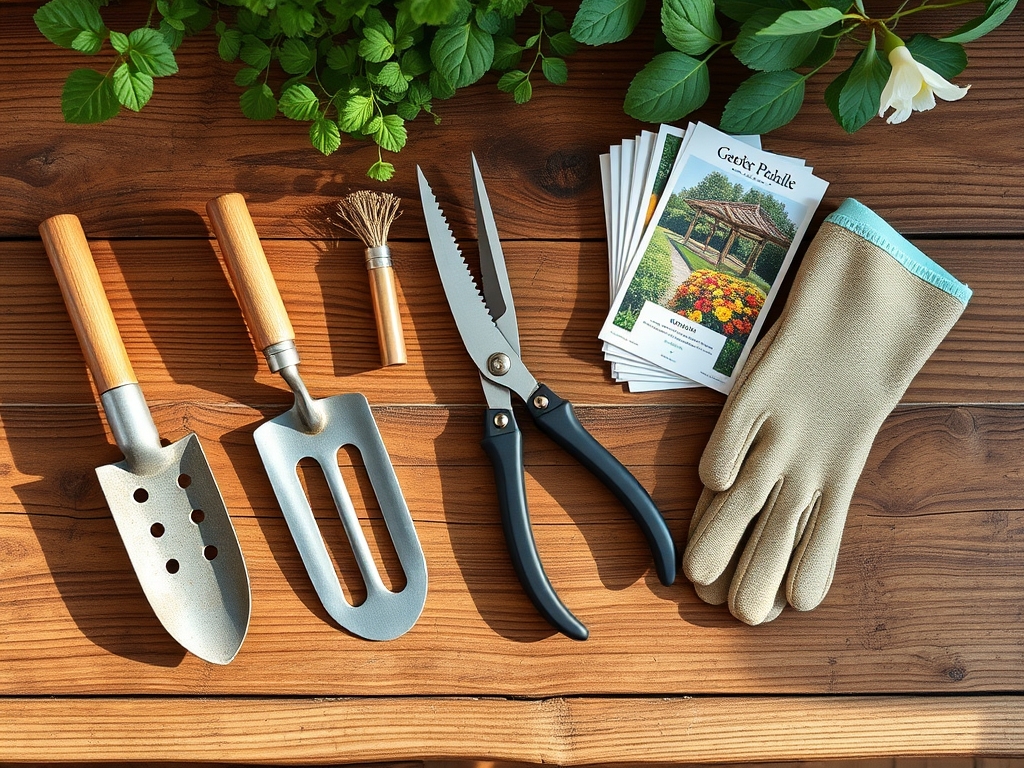
Materials:
The foundation of any vertical garden structure begins in the rhizosphere. Before setting posts, analyze your soil composition. Ideal conditions consist of a **pH between 6.0 and 7.0** to ensure maximum nutrient availability. High Cation Exchange Capacity (CEC) is vital if you intend to plant heavy feeders like Wisteria or climbing roses at the base.
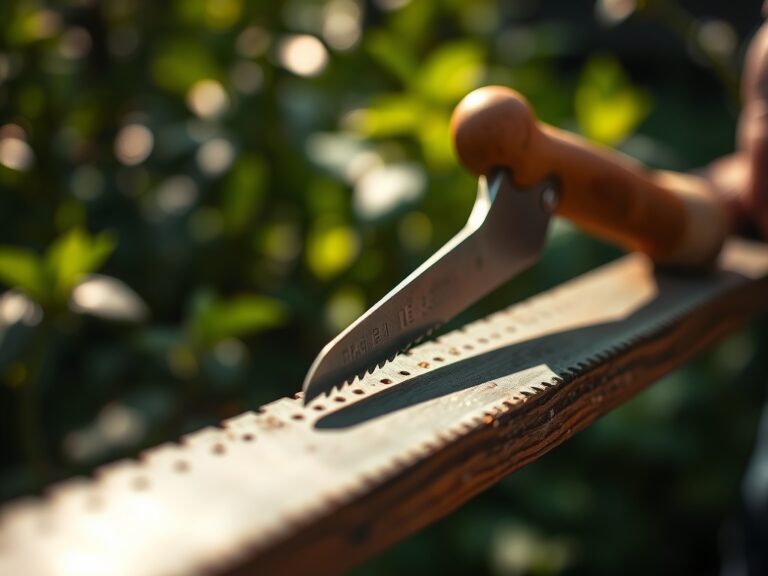
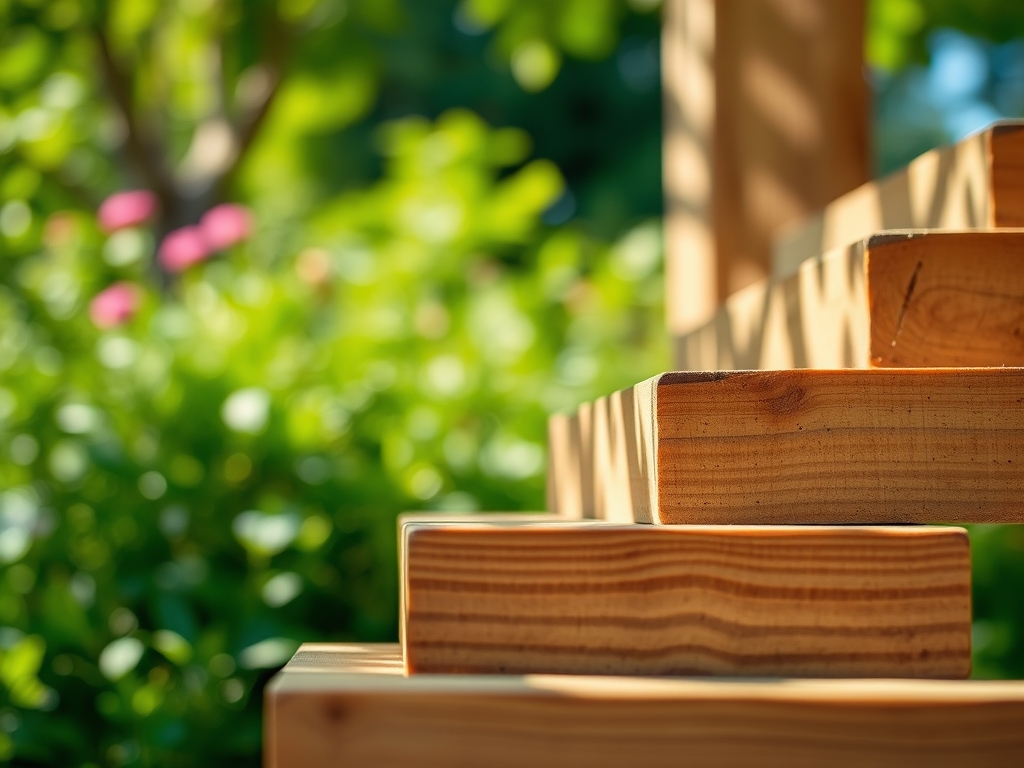
For the backfill around the footings, use a substrate with an NPK ratio of 5-10-5 to encourage root establishment without triggering excessive vegetative surge. The physical texture must be a true friable loam; a mixture of 40 percent sand, 40 percent silt, and 20 percent clay. This ratio prevents anaerobic conditions and root rot at the post base. Use pressure-treated lumber or heartwood cedar to resist fungal decay and wood-boring insects.
Timing:
Construction and planting must align with the biological clock of your specific Hardiness Zone. In Zones 5 through 7, the window for ground disturbance opens when soil temperatures consistently reach 55 degrees Fahrenheit. This ensures that any biological activity in the soil, such as mycorrhizal colonization, can resume after the winter dormancy period.
The transition from vegetative to reproductive stages in climbing plants is governed by the photoperiod. Install your pergola in early spring, before the vernal equinox, to allow the structure to settle before the rapid expansion of biomass. By completing the steps for building a garden pergola during the dormant phase, you minimize physical trauma to existing root systems and ensure that new transplants can focus energy on structural anchoring rather than heat stress management.
Phases:

Sowing and Site Prep
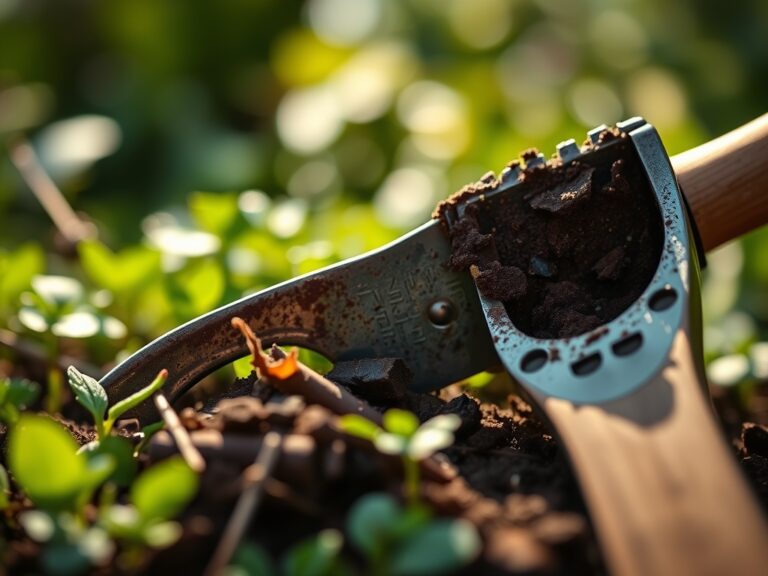
Excavate post holes to a depth of at least 36 inches, or below the local frost line, to prevent heave. The diameter should be three times the width of the post. Treat the interior of the hole with a thin layer of gravel to facilitate drainage.
Pro-Tip: Proper drainage prevents the accumulation of stagnant water, which lowers oxygen levels in the soil and triggers root senescence. Mycorrhizal fungi require aerobic conditions to form the symbiotic relationships necessary for phosphorus uptake.
Transplanting and Anchoring
When placing climbing species at the base of the pergola, dig a hole twice the width of the root ball. Ensure the crown sits exactly at the soil line. Backfill with the specified friable loam and tamp down to remove air pockets that could dehydrate the fine root hairs.
Pro-Tip: Use soft ties to guide young shoots toward the pillars. This exploits thigmotropism, the plant's physiological response to touch. By providing a stable contact point, you stimulate the production of ethylene, which thickens the cell walls in the stem for better structural support.
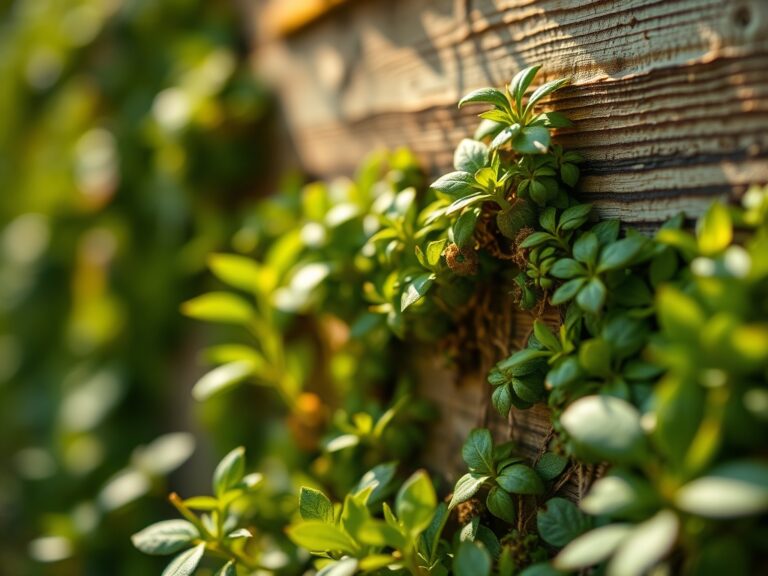
Establishing the Canopy
Once the vertical posts and horizontal rafters are secured, focus on directing the primary leaders. Prune lateral branches to encourage upward growth. This focuses the plant's energy on the terminal bud through apical dominance.
Pro-Tip: Suppressing lateral buds via auxin regulation allows the plant to reach the top of the pergola faster. Once the desired height is achieved, pruning the terminal bud will release those lateral buds, creating a dense, shaded canopy that optimizes the photosynthetic surface area.
The Clinic:
Physiological disorders often manifest when the structural environment does not meet the plant's metabolic needs.
- Symptom: Interveinal chlorosis (yellowing leaves with green veins).
- Solution: This typically indicates a Manganese or Iron deficiency caused by high soil pH. Apply a chelated micronutrient drench to lower the pH to 6.5.
- Symptom: Leaf scorch or marginal necrosis.
- Solution: This suggests excessive transpiration. Increase irrigation to maintain cell turgor and check for high salt accumulation in the soil.
- Symptom: Stunted growth and purplish leaf undersides.
- Fix-It: This is a classic Phosphorus deficiency. Incorporate bone meal or a high-phosphate fertilizer into the top 4 inches of soil to support ATP production and energy transfer.
Maintenance:
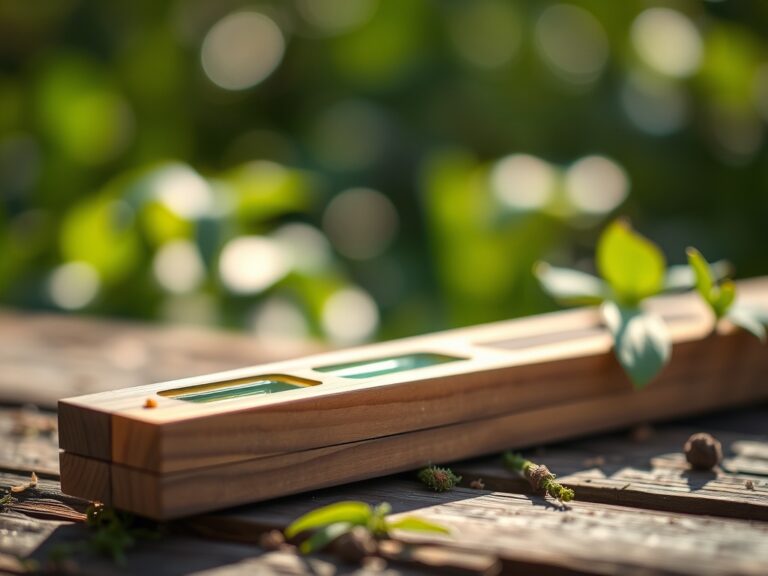
A pergola-supported ecosystem requires precision. Use a soil moisture meter to ensure the root zone receives 1.5 inches of water per week, delivered at the drip line rather than the trunk. Overhead watering should be avoided to prevent the proliferation of fungal spores in the canopy.
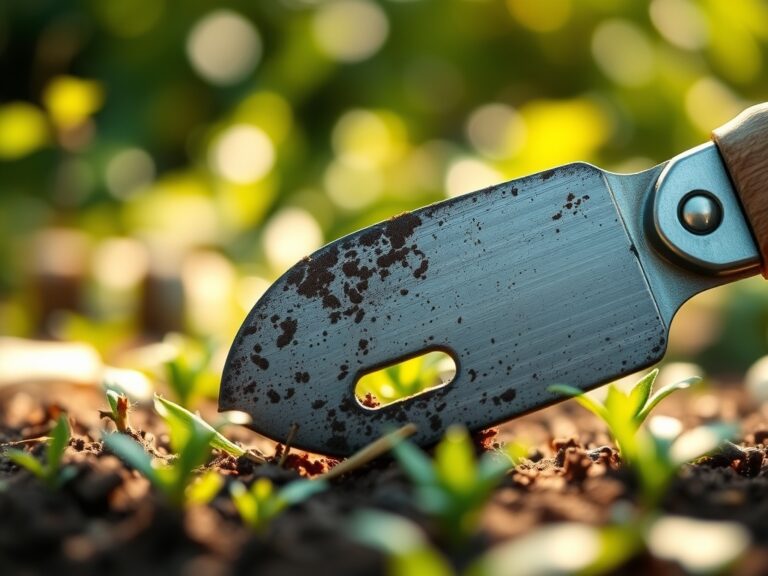
Annual maintenance involves using bypass pruners to remove dead or diseased wood during the winter dormancy. A hori-hori knife is essential for weeding around the base without disturbing the primary root structure. Check the structural integrity of the wood every two years; check for signs of soft rot or structural fatigue caused by the increasing weight of the mature vine biomass.
The Yield:
For those growing ornamental or fruiting vines like grapes (Vitis vinifera), timing the harvest is a matter of Brix levels. Monitor the sugar content using a refractometer. Harvest when the fruit reaches its peak metabolic maturity.
To maintain "day-one" freshness, harvest in the early morning when the plant is at maximum turgidity. Use sharp snips to make clean cuts, preventing vascular collapse in the stem. Immediately move the harvest to a shaded, cool environment to slow down the rate of respiration and enzymatic degradation.
FAQ:
What is the best wood for a pergola?
Cedar and redwood are superior due to their natural tannins which resist rot. Pressure-treated lumber is a cost-effective alternative. Ensure all hardware is galvanized or stainless steel to prevent corrosion from moisture and organic acids.
How deep should pergola posts be buried?
Posts must reach below the frost line, typically 36 to 48 inches. This prevents shifting during freeze-thaw cycles. In sandy soils, deeper footings or concrete collars are required to maintain structural stability against wind loads.
Can I grow heavy vines on a standard pergola?
Yes, but the rafters must be spaced no more than 12 to 18 inches apart. Use 2×6 or 2×8 lumber for the crossbeams to support the weight of mature wisteria or grapevines, which can exceed several hundred pounds.
How do I prevent root rot at the base?
Ensure the soil is a friable loam with a pH of 6.0-7.0. Slope the concrete footing away from the post to shed water. Use a soil moisture meter to avoid over-saturation in the rhizosphere.