6 Steps to Sharpen a Pruner with a Bench Stone
The smell of damp earth and the high turgor pressure of a healthy leaf signify a garden in its prime; however, a dull blade compromises the vascular integrity of every plant it touches. Ragged cuts crush the xylem and phloem tissues. This damage invites opportunistic pathogens and slows the healing of the abscission layer. Mastering the steps for sharpening a garden pruner with a stone ensures that every incision is surgical and clean. A sharp edge minimizes cellular trauma and preserves the plant's natural defenses against desiccation. You must maintain your tools with the same precision you apply to your soil chemistry. A bypass pruner with a honed edge reduces the physical force required for pruning by up to forty percent. This efficiency prevents hand fatigue and ensures the blade does not slip and tear the delicate bark of your specimens. Precision in the workshop translates directly to health in the field.
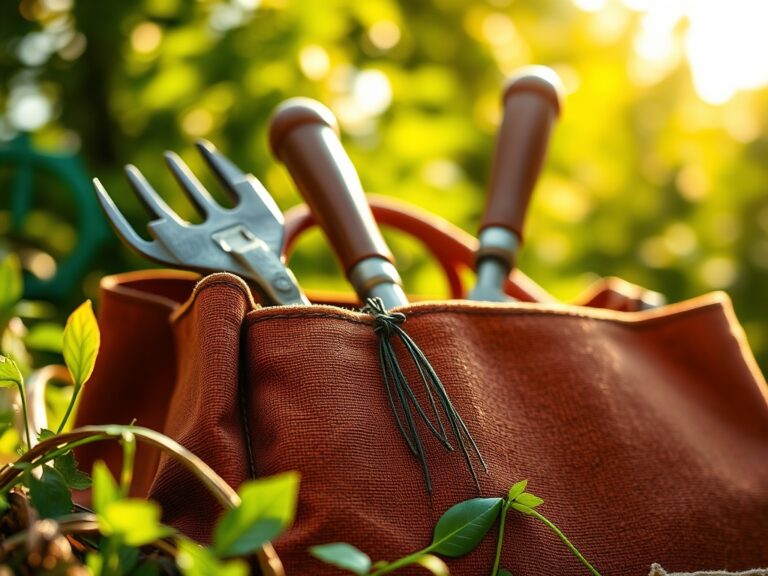
Materials:
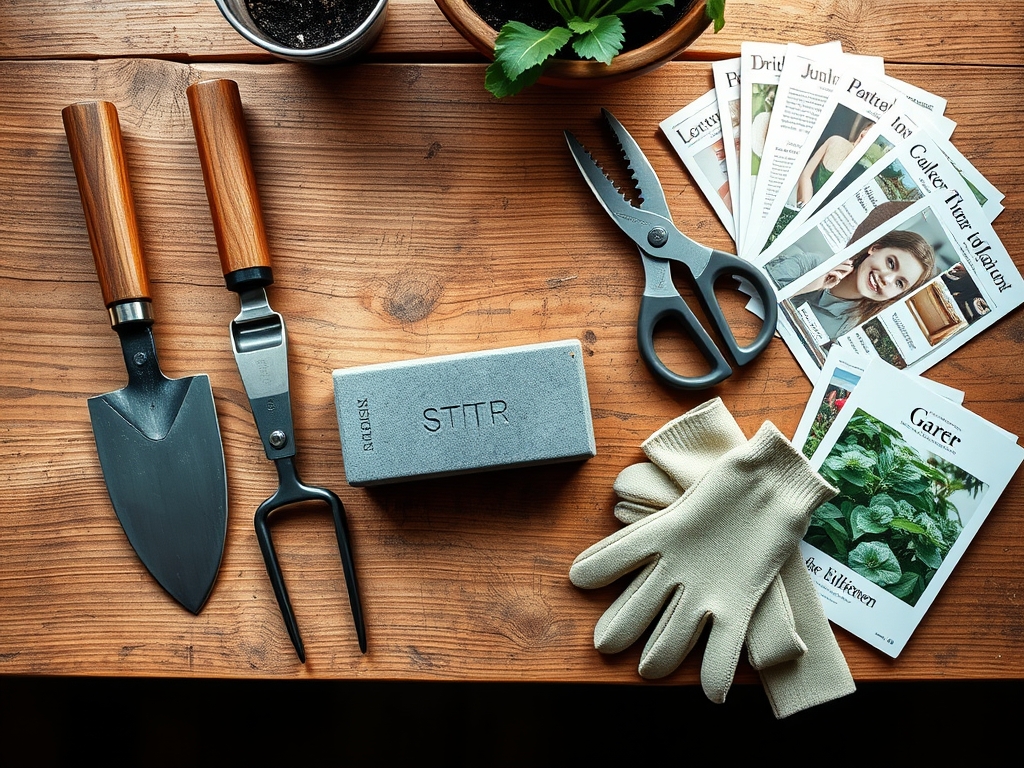
While sharpening occurs on a workbench, the necessity for sharp tools is rooted in the substrate. An ideal **friable loam** with a **pH of 6.5** and a **Cation Exchange Capacity (CEC) above 15** produces robust stems that require significant shear force. To manage these plants, you need a dual-grit bench stone (1000/6000 grit), honing oil or water, and a stiff wire brush. For plants fueled by a **10-10-10 NPK ratio**, the cellulose density is high. You must also have a clean rag and a lubricant like linseed oil to prevent oxidation on the high-carbon steel after the sharpening process is complete.
Timing:
The biological clock of the garden dictates your maintenance schedule. In Hardiness Zones 5 through 7, the ideal window for tool maintenance is during the dormant season, typically between the first hard frost and the late winter bud swell. Pruning during the transition from the vegetative to the reproductive stage requires a blade that can slice through thickened stems without bruising the nodes. Sharpening should occur before the sap begins to flow in early spring. If you wait until the plant is in full transpiration, a dull blade will cause excessive "bleeding" of sap, which depletes the plant's carbohydrate reserves and attracts boring insects.
Phases:
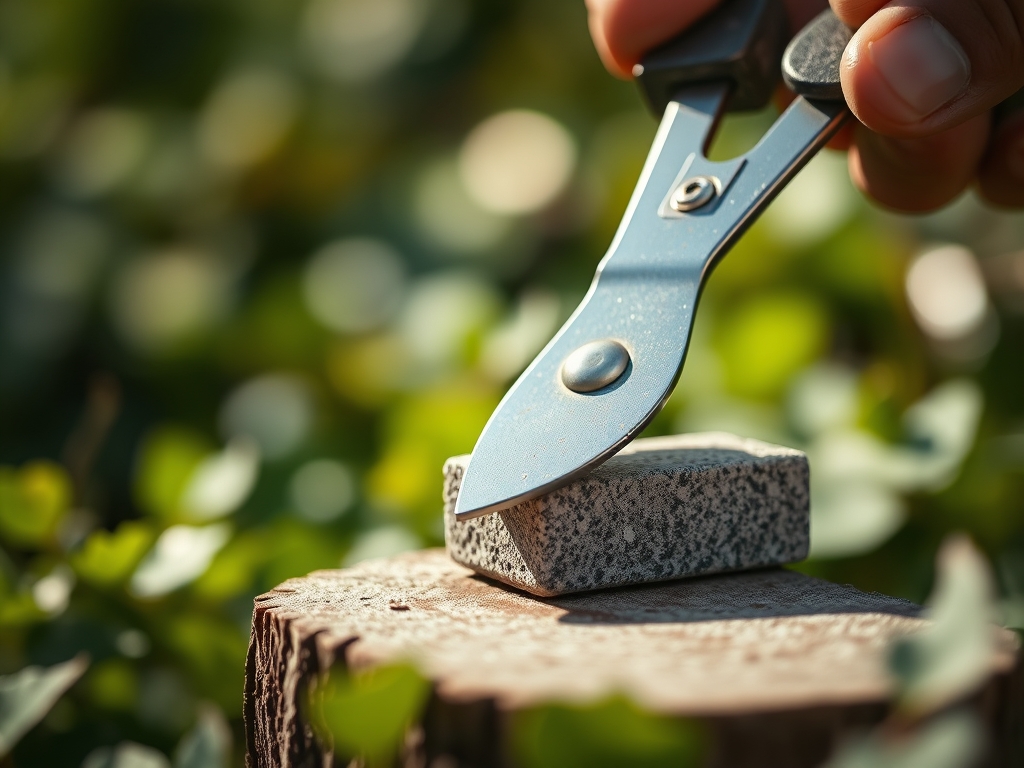
Sowing the Edge
Begin by disassembling the pruners to expose the entire bevel of the cutting blade. Use a wire brush to remove dried sap and oxidized metal. Place your bench stone on a flat surface. If using a water stone, submerge it until bubbles stop rising. Hold the blade at a 20-degree angle against the coarse side of the stone. Move the blade in a smooth, circular motion, ensuring the entire length of the edge makes contact.
Pro-Tip: Maintaining a consistent angle prevents "rounding" the edge. This is vital because a precise bevel allows for a clean cut that doesn't disrupt auxin suppression at the apical meristem, which is necessary for controlled lateral branching.
Transplanting the Polish
Flip the stone to the fine-grit side (6000 grit). Repeat the sharpening motion with lighter pressure. This phase removes the "burr" or "wire edge" created during the coarse phase. A polished edge reduces friction during the cut, which prevents the tearing of the rhizosphere-adjacent lower stems when performing rejuvenation pruning. The smoother the metal, the less surface area there is for fungal spores to adhere to the tool.
Pro-Tip: A polished blade creates a "mirror finish" that minimizes the heat generated by friction. Excessive heat during a cut can cause localized senescence of the cells at the cut site, delaying the formation of callus tissue.
Establishing the Seal
Once the blade is sharp, reassemble the tool and adjust the tension nut. The blades should pass each other with no visible gap but without binding. Apply a thin layer of mineral oil to the metal surfaces. This creates a hydrophobic barrier that prevents moisture from causing pits in the steel. Test the sharpness by slicing through a single sheet of paper; it should cut without snagging.
Pro-Tip: Proper tensioning is a mechanical necessity. If the blades are too loose, they will "chew" the plant tissue, leading to phototropism issues as the plant attempts to grow around a jagged, infected wound.
The Clinic:
Symptom: Crushed Stem Tissue
Solution: This is the primary indicator of a dull or misaligned blade. The bypass action is failing to shear the cellulose fibers. Sharpen the blade immediately to a 23-degree angle and tighten the pivot bolt.
Symptom: Nitrogen Chlorosis (Yellowing Leaves)
Solution: While often a soil issue, jagged cuts from dull pruners can interfere with nutrient transport. Check soil Nitrogen levels. If the soil is adequate, the issue is likely vascular damage from poor pruning technique.
Symptom: Dieback at the Cut Site
Solution: This indicates a "crushing" injury where the cambium layer was destroyed. Use a hori-hori knife to shave away the dead wood down to healthy tissue and ensure all future cuts are made with a freshly honed stone.
Symptom: Iron Deficiency (Interveinal Chlorosis)
Fix-It: This often occurs in high pH soils (above 7.5). Lower the pH using elemental sulfur and ensure your pruners are sterilized with 70% isopropyl alcohol to prevent spreading pathogens into weakened vascular systems.
Maintenance:
Precision gardening requires consistent monitoring. Use a soil moisture meter to ensure your plants receive exactly 1.5 inches of water per week at the drip line. After every use, wipe your bypass pruners with a dry cloth. Every 200 cuts, or after pruning resinous wood like pine or cedar, use a solvent to remove pitch. Check the stone for "dishing" or uneven wear; a stone that is not flat will create a curved blade edge that cannot make a flush cut. Store tools in a low-humidity environment to prevent the degradation of the steel's temper.
The Yield:
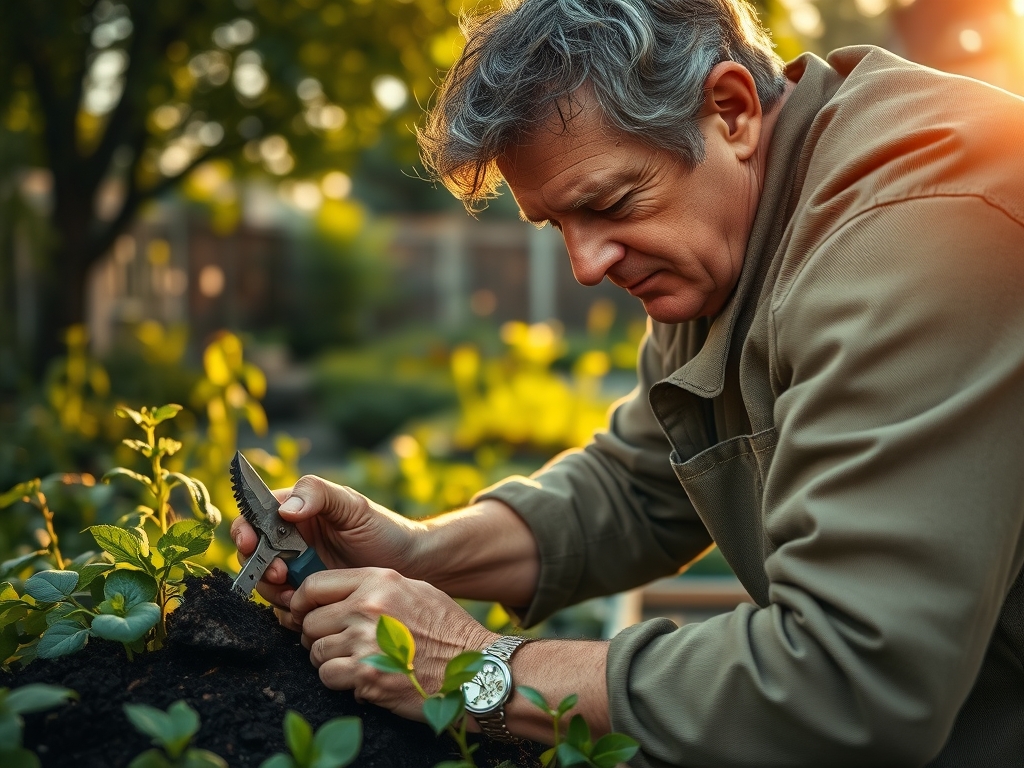
When harvesting edibles or flowers, timing is everything. Harvest in the early morning when turgor pressure is at its peak and temperatures are lowest. Use your sharpened pruners to make a clean, diagonal cut. This maximizes the surface area for water uptake in the vase or storage container. For woody herbs, cut just above a node to encourage rapid regrowth. To maintain "day-one" freshness, immediately submerge the cut ends in 40-degree Fahrenheit water to slow the rate of respiration and prevent the onset of senescence.
FAQ:
How often should I sharpen my garden pruners?
Sharpen every 50 to 100 cuts for soft tissue or after every use on woody perennials. High-carbon steel requires more frequent honing than stainless steel to maintain a surgical edge and prevent plant tissue crushing.
Can I use a file instead of a stone?
A file is acceptable for removing large nicks but is too coarse for a finished edge. A 1000/6000 grit bench stone provides the necessary polish to slice through vascular bundles without causing cellular trauma or inviting disease.
What is the best angle for sharpening pruners?
Maintain a 20 to 22-degree angle. This provides a balance between edge sharpness and structural durability. An angle too shallow will chip on hardwood; an angle too steep will crush the plant's xylem and phloem during the cut.
Why do my pruners tear the bark?
Tearing is caused by a dull blade or a loose pivot bolt. When the gap between the blades exceeds 0.005 inches, the plant tissue folds rather than shears. Sharpen the blade and tighten the tension to ensure a clean bypass.