8 Steps to Prepare an Artistic Retaining Wall
The smell of damp earth after a cold rain indicates more than just moisture; it signals the activation of microbial life within the rhizosphere. When the turgor pressure of a plant is optimal, stems stand rigid and leaves feel turgid to the touch. This physiological state is the baseline for any structural landscaping project. Learning how to prepare a garden for a wall requires a clinical understanding of soil mechanics and plant physiology. You are not merely stacking stone; you are re-engineering an ecosystem to support vertical weight while maintaining a healthy drainage gradient.
Materials:
Substrate preparation is the most critical factor for long term wall stability. You must aim for a **friable loam** texture. This soil type consists of roughly **40 percent sand, 40 percent silt, and 20 percent clay**. This balance ensures a high Cation Exchange Capacity (CEC), allowing the soil to hold onto essential nutrients like ammonium and potassium.
The chemical profile of the backfill must be precise. Aim for a soil pH between 6.2 and 6.8 to ensure maximum nutrient bioavailability. If the pH drops below 5.5, aluminum toxicity can occur; if it rises above 7.5, iron becomes locked in the soil. For the initial establishment phase, incorporate a slow release fertilizer with an NPK ratio of 10-20-10. The high phosphorus content (P) is essential for rapid root development and cellular ATP production, which provides the energy needed for the plant to anchor itself against the new structure.
Timing:
Timing is dictated by the United States Department of Agriculture (USDA) Hardiness Zones. In Zones 5 through 7, the window for wall preparation begins exactly four to six weeks before the first average frost date in autumn or after the soil temperature consistently reaches 55 degrees Fahrenheit in spring.
Plants operate on a biological clock governed by photoperiodism. As day lengths change, plants transition from vegetative growth to reproductive stages or dormancy. Constructing a wall during the peak of summer heat increases the risk of transplant shock because the high evapotranspiration rate exceeds the roots' ability to maintain turgor. By timing your preparation for the shoulder seasons, you align the construction stress with the plant's natural period of reduced metabolic activity.
Phases:

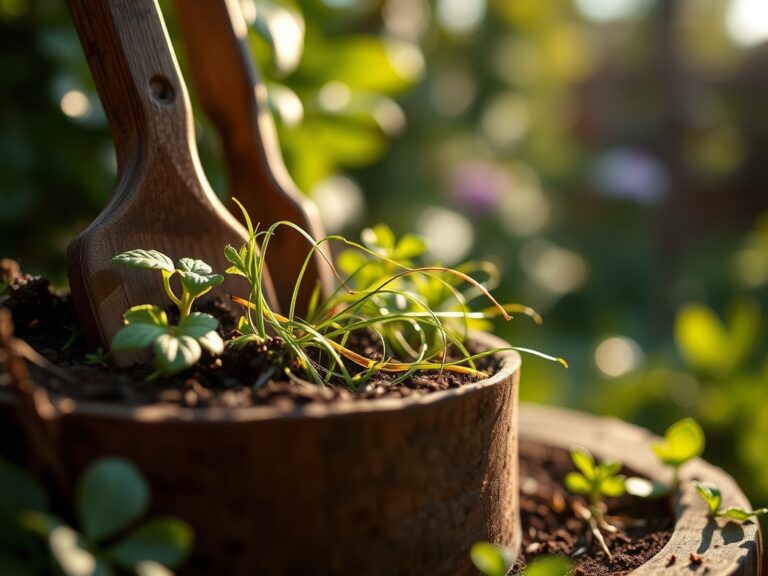
Sowing and Site Clearing
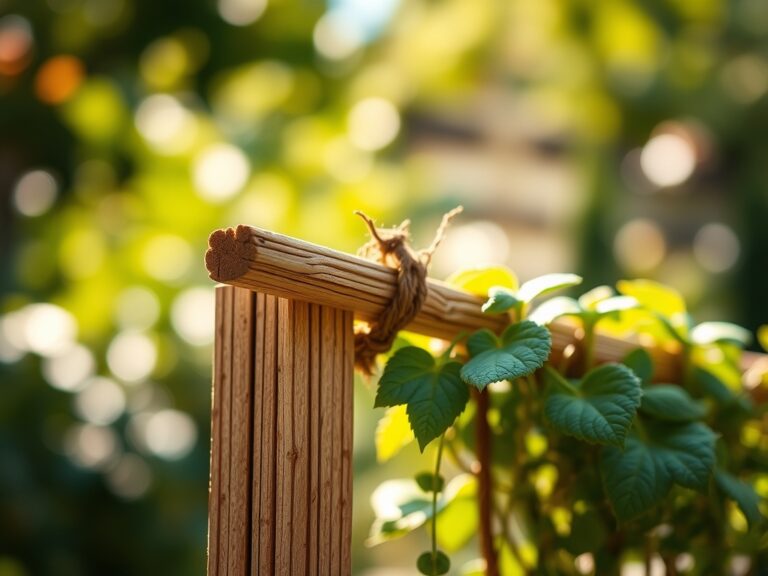
Clear all existing vegetation within three feet of the wall's footprint. If you are sowing cover crops to stabilize the soil before construction, use species like crimson clover. These legumes fix atmospheric nitrogen into the soil through a symbiotic relationship with Rhizobium bacteria.
Pro-Tip: Remove weeds by the root to prevent auxin suppression. Many common weeds release allelopathic chemicals that inhibit the growth of surrounding plants by interfering with their hormonal balance.
Transplanting
When moving established plants to accommodate the wall, maintain a root ball diameter at least ten times the diameter of the main stem. Dig the new hole twice as wide as the root ball but no deeper.
Pro-Tip: Inoculate the roots with mycorrhizal fungi during transplanting. This symbiotic relationship extends the root system's reach, increasing the surface area for water and phosphorus absorption by up to 100 times.
Establishing and Backfilling
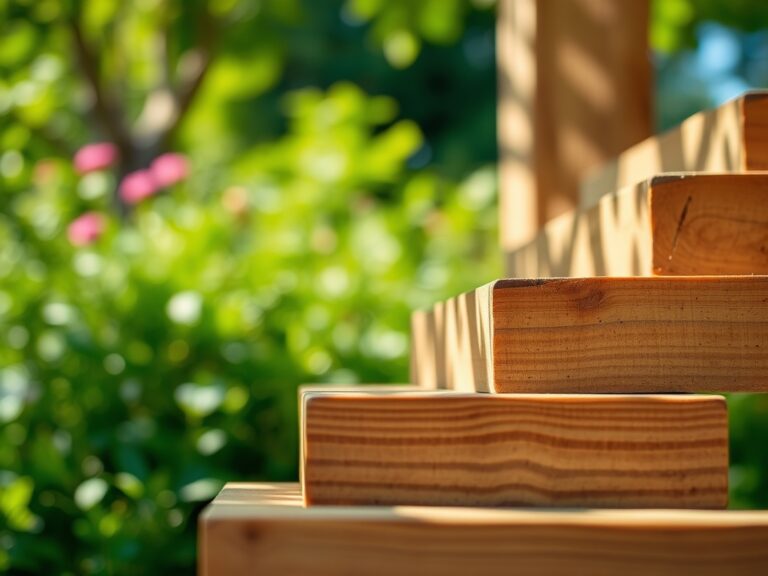
As you stack the wall, backfill with three-quarter inch angular crushed stone directly behind the blocks. This creates a drainage chimney. Layer the friable loam on top of the stone, ensuring the soil is compacted to 95 percent Proctor density to prevent future settling.
Pro-Tip: Ensure the wall has a slight batter (an inward lean of about 1 inch for every 1 foot of height). This uses gravity to counteract the lateral earth pressure exerted by saturated soil, preventing structural failure.
The Clinic:
Physiological disorders often manifest during the stress of landscape alteration. Monitor your plants for these specific symptoms:
- Nitrogen Chlorosis: This appears as a uniform yellowing of older, lower leaves while the veins remain slightly green. Fix-It: Apply a water soluble fertilizer with a high N rating (20-10-10) to restore chlorophyll production.
- Interveinal Necrosis: Brown, dead tissue between the veins of the leaf often indicates magnesium deficiency. Fix-It: Apply Epsom salts (magnesium sulfate) at a rate of one tablespoon per gallon of water.
- Leaf Scorch: This is a symptom of localized dehydration where the leaf margins turn brown and brittle. Fix-It: This is often caused by high salinity in the soil. Flush the rhizosphere with two inches of fresh water to leach out excess salts.
- Blossom End Rot: Dark, leathery spots on the base of fruit indicate a calcium transport issue. Fix-It: Maintain consistent soil moisture; calcium is moved through the plant via the transpiration stream and cannot move if the soil is bone dry.
Maintenance:
Precision is the hallmark of a professional garden. Use a soil moisture meter daily for the first thirty days after the wall is completed. Most woody perennials require 1.5 inches of water per week delivered directly at the drip line. Avoid overhead irrigation; wet foliage encourages fungal pathogens like Botrytis.
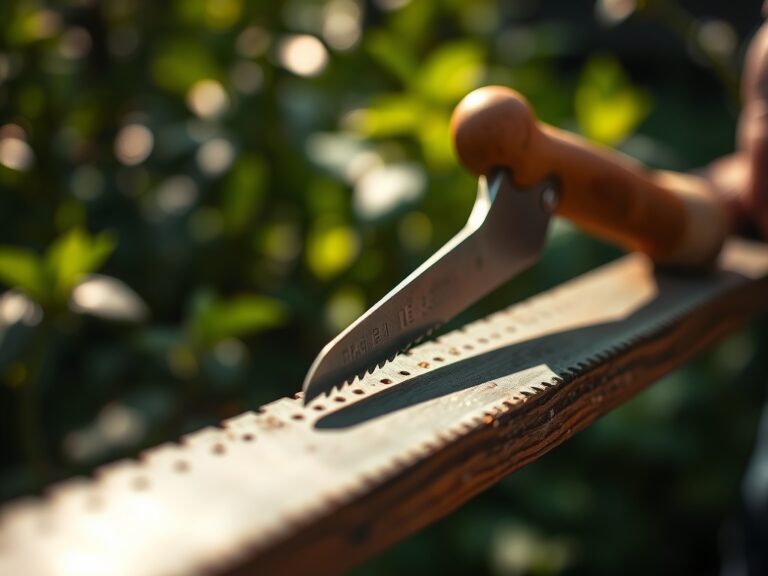
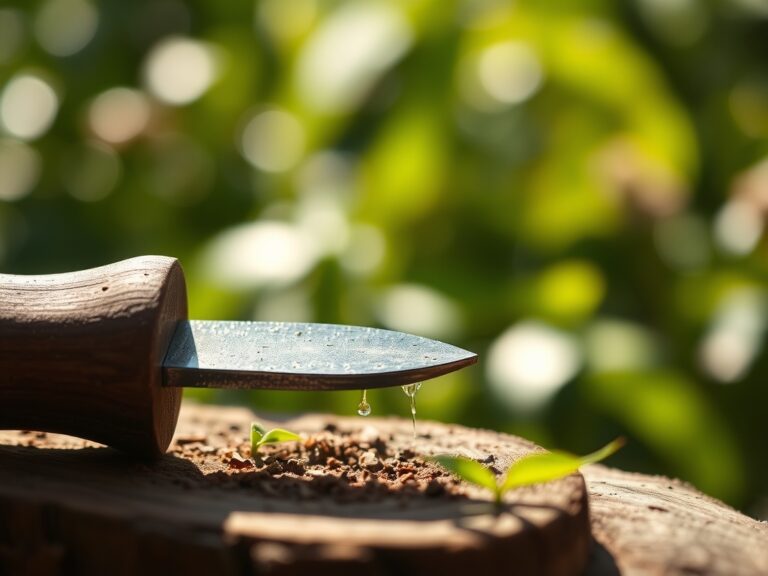
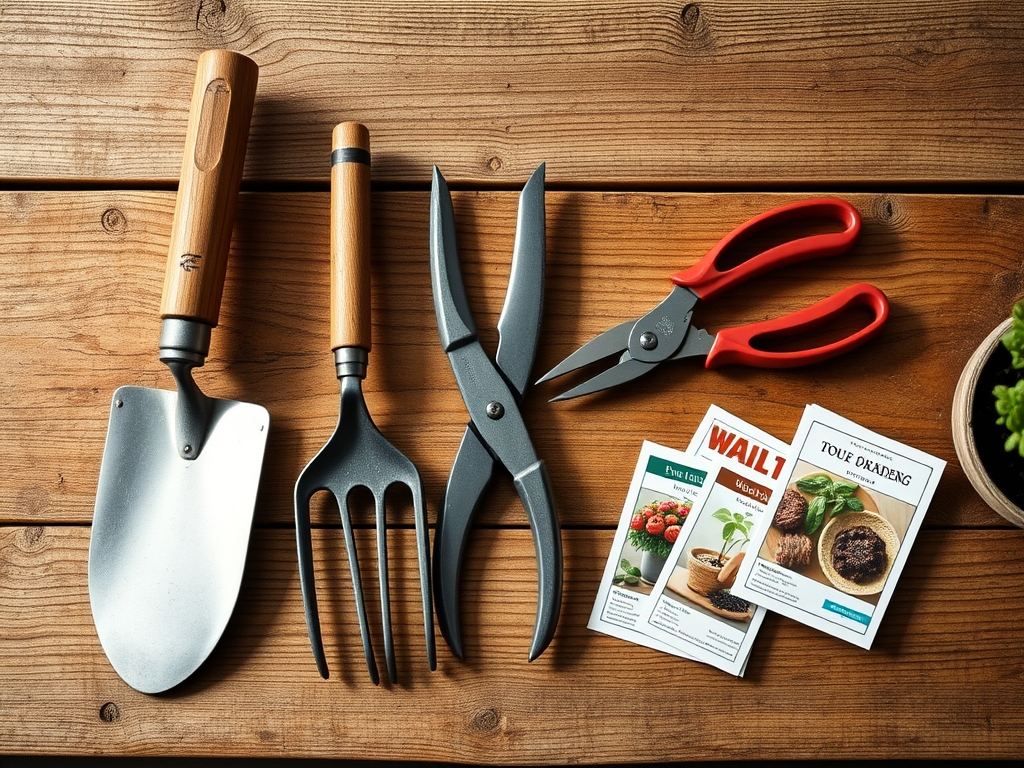
Maintain your tools with clinical rigor. Use bypass pruners for clean vascular cuts that heal quickly. When removing deadwood near the wall, use a hori-hori knife to saw through stubborn roots or pry out stones. Always disinfect blades with 70 percent isopropyl alcohol between plants to prevent the spread of soil borne pathogens.
The Yield:
If your wall garden includes flowering species like Lavandula or Rosmarinus, harvest when the essential oil concentration is at its peak. This usually occurs in the early morning after the dew has evaporated but before the sun reaches its zenith.
Cut stems at a 45 degree angle to maximize the surface area for water uptake. Immediately place the cuttings into a bucket of 60 degree Fahrenheit water. This "plunging" technique maintains the turgor pressure and prevents the vascular system from sucking in air bubbles, which would cause premature wilting.
FAQ:
How deep should the wall foundation be?
The foundation trench should be at least six to twelve inches deep. It must be filled with compacted gravel to provide a level, well draining base that resists frost heaving and structural shifting during seasonal temperature changes.
Why is drainage stone necessary behind the wall?
Hydrostatic pressure is the leading cause of wall failure. Three-quarter inch angular stone allows water to flow vertically to a perforated drain pipe, preventing saturated soil from pushing the wall forward and causing a collapse.
Can I use garden soil as backfill?
Native garden soil often contains too much clay or organic matter for structural backfill. It retains excessive moisture and shrinks when dry. Use a engineered fill or a 60/40 sand-soil mix for better stability and drainage.
When should I fertilize plants near a new wall?
Wait at least two weeks after transplanting or construction. This allows the root hairs to recover from physical trauma. Use a balanced, low-salt fertilizer to avoid chemical burns on the sensitive, newly forming root tissues.