8 Steps to Prepare and Install a Moss Pole for Climbing Indoor Plants
Learning how to prepare a moss pole for climbing plants transforms the way tropical aroids and vining species develop indoors. Monsteras, philodendrons, and pothos evolved to climb tree trunks in rainforest understories, anchoring aerial roots into textured, moisture-retentive bark. A properly constructed moss pole mimics this substrate, encouraging tighter internodal spacing, larger fenestrations, and robust auxin distribution along the vertical axis. Without structural support, these climbers revert to juvenile foliage and sprawling growth habits that fail to express their genetic potential.
Materials
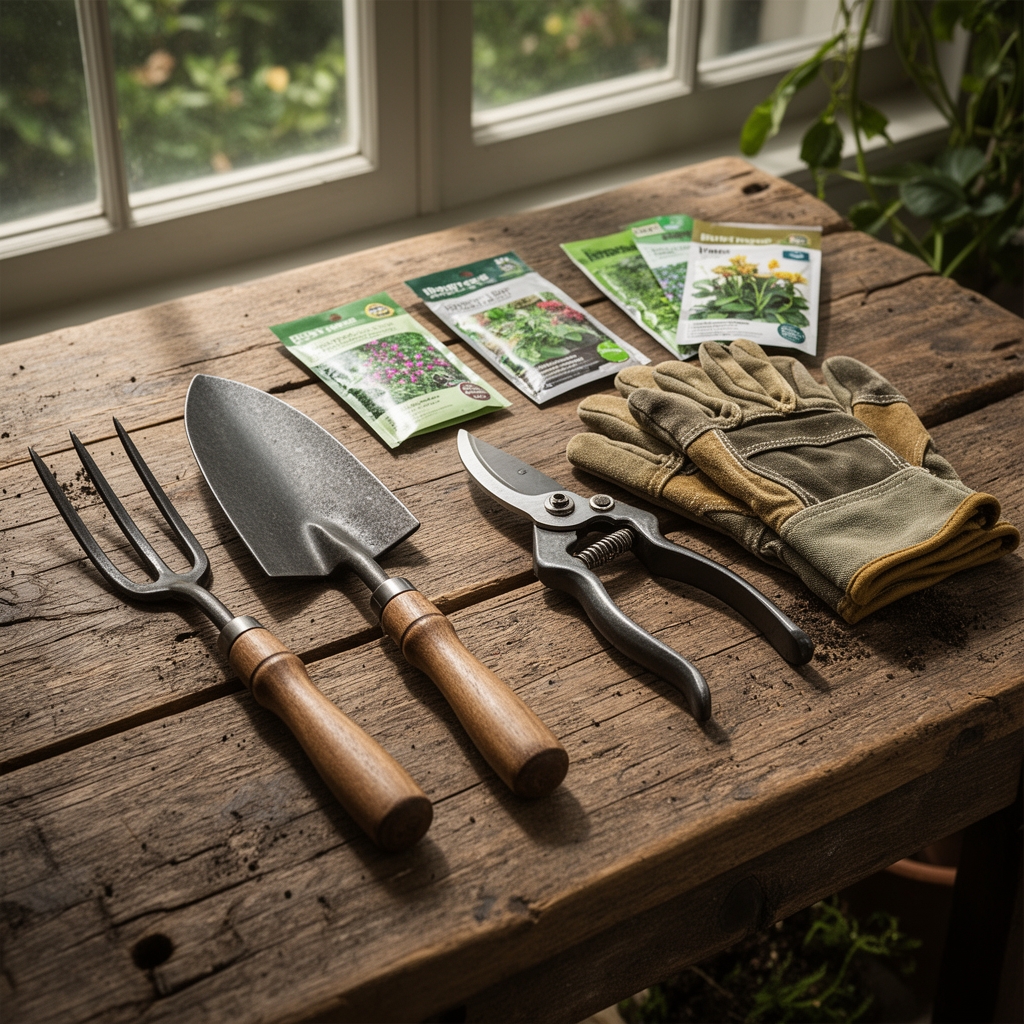
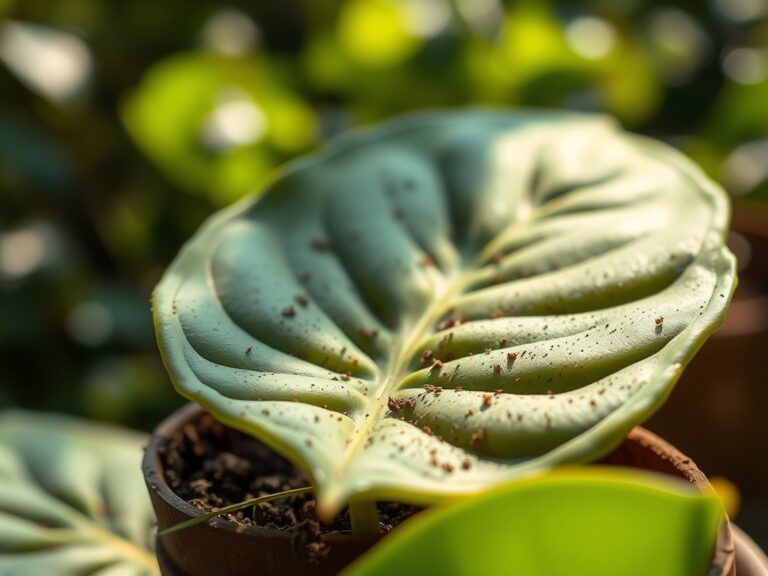
Select long-fiber sphagnum moss with a pH between 3.5 and 4.5. This acidity supports mycorrhizal fungi colonization and maintains cation exchange capacity above 100 meq/100g. Avoid short-fiber peat substitutes that compact and shed water after drying.
Choose a rigid support core: PVC pipe (0.75 to 1 inch diameter), bamboo stakes (1 inch diameter minimum), or coated steel rods. The core must extend 12 inches into the pot and rise at least 24 inches above the soil line for juvenile plants. Mature specimens require 48-inch poles.
Acquire black-coated floral wire (18-gauge) or jute twine. Both secure moss without cutting into stems. Floral wire resists decay in high-humidity environments and maintains tension for 24 months.
For soil integration, use a balanced organic amendment at 4-4-4 NPK to buffer the acidity introduced by sphagnum. Kelp meal (1-0-2) or neem cake (4-1-2) provides slow-release nitrogen that supports aerial root development without triggering excessive vegetative growth.
Optional but recommended: endo-mycorrhizal inoculant powder (Rhizophagus irregularis or Glomus species) applied directly to the moss surface. This increases phosphorus uptake efficiency by 40 percent and improves drought tolerance.
Timing
Install moss poles during active growth phases when auxin production peaks and aerial roots actively seek attachment points. For USDA Hardiness Zones 9 through 11, this window runs from late March through early October. Indoor growers in controlled environments maintain 65 to 80 degrees Fahrenheit and can install poles year-round, though spring installation aligns with naturally increasing photoperiods.
Avoid installation during dormancy (November through February in temperate zones) when root hormone production slows and wound callusing takes longer. Late-season installation risks root damage that persists through winter, inviting fungal pathogens like Pythium and Rhizoctonia.
Phases

Preparation Phase
Soak sphagnum moss in dechlorinated water for 20 minutes until fully saturated. Squeeze out excess water until the moss holds shape when compressed but no longer drips. This moisture content (approximately 60 percent by weight) prevents anaerobic pockets while maintaining the hydration gradient that guides aerial roots.
Dust the moss surface with mycorrhizal inoculant at 1 teaspoon per square foot of coverage. The spores require direct contact with emerging root tips to establish symbiotic relationships.
Pro-Tip: Add 1 tablespoon of worm castings per 2 cups of moss. The castings introduce beneficial bacteria (Bacillus and Pseudomonas species) that suppress foliar pathogens and produce growth-promoting auxins.
Installation Phase
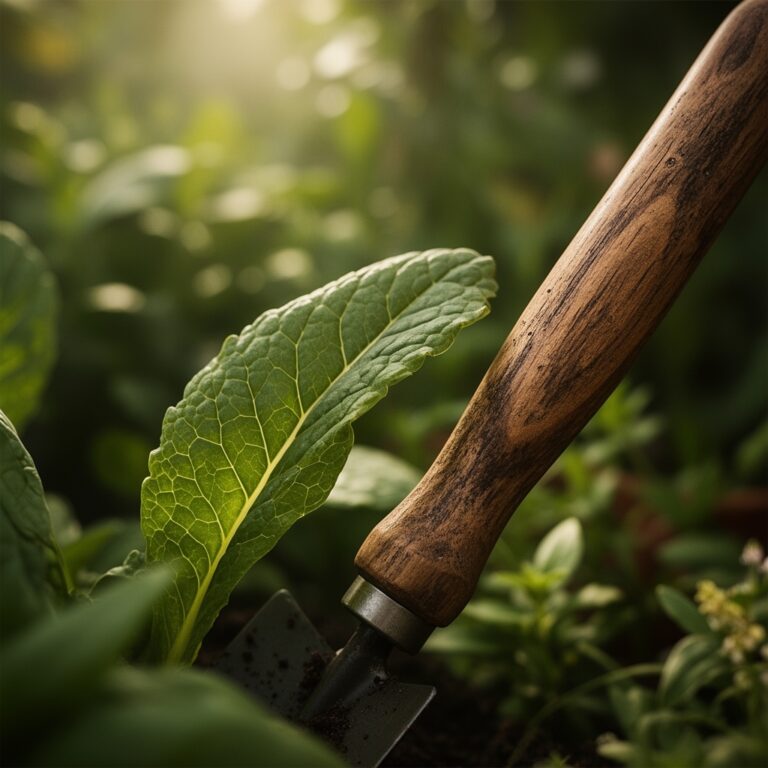
Insert the support core 12 inches deep into the pot, positioning it 2 inches from the main stem base. Anchor through the drainage hole if possible to prevent toppling as foliage weight increases.
Wrap pre-moistened moss around the core in a 1.5-inch thick layer, working from bottom to top. Overlap each wrap by 0.5 inch to eliminate gaps. Secure every 3 inches with floral wire or jute, wrapping tightly enough to compress the moss by 20 percent but not so tight that water channels form.
Pro-Tip: Angle wraps at 15 degrees from horizontal. This creates micro-terraces that slow water descent and extend contact time with aerial roots.
Establishment Phase
Guide the youngest aerial roots toward the pole surface using soft ties or moss tucked behind the stem. Avoid forcing mature woody roots, which lack the flexibility to redirect and may snap at the node junction. New roots emerge within 14 to 21 days in optimal conditions and show positive gravitropism toward the moist moss.
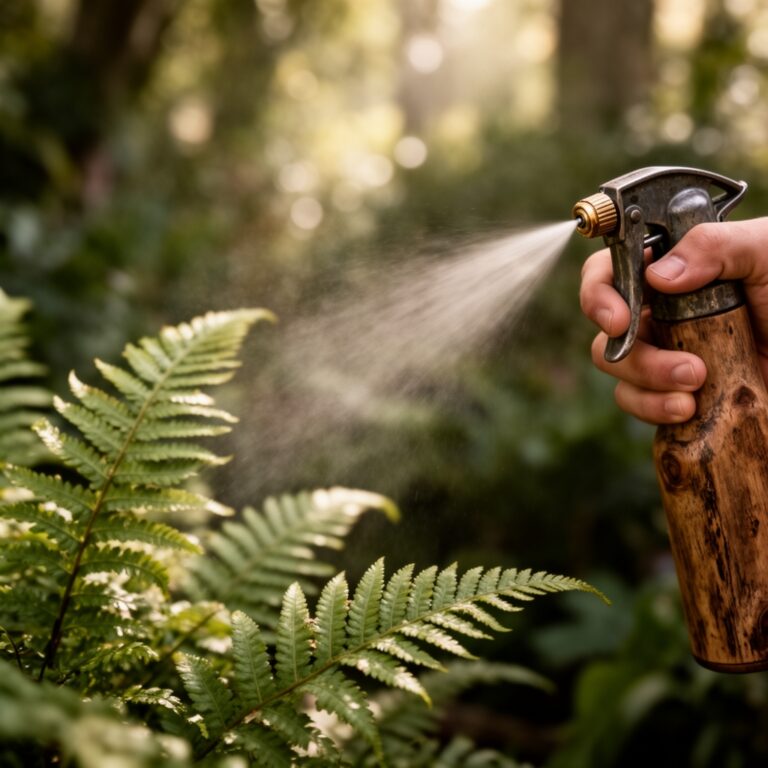
Mist the pole surface daily for the first three weeks, applying 2 ounces of water per linear foot. This maintains the moisture gradient while roots transition from soil-based water uptake to supplemental aerial absorption.
Pro-Tip: Fertilize the moss directly with quarter-strength liquid kelp (0.1-0-1 dilution) every 10 days. This delivers cytokinins directly to foliar tissues and stimulates cell division in apical meristems.
Troubleshooting
Symptom: Aerial roots grow past the pole without attaching.
Solution: Increase moisture frequency to twice daily. Apply a thin layer of coconut coir over existing moss to enhance texture variation, which stimulates root branching and anchor formation.
Symptom: Moss develops white fungal mycelium and sour odor.
Solution: Reduce misting to every other day. Remove affected moss sections and replace with fresh material dusted with cinnamon powder (0.5 teaspoon per cup of moss). Cinnamon contains cinnamaldehyde, a natural antifungal compound effective against Fusarium and Botrytis.
Symptom: Lower moss sections turn gray and brittle.
Solution: This indicates desiccation. Submerge the entire pole in dechlorinated water for 10 minutes monthly. Allow excess to drain completely before returning the plant to its display location.
Symptom: Leaves yellow despite vigorous root attachment.
Solution: Test soil pH. Excessive moss acidity may lock out iron and manganese. Amend with dolomitic limestone at 1 tablespoon per gallon of soil to raise pH to 6.0-6.5.
Maintenance
Mist the pole with 2 to 3 ounces of water per linear foot three times weekly once roots establish. During winter dormancy, reduce to once weekly. Check moss compression monthly; add supplemental wraps if gaps exceed 0.25 inch.
Apply liquid fertilizer at half strength (2-1-2 or 3-1-2 NPK) directly to the moss every three weeks during active growth. This delivers nutrients through foliar absorption and feeds mycorrhizal networks.
Replace moss entirely every 18 to 24 months as decomposition reduces structural integrity and cation exchange capacity drops below 80 meq/100g.
FAQ
How long before aerial roots attach to the moss pole?
Expect initial contact within 14 to 28 days if the moss remains consistently moist and ambient humidity exceeds 50 percent.
Can I reuse old moss after replacement?
No. Decomposed moss loses its fibrous structure and harbors accumulated mineral salts that burn new roots.
What moisture level should I maintain?
The moss should feel like a wrung-out sponge: cool and damp but not dripping. This correlates to 55 to 65 percent moisture by weight.
Do I need to fertilize the soil and the pole separately?
Yes. Soil fertilization supports root systems, while pole fertilization targets aerial roots and foliar tissues. Use half-strength applications for pole feeding to prevent salt accumulation.
Will the pole support heavy mature plants?
A 1-inch diameter core supports up to 15 pounds when anchored 12 inches deep. Plants exceeding this weight require secondary stakes or wall-mounted trellises.