7 Ways to Prepare an Organized Tool Shed
The scent of linseed oil on wooden handles and the metallic tang of steel blades announce a properly maintained shed before you open the door. Learning how to prepare a dedicated garden tool shed transforms a cluttered outbuilding into a functional command center where every implement has its place, ready for deployment. Rust-free spades hang at arm's reach. Pruning shears nest in labeled compartments. The floor stays dry enough to prevent pathogen harboring in soil clumps.
Materials
Building an organized tool shed requires structural materials that resist moisture and support heavy loads. Pressure-treated lumber (pH neutral when dry) forms the framing. Galvanized steel brackets resist oxidation better than untreated fasteners. Marine-grade plywood for shelving withstands humidity fluctuations common in structures storing damp tools after spring tillage.
For tool maintenance stations, dedicate shelf space to 10-10-10 balanced granular fertilizer for lawn equipment cleaning (neutralizes acidic grass residue), horticultural-grade mineral oil for blade preservation, and diatomaceous earth (pH 6.5-7.5) for moisture absorption in closed containers. A 5-gallon bucket filled with builder's sand mixed with mineral oil at 4:1 ratio creates a plunging medium that cleans and coats tools simultaneously. This mixture has a cation exchange capacity sufficient to strip soil particles while depositing a protective film.
Wall-mounted magnetic strips hold small hand tools. Pegboard systems require 1/4-inch tempered hardboard. Tool shadow outlines painted in high-contrast colors ensure each implement returns to its designated position. Heavy rakes and hoes demand 3-inch deck screws driven into wall studs at 16-inch intervals.
Timing
Zone-specific preparation schedules maximize shed utility throughout the growing calendar. In Zones 3-5, complete shed organization before soil temperatures reach 50°F in early April. This window allows equipment staging before the primary transplanting rush. Spring tool inventory should occur 14 days before the last projected frost date.
Zones 6-8 benefit from late February shed preparation, aligning with bare-root planting season. The narrow window between winter dormancy and auxin-driven bud break demands immediate tool access. Fall reorganization occurs at first frost, typically mid-October, when harvest tools transition to winter storage and soil amendment equipment moves forward.
Zones 9-10 require year-round rotation systems rather than seasonal overhauls. Monthly maintenance cycles prevent tropical humidity from degrading wooden handles and promoting fungal colonization on leather components.
Phases

Clearing Phase: Remove all contents. Sweep debris accumulation, particularly soil aggregates that harbor Pythium and Phytophthora species. Wash floors with 10% bleach solution (0.5% sodium hypochlorite final concentration). Allow 48 hours for complete drying and off-gassing.
Pro-Tip: Install a 2-inch gravel foundation layer beneath shed flooring to improve drainage and create a capillary break. This prevents moisture wicking from soil into wooden structures.
Zoning Phase: Establish functional districts based on task frequency. Position digging tools (spades, forks, mattocks) within 3 feet of the entrance. Pruning equipment occupies mid-level shelving at chest height to prevent dulling from floor contact. Soil amendments and fertilizers require lowest shelves or floor placement due to weight, with proper secondary containment to catch spills.
Create a dedicated sharpening station with bench grinder or whetstone setup. Maintain blade angles between 30-45 degrees for optimal cutting performance on herbaceous tissue. Steeper angles (45 degrees) suit woody pruning tools while shallow angles (30 degrees) benefit hoes and edgers.
Pro-Tip: Mount a soil pH testing station near the entrance. Keep a slurry of distilled water and pH strips in sealed containers for immediate field sample analysis.
Labeling Phase: Apply weatherproof tags to all storage zones. Include botanical names for specialized tools (asparagus knives, bulb planters). Date-stamp chemical applications and fertilizers to track product age. Most granular organic amendments (blood meal, bone meal) maintain efficacy for 18 months under proper storage.
Pro-Tip: Inoculate wooden tool handles with food-grade mineral oil every 90 days. This prevents moisture absorption that leads to cracking and creates a hostile environment for wood-boring insects.
Troubleshooting
Symptom: Rust formation on steel blades within 30 days of storage.
Solution: Relative humidity exceeds 60%. Install passive dehumidification using silica gel buckets or calcium chloride desiccant. Apply cosmoline rust preventive to high-carbon steel tools before extended storage.
Symptom: Wooden handles develop longitudinal cracks.
Solution: Moisture content fluctuation. Store tools away from direct sunlight exposure through windows. Maintain consistent ambient temperature between 45-75°F. Re-oil handles using boiled linseed oil penetrating 1/8 inch into wood grain.
Symptom: Rodent damage to leather gloves and tool grips.
Solution: Eliminate food sources by storing bird seed and bulbs in metal containers. Deploy snap traps with peanut butter bait. Seal entry points larger than 1/4 inch diameter.
Symptom: Fungal growth on fabric tool belts and canvas aprons.
Solution: Insufficient air circulation. Install battery-powered ventilation fan running 15 minutes per hour. Store fabric items in breathable cotton bags rather than plastic bins.
Symptom: Fertilizer caking in original bags.
Solution: Hygroscopic moisture absorption. Transfer granular products to airtight 5-gallon buckets with gamma seal lids. Add 1 cup food-grade desiccant per 25 pounds of product.
Maintenance
Inspect cutting tools weekly during growing season. Sharpen blades when they require more than 2 pounds of pressure to slice newsprint. Oil pivot points on pruners and loppers every 20 hours of use.
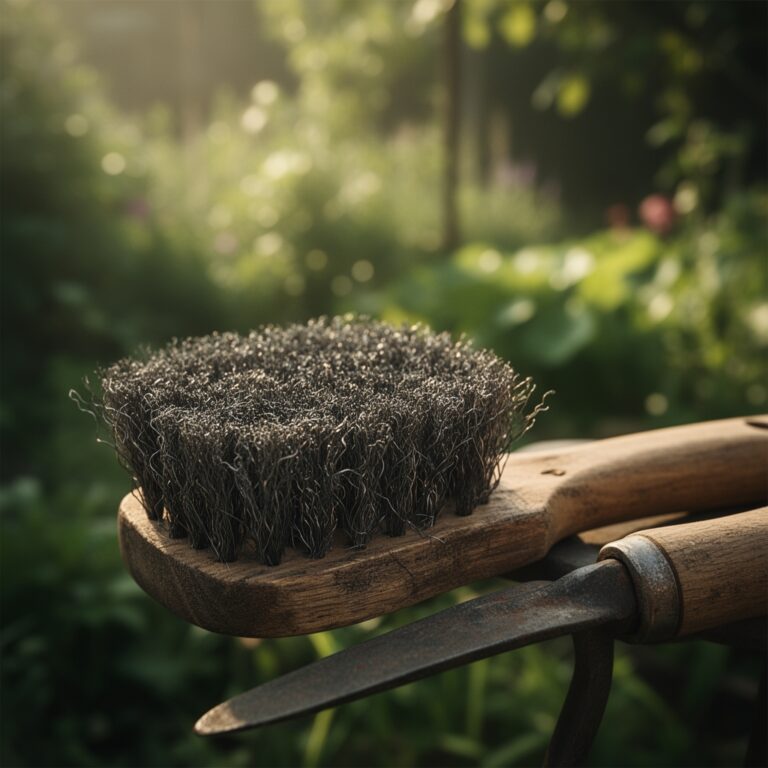
Clean soil from digging tools after each use session. The 5-minute investment prevents soil particle abrasion that gradually thins blade edges. Dried clay adheres with surprising tenacity and requires wire brushing if left overnight.
Apply 1/8-inch coat of paste wax to shovel and spade faces monthly. This reduces soil adhesion by 40% and decreases digging effort. Carnauba-based products outlast petroleum waxes in outdoor temperature ranges.
Pressure-wash shed floors quarterly. Use cold water at 1500 PSI to avoid wood grain raising. Allow 24-hour drying period before restocking.
Rotate fertilizer stock using first-in-first-out protocol. Mycorrhizal fungi products lose viability after 12 months despite packaging claims. Date all purchases with permanent marker immediately upon acquisition.
FAQ
How often should I reorganize my tool shed?
Complete reorganization twice annually aligns with spring preparation and fall cleanup. Monthly spot-maintenance prevents gradual disorder accumulation.
What temperature range preserves tool longevity?
Maintain 40-80°F year-round. Extreme cold makes steel brittle. Heat above 90°F degrades rubber grips and wooden handles.
Do stainless steel tools require the same maintenance?
Stainless alloys resist oxidation but still benefit from cleaning and edge maintenance. The chromium oxide layer self-repairs but performs poorly under soil particle abrasion.
How do I store motorized equipment safely?
Drain fuel systems or add stabilizer rated for 90-day storage. Remove batteries from cordless tools. Store in separate compartment with fire extinguisher access.
What shed size accommodates a typical residential garden?
An 8×10-foot structure handles tools for properties up to 1/2 acre. Include 6 linear feet of wall-mounted storage and 12 square feet of shelving per 1000 square feet of cultivated garden area.