8 Creative Steps to Prepare a DIY Plant Ladder
The smell of damp earth and the high turgor pressure of a healthy leaf signify a thriving indoor ecosystem. When vertical space is limited, knowing how to prepare a DIY plant ladder becomes a technical necessity for maximizing light exposure and managing the rhizosphere of diverse species. A well-constructed ladder does more than provide aesthetic height; it creates a microclimate gradient where humidity and light intensity vary by tier. This allows a grower to position plants based on their specific physiological requirements, from high-light succulents to shade-tolerant aroids. Success depends on structural integrity and an understanding of how gravity affects moisture distribution across the vertical plane. By organizing your collection vertically, you optimize air circulation and reduce the risk of fungal pathogens that thrive in stagnant, crowded environments. This guide details the precise mechanical and horticultural steps required to build a functional support system that sustains plant health through every phenological stage.
Materials:
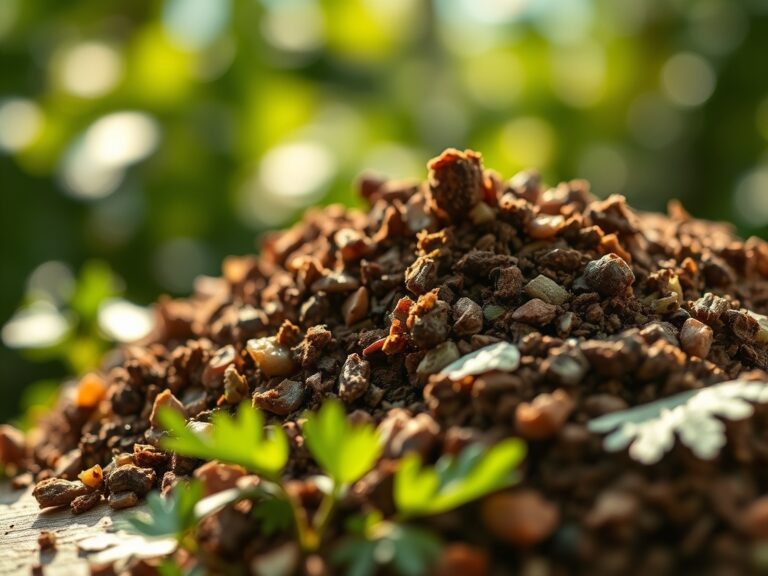
The foundation of a successful plant ladder begins with the substrate. Use a **friable loam** consisting of 40 percent peat or coco coir, 30 percent perlite, and 30 percent composted organic matter. This mixture ensures a high **Cation Exchange Capacity (CEC)**, allowing the soil to retain essential nutrients like potassium and magnesium. For most tropical foliage, aim for a **soil pH between 5.8 and 6.5**.
Nutrient management requires specific NPK ratios tailored to the plant's life cycle. During the vegetative phase, use a 10-5-5 fertilizer to encourage nitrogen-driven leaf expansion. For flowering specimens, shift to a 5-10-10 ratio to provide the phosphorus necessary for reproductive development. The physical ladder should be constructed from rot-resistant cedar or sealed pine to withstand a constant relative humidity of 50 to 60 percent. Ensure all shelving can support at least 15 pounds per square foot to account for the weight of saturated soil.
Timing:
Timing your installation is critical for minimizing transplant shock. In Hardiness Zones 7 through 9, the ideal window for transitioning plants to a new ladder system is early spring, approximately two weeks after the last predicted frost. This aligns with the plant's "Biological Clock" as it exits dormancy and enters a period of rapid vegetative growth.
During this transition, the plant experiences increased metabolic activity. Monitoring the photoperiod is essential; most tropicals require 12 to 14 hours of light to maintain active growth. If you are moving plants from a greenhouse to an indoor ladder, do so when indoor temperatures remain consistent between 65 and 75 degrees Fahrenheit. This stability prevents the sudden drop in turgor that occurs when plants are stressed by fluctuating thermal conditions.
Phases:

Sowing and Seedling Preparation
Start seeds in a sterile medium at a depth of twice the seed's diameter. Maintain a constant soil temperature of 70 degrees Fahrenheit using a heat mat to ensure uniform germination. Once the first set of true leaves appears, the plant has transitioned from relying on endosperm energy to active photosynthesis.
Pro-Tip: Maintain consistent moisture to support mycorrhizal symbiosis. These beneficial fungi colonize the root system, effectively increasing the surface area for nutrient uptake and protecting the plant against soil-borne pathogens.
Transplanting to the Ladder
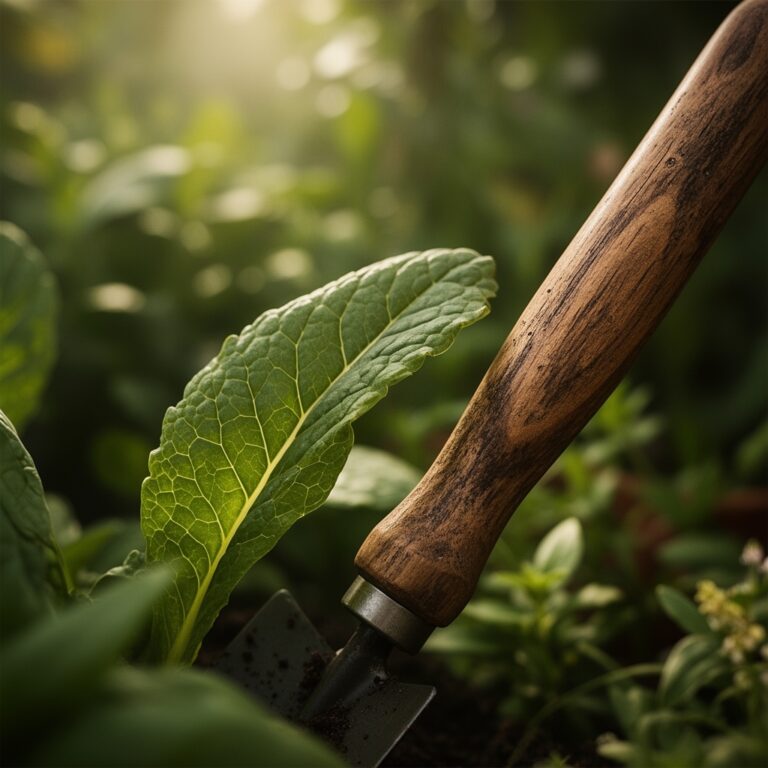
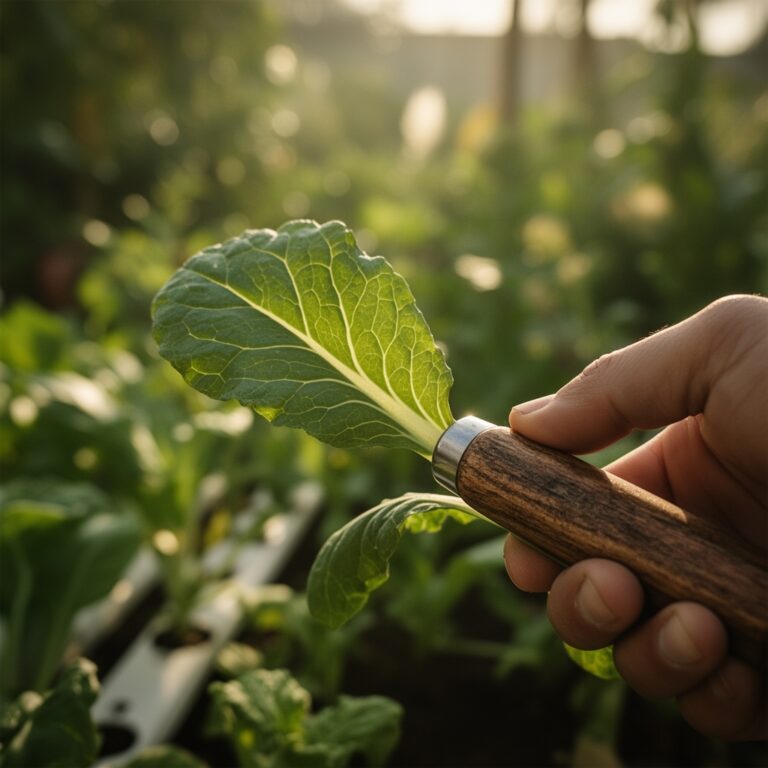
When the root ball is firm but not pot-bound, move the specimen to its permanent container on the ladder. Use a hori-hori knife to gently loosen the outer roots. Ensure the crown of the plant sits exactly at the soil line; burying the stem too deep can lead to adventitious root rot.
Pro-Tip: Position the plant to account for phototropism. Plants will naturally lean toward the light source. Rotating the pots 90 degrees every week ensures even distribution of auxins, resulting in a symmetrical, upright growth habit rather than a leggy, leaning stem.
Establishing the Vertical Canopy
As the plants grow, utilize the higher rungs for species with higher light saturation points. Monitor the intermodal distance; if the stem becomes elongated, the light intensity is insufficient. Use bypass pruners to remove any necrotic tissue or to head back aggressive growers.
Pro-Tip: Practice apical dominance management by pinching off the terminal buds. This suppresses the downward flow of auxins and stimulates lateral bud development, creating a bushier, more robust plant that fills the vertical space of the ladder effectively.
The Clinic:
Physiological disorders often manifest as visual cues in the foliage. Identifying these early is the difference between a minor correction and total plant loss.
- Symptom: Interveinal chlorosis (yellowing between green veins) on new leaves.
Solution: This indicates an Iron deficiency, often caused by a pH above 7.0. Lower the pH using sulfur or chelated iron drench. - Symptom: Leaf tip burn or marginal necrosis.
Solution: This is often a sign of salt accumulation from synthetic fertilizers. Flush the substrate with distilled water equal to three times the volume of the pot. - Symptom: Lower leaves turning uniform yellow (Nitrogen chlorosis).
Solution: The plant is scavenging nitrogen from old growth to support new leaves. Apply a high-nitrogen liquid fertilizer with a 20-10-10 NPK ratio immediately. - Symptom: Wilting despite moist soil.
Solution: This indicates root asphyxiation or rot. The soil lacks macropores for oxygen. Repot into a medium with higher perlite content to improve aeration.
Maintenance:
Precision maintenance is the hallmark of a master horticulturist. Use a soil moisture meter daily to check the substrate; do not water until the top 2 inches of soil feel dry to the touch. Most containerized plants on a ladder require approximately 1.5 inches of water per week, delivered directly to the soil surface to avoid wetting the foliage.
Pruning should be performed with sterilized bypass pruners to prevent the spread of pathogens. Clean the leaves once a month with a damp cloth to remove dust, which can block stomata and reduce photosynthetic efficiency by up to 30 percent. Monitor the ambient temperature; if it exceeds 85 degrees Fahrenheit, increase ventilation to prevent heat stress and maintain transpiration rates.
The Yield:
For those growing herbs or edible flowers on their DIY plant ladder, harvesting is a science of timing. Harvest during the early morning hours when terpene and essential oil concentrations are at their peak. Use sharp shears to take no more than one-third of the plant's biomass at a single time to avoid stalling growth.
Post-harvest handling is vital for "day-one" freshness. Immediately submerge the cut ends in 40-degree Fahrenheit water to maintain turgor. For woody herbs like rosemary, wrap them in a damp paper towel and refrigerate at 34 degrees Fahrenheit. This rapid cooling slows down cellular respiration and senescence, extending the shelf life of the harvest.
FAQ:
How do I prevent my DIY plant ladder from tipping?
Ensure the base width is at least 25 percent of the total height. Use heavy ceramic pots on the bottom rungs to lower the center of gravity. Secure the top of the ladder to a wall stud using L-brackets.
What is the best wood for a plant ladder?
Cedar and redwood are superior choices due to their natural resistance to decay and insects. If using pine, it must be treated with a non-toxic, water-based sealant to prevent rotting from high humidity and frequent watering.
How much light do plants on a ladder need?
Most indoor plants require 200 to 400 foot-candles of light. Use a light meter to measure intensity at each tier. Supplement with full-spectrum LED grow lights if the ladder is positioned more than three feet from a south-facing window.
Why are the leaves on my ladder plants curling?
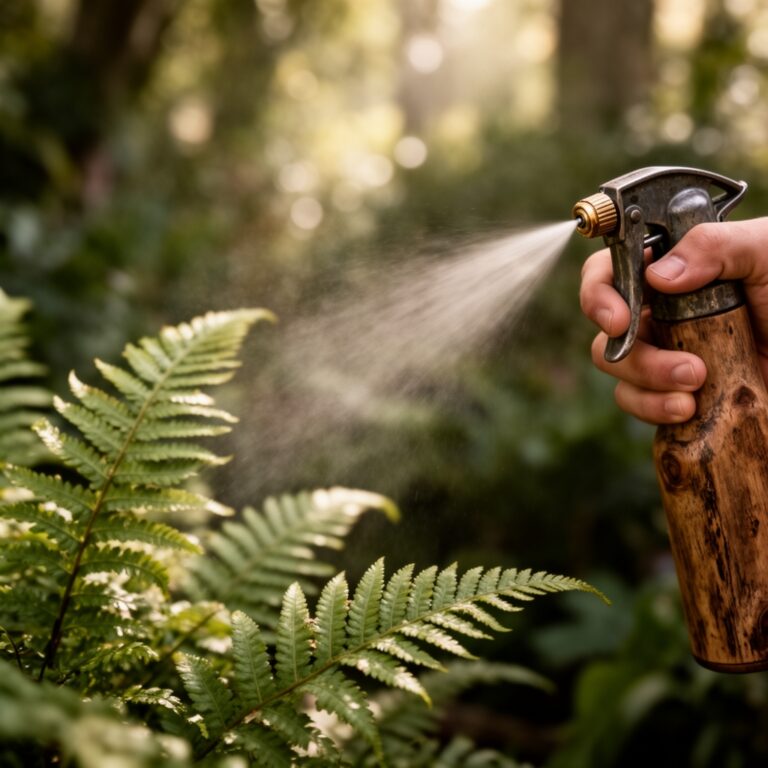
Curling often indicates low hygroscopic pressure or pest pressure. Check the undersides of leaves for mites. If pests are absent, increase local humidity to above 50 percent using a humidifier or pebble trays to stop excessive transpiration.