8 Steps to Prepare a DIY Herb Plant Trellis
The smell of damp earth after a cold rain signifies the activation of the rhizosphere; it is the scent of microbes processing organic matter into plant-available nutrients. For the serious gardener, success is measured by the turgor pressure within a leaf and the structural integrity of the stem. Learning how to prepare a DIY plant trellis is not merely a woodworking project. It is a fundamental exercise in vertical space management and airflow optimization to prevent fungal pathogens from colonizing high-density herb crops.
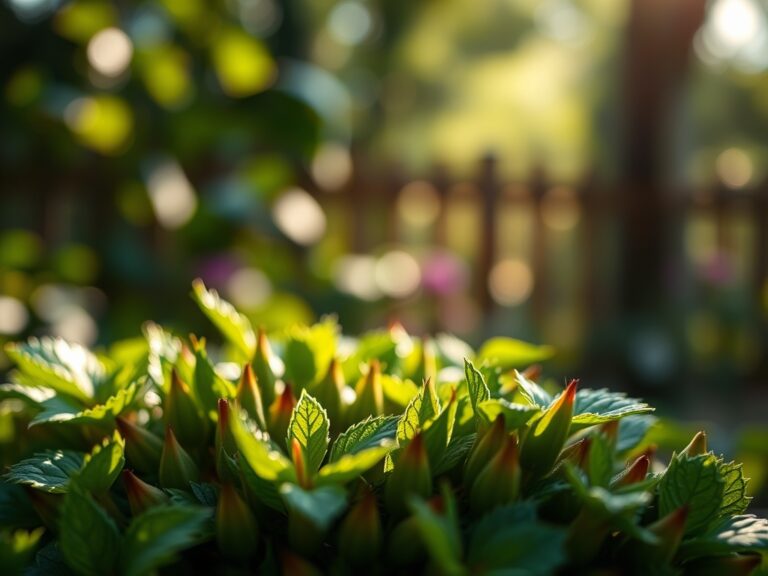
Vertical support systems allow for increased planting density while ensuring that the lower canopy receives sufficient light for photosynthesis. Without a trellis, sprawling herbs like creeping rosemary or heavy-flowering lavender lose their structural form. This leads to soil contact, which invites soil-borne diseases and reduces the quality of the essential oils stored in the trichomes. By elevating the biomass, you facilitate rapid transpiration and ensure the plant maintains a high metabolic rate throughout the peak growing season.
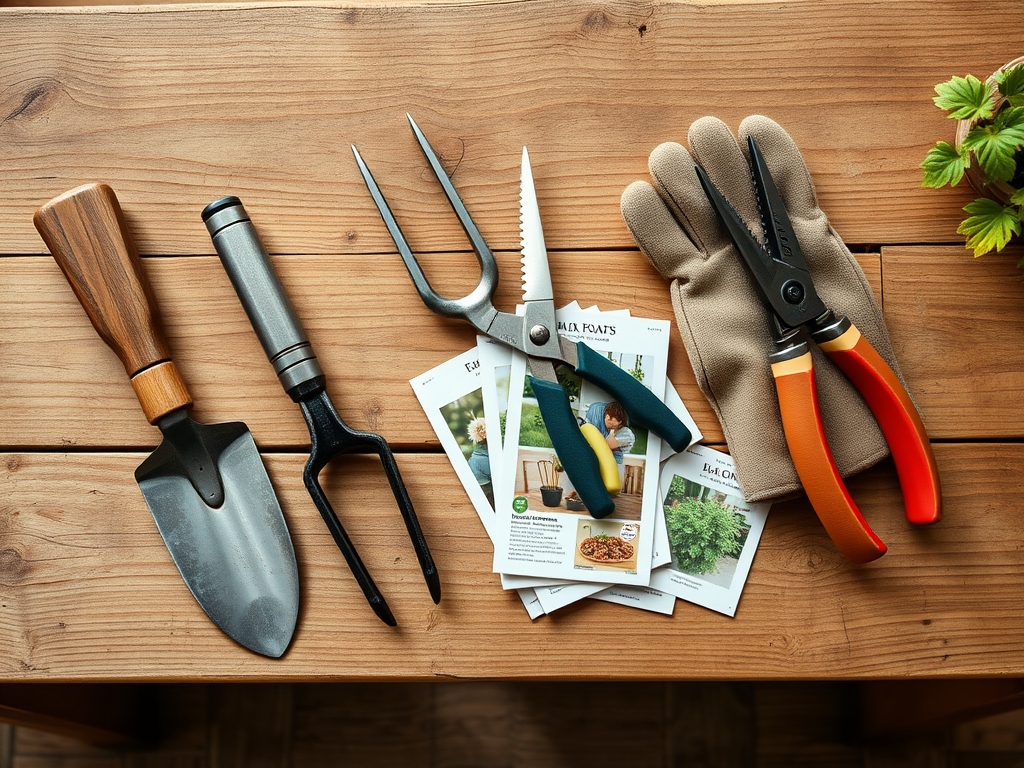
Materials:
A successful trellis system begins with the substrate. You must cultivate a **friable loam** with a Cation Exchange Capacity (CEC) of at least **15 to 25 meq/100g**. This ensures the soil can hold onto essential cations like potassium and magnesium. The soil pH should be maintained between **6.2 and 7.0** to maximize nutrient bioavailability.
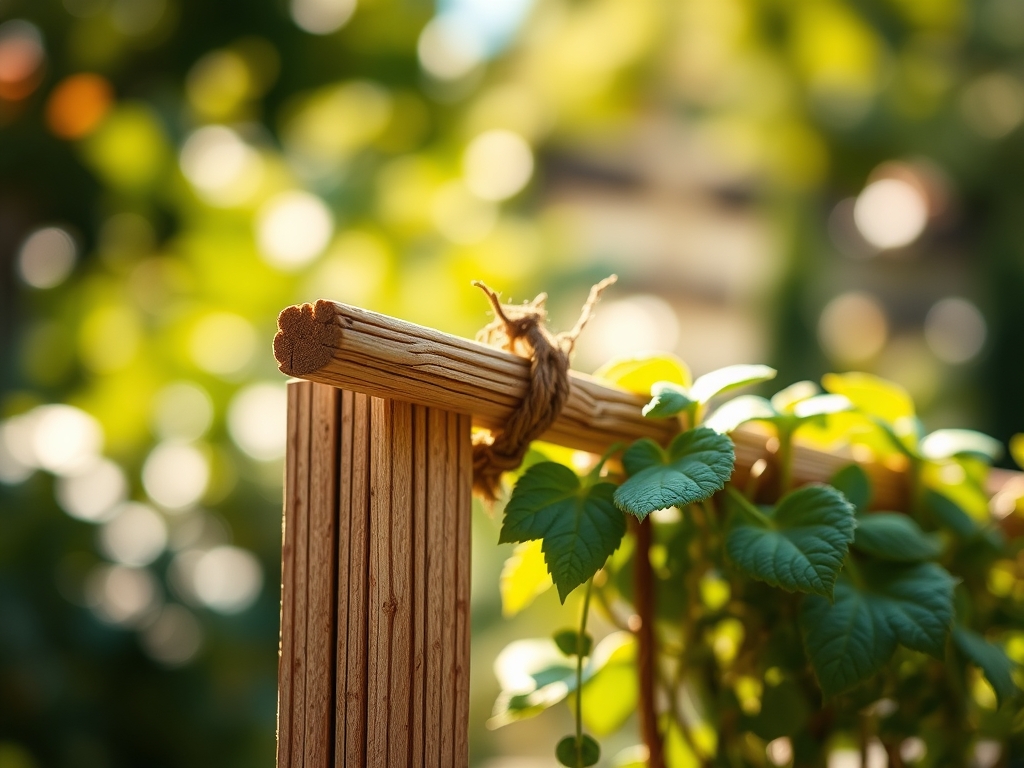
For the trellis structure, utilize rot-resistant cedar or pressure-treated lumber that does not leach heavy metals. Use 14-gauge galvanized wire for the grid system. Regarding nutrition, the baseline soil mix should incorporate a slow-release NPK ratio of 5-10-5 for establishing herbs. High nitrogen (N) promotes excessive vegetative growth at the expense of volatile oil production; therefore, a moderate phosphorus (P) and potassium (K) level is required to strengthen cell walls and promote robust root architecture.
Timing:
Timing is dictated by the USDA Hardiness Zones. In Zones 7 through 9, construction and installation should occur at least three weeks before the last frost date. This allows the soil to settle and the microbial community to stabilize around the support posts. The biological clock of the plant determines the window for training stems onto the trellis.
Most herbs enter their most aggressive vegetative stage as the photoperiod exceeds 12 hours of daylight. You must install the trellis before the plant reaches 25 percent of its mature height. If you wait until the plant begins its reproductive stage (flowering), the stems become lignified and brittle. At this point, attempting to manipulate the plant onto a support structure will cause mechanical damage to the vascular tissue, specifically the xylem and phloem, leading to localized necrosis.
Phases:
Sowing and Site Preparation
Clear the area of all competing vegetation. Dig a trench 12 inches deep and incorporate organic compost to improve the soil structure. Ensure the trellis is oriented on a North-South axis to maximize even light distribution across both sides of the vertical plane.
Pro-Tip: Proper orientation prevents "shading out" of lower leaves. This exploits phototropism, where the plant grows toward light. Even light distribution prevents the accumulation of auxins on one side of the stem, which would otherwise cause the plant to lean or become unstable.
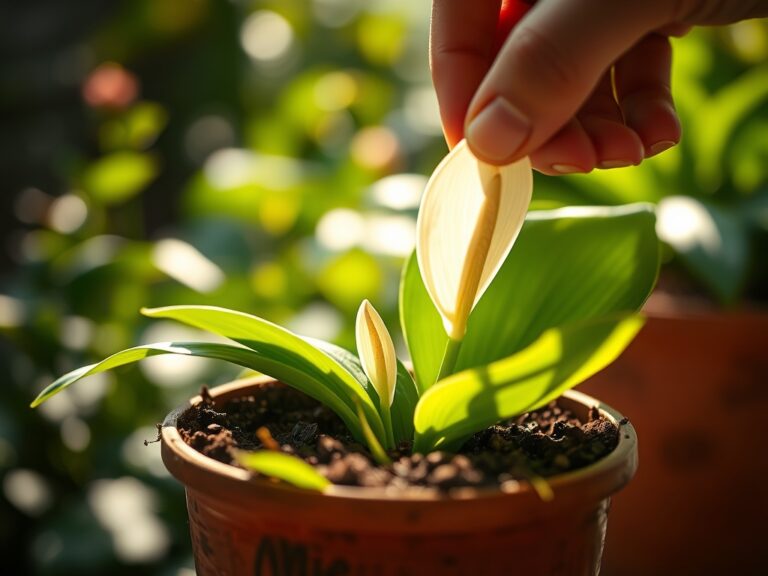
Transplanting and Initial Anchoring
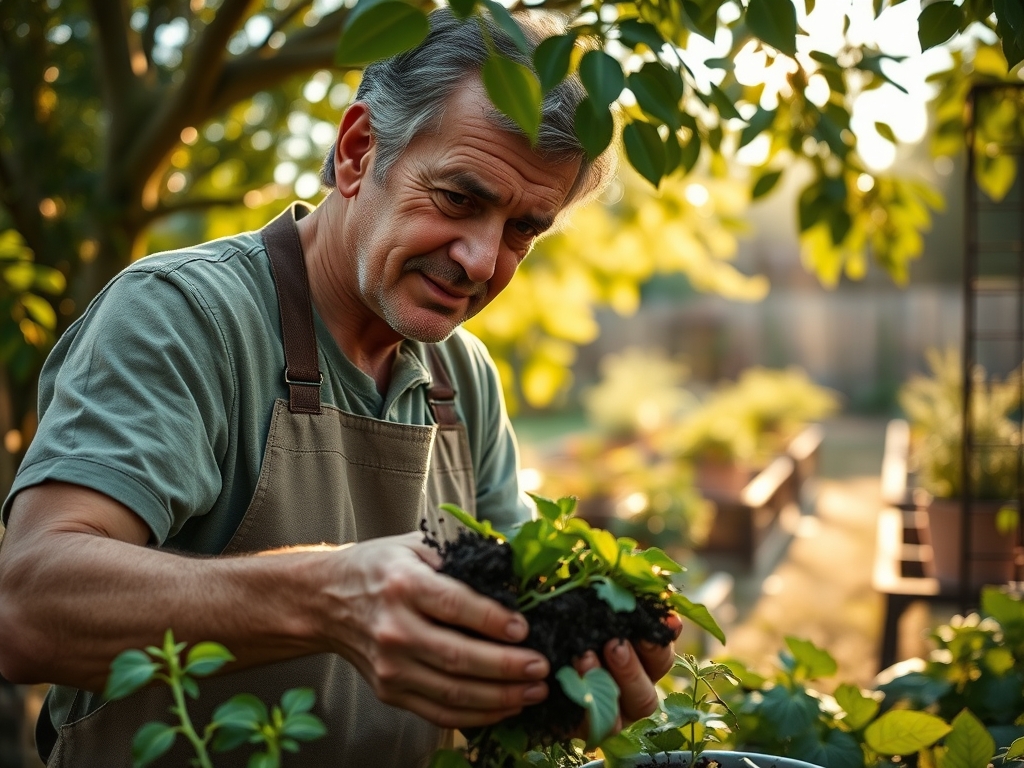
When transplanting seedlings, ensure the root ball is saturated. Place the plant 4 inches from the base of the trellis. Use soft garden twine to loosely anchor the primary lead to the lowest wire. Do not constrict the stem; leave a 0.5-inch gap for secondary thickening.
Pro-Tip: Maintaining a gap prevents "girdling," a condition where the tie cuts into the phloem. This ensures the uninterrupted flow of photosynthates from the leaves to the roots, supporting mycorrhizal symbiosis in the soil.
Establishing and Training
As the plant grows, weave the new growth through the wire grid every 4 to 6 inches. Use a hori-hori knife to remove any competing weeds at the base. Monitor the soil with a soil moisture meter to ensure the root zone stays within the 40 to 60 percent saturation range.
Pro-Tip: Regular training suppresses apical dominance. By bending the main leader horizontally, you redistribute auxins to lateral buds. This results in a bushier plant with more harvestable surface area.
The Clinic:
Physiological disorders often manifest as visible symptoms on the foliage.
- Nitrogen Chlorosis: Symptoms include a general yellowing of older leaves while veins remain slightly green. Solution: Apply a water-soluble fertilizer with an NPK of 10-5-5 to provide immediate nitrogen availability.
- Magnesium Deficiency: Characterized by interveinal chlorosis on older leaves, often appearing as a "V" shape. Fix-It: Incorporate Epsom salts (magnesium sulfate) at a rate of 1 tablespoon per gallon of water.
- Tip Burn (Calcium Deficiency): New growth appears distorted or necrotic at the margins. Solution: Ensure consistent irrigation to facilitate the passive transport of calcium through the transpiration stream.
- Root Rot (Phytophthora): Symptoms include wilting despite moist soil and a foul odor from the substrate. Fix-It: Improve drainage by adding perlite or coarse sand to the loam and reduce watering frequency.
Maintenance:
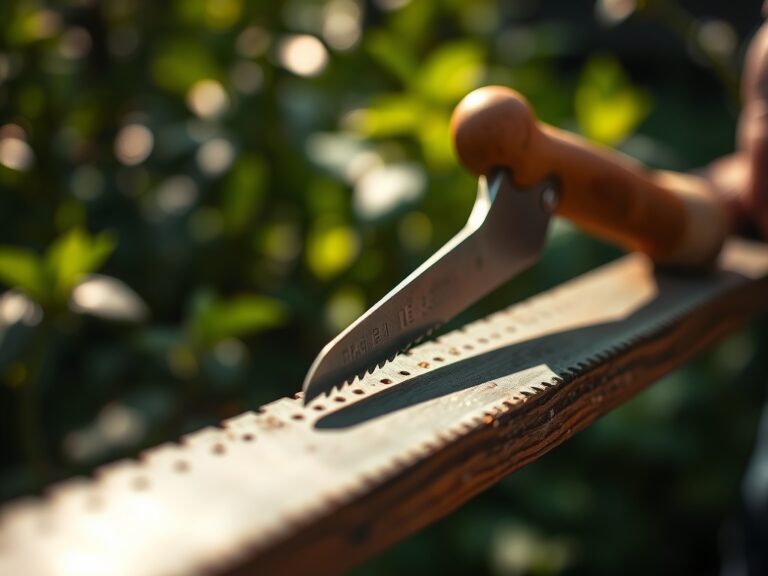
Precision maintenance is the difference between a surviving plant and a thriving one. Deliver 1.5 inches of water per week directly at the drip line. Avoid overhead irrigation, as moisture on the leaf surface promotes the germination of fungal spores. Use bypass pruners for all structural cuts. A clean, sharp cut allows the plant to form a callus quickly, preventing the entry of pathogens.
Check the tension of your trellis wires monthly. Thermal expansion and the increasing weight of the plant biomass can cause sagging. Use a tensioning tool to keep the grid taut. Every 14 days, inspect the undersides of leaves for signs of stress or nutrient imbalances. If the soil pH drifts below 6.0, top-dress with dolomitic lime to buffer the acidity and provide a slow-release source of calcium and magnesium.
The Yield:
Harvesting from a trellised plant requires a surgical approach. For most herbs, the optimal time to harvest is in the early morning after the dew has evaporated but before the sun reaches its zenith. This is when the concentration of essential oils is at its peak. Never remove more than 30 percent of the plant's total biomass at one time to avoid systemic shock.
Use sterilized snips to cut just above a node. This encourages the plant to break dormancy in the lateral buds, leading to a secondary flush of growth. For "day-one" freshness, immediately place the cut ends in a container of cool water or wrap them in a damp paper towel and refrigerate at 40 degrees Fahrenheit. This slows down the rate of senescence and preserves the turgor pressure within the cells.
FAQ:
What is the best material for a DIY herb trellis?
Cedar or redwood is preferred for the frame due to natural rot resistance. Use 14-gauge galvanized steel wire for the grid to provide high tensile strength and longevity against the elements.
How deep should trellis posts be buried?
Posts should be buried at least 18 to 24 inches deep. For taller structures over six feet, use concrete footings to ensure stability against wind loads and the weight of mature plant biomass.
Can I use plastic netting for herb support?
Plastic netting is acceptable for lightweight annuals but lacks the rigidity for perennial woody herbs. It also degrades under UV exposure, leading to microplastic contamination in the rhizosphere over time.
How do I prevent my herbs from becoming too woody?
Maintain a regular pruning schedule to remove older, lignified stems. This encourages the plant to produce succulent new growth, which contains higher concentrations of volatile oils and better flavor profiles for culinary use.