6 Steps to Install an Artistic Garden Fountain
The smell of wet stone and damp earth signals a functional change in the garden microclimate. When water hits the air, it increases local humidity and modifies the turgor pressure of surrounding foliage. Successful installation requires more than aesthetic placement; it demands an understanding of soil compaction and hydraulic load. Following the correct steps for installing a garden fountain ensures that the feature remains level despite the natural expansion and contraction of the rhizosphere. Proper execution prevents the anaerobic conditions that occur when stagnant water leaks into the subsoil.
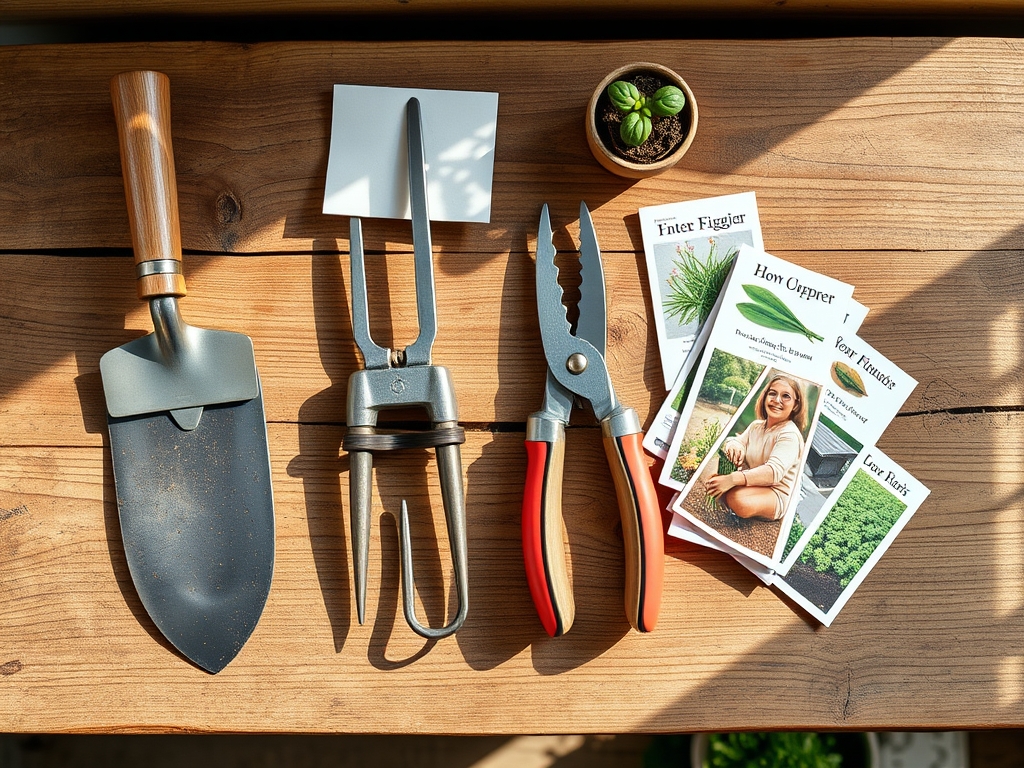
Materials:
The foundation of any heavy water feature begins with the soil. You must assess the Cation Exchange Capacity (CEC) of the site to understand how the ground will react to moisture. Ideal substrate for surrounding plantings is a **friable loam** with a **pH between 6.0 and 7.0**. For the structural base, you require **crushed limestone or 3/4-inch minus gravel** to facilitate drainage and prevent frost heave.
If you are integrating the fountain into a planted bed, the soil NPK ratio should be tailored to the species present. For woody perennials, a 10-10-10 balanced fertilizer provides sufficient phosphorus for root establishment without overstimulating vegetative growth. For flowering species, a 5-10-5 ratio is preferred to encourage bloom production over leaf mass. The physical texture of the soil must allow for rapid percolation; if the soil is heavy clay, you must amend it with organic matter to prevent waterlogging the roots of nearby specimens.
Timing:
Installation should occur during the dormant season or early spring to minimize stress on the surrounding botanical community. In Hardiness Zones 4 through 7, the window opens once the ground has thawed and the risk of deep frost has passed, typically between March and May. Observe the biological clock of your garden. You want to complete heavy excavation before plants enter their primary vegetative stage.
Moving heavy stone and equipment during the active growth phase can cause significant soil compaction, which restricts oxygen flow to the roots and leads to premature senescence. Aim for a period when the soil moisture is low enough that the earth crumbles rather than smears when compressed. This prevents the destruction of the soil structure and maintains the integrity of the mycorrhizal networks necessary for nutrient uptake.
Phases:

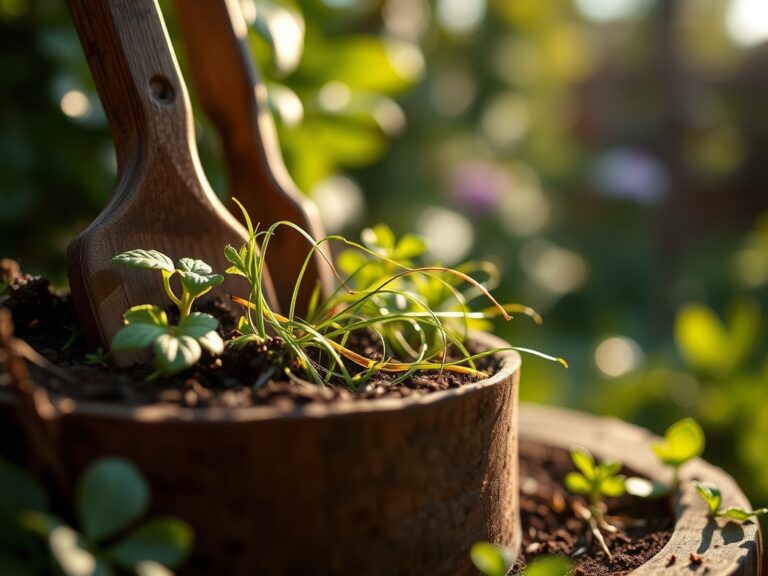
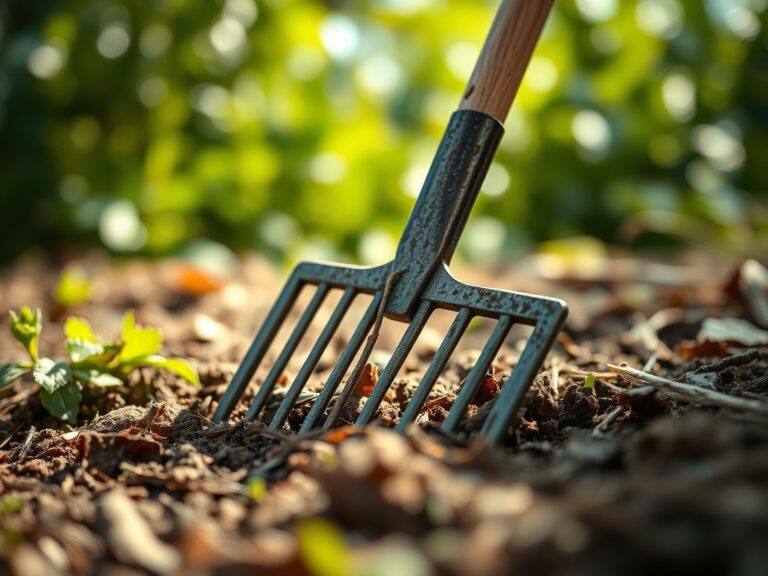
Sowing the Foundation
Excavate a pit 2 to 4 inches wider than the fountain basin. The depth must account for a 3-inch layer of compacted gravel and the height of the reservoir. Leveling is critical; use a carpenter's level to ensure the base is perfectly horizontal. Even a 1 percent grade can cause uneven water flow and pump cavitation.
Pro-Tip: Compacting the subsoil prevents future settling. This is vital because soil settling can shear fine root hairs of nearby plants, triggering a stress response that increases ethylene production and leads to leaf abscission.
Transplanting and Plumbing
Position the reservoir and install the submersible pump. Ensure all conduits for electricity are rated for outdoor use and buried at least 12 inches deep. When backfilling around the basin, use the excavated friable loam. If you are moving plants to accommodate the fountain, keep the root balls moist and shaded to maintain high turgor pressure.
Pro-Tip: Use a root stimulator containing auxin during transplanting. Auxin suppression in the terminal buds occurs during stress; supplemental applications encourage the plant to prioritize root regeneration over apical dominance.
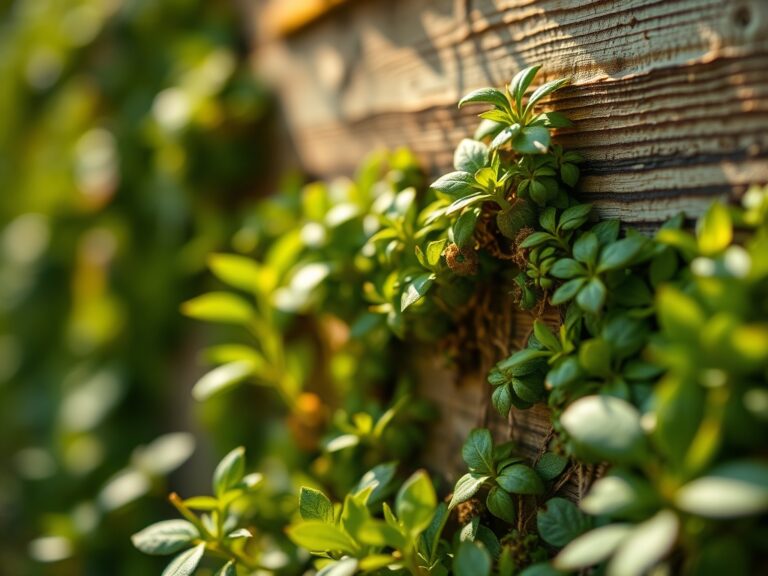
Establishing the Microclimate
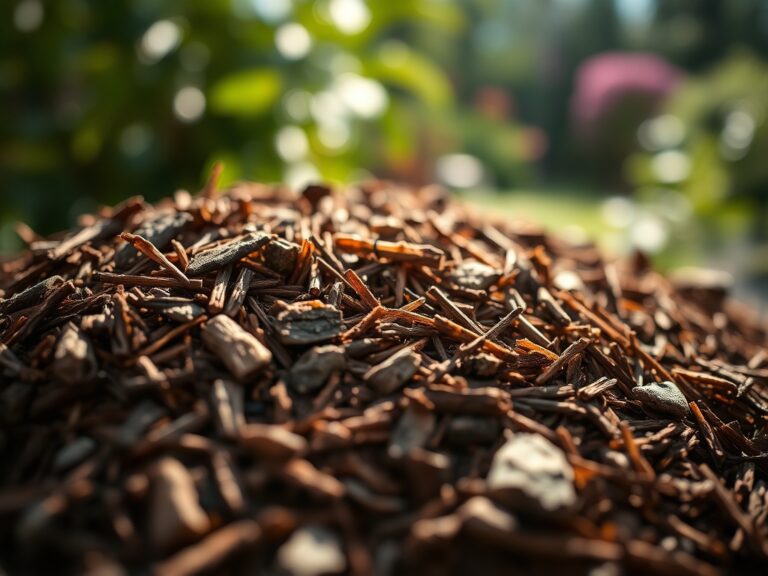
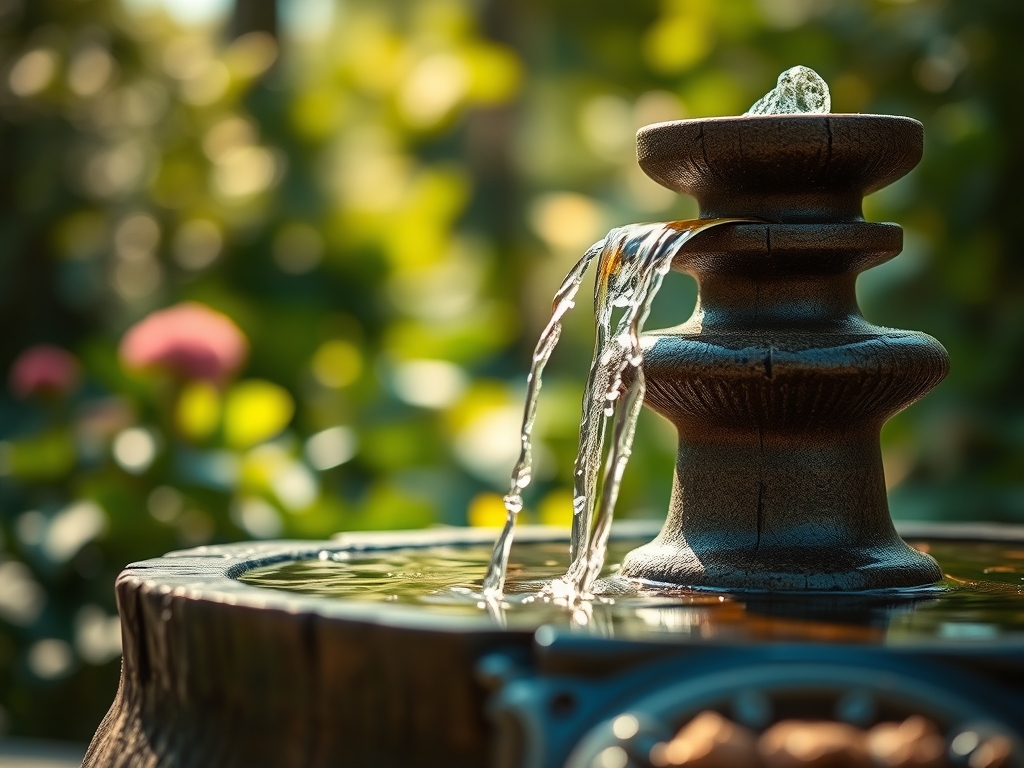
Fill the fountain with water and monitor for leaks over a 48-hour period. Once the system is stable, finish the surrounding area with mulch or river rock. This layer regulates soil temperature and prevents the evaporation of moisture from the rhizosphere.
Pro-Tip: Introduce beneficial bacteria to the water feature. This mimics a natural ecosystem and prevents the buildup of organic debris that could otherwise lead to nutrient leaching and nitrogen spikes in the surrounding soil.
The Clinic:
Physiological disorders in plants near a new water feature often stem from altered soil moisture levels.
-
Symptom: Interveinal chlorosis (yellowing leaves with green veins).
Solution: This indicates a Manganese or Iron deficiency often caused by high soil pH from concrete fountain runoff.
Fix-It: Apply chelated iron or elemental sulfur to lower the pH to the 6.5 range. -
Symptom: Edema (small bumps or blisters on the underside of leaves).
Solution: This occurs when the plant absorbs water faster than it can transpire it, common in high-humidity zones near fountains.
Fix-It: Increase airflow by pruning nearby dense foliage with bypass pruners. -
Symptom: Leaf scorch or marginal necrosis.
Solution: Often a result of salt buildup from hard water spray.
Fix-It: Flush the soil with 2 inches of fresh water to leach accumulated salts away from the root zone. -
Symptom: Nitrogen Chlorosis (uniform paling of older leaves).
Solution: Frequent splashing can leach nitrogen from the soil.
Fix-It: Top-dress with a slow-release 12-4-8 fertilizer to restore nitrogen levels without causing a growth surge.
Maintenance:
A garden fountain requires a rigorous maintenance schedule to protect the surrounding landscape. Check the water level daily; evaporation can happen quickly in arid climates. Use a soil moisture meter to ensure the ground around the fountain stays at a consistent 25 to 30 percent moisture content.
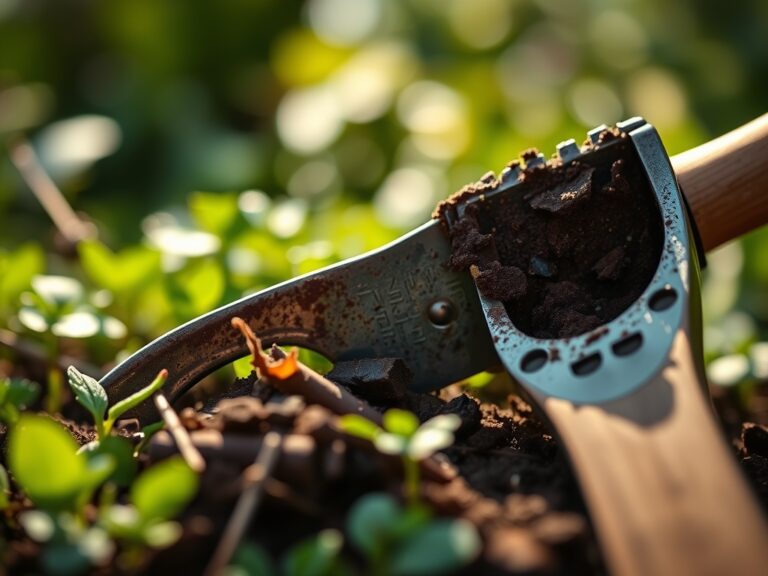
Plants within the splash zone require specific attention. Use a hori-hori knife to check for soil compaction every six months. If the soil feels dense, aerate the area manually to ensure oxygen reaches the roots. Apply 1.5 inches of water per week at the drip line of surrounding shrubs, adjusting for rainfall. Every autumn, drain the pump and lines in cold climates to prevent ice expansion from cracking the stone or plastic components.
The Yield:
While a fountain does not produce a caloric harvest, it yields a modified environment that can extend the blooming period of certain species. By increasing local humidity, you can maintain the freshness of delicate flowers like Astilbe or Ferns that would otherwise wilt in dry heat. To keep cut flowers from this area fresh, harvest them in the early morning when turgor pressure is at its peak. Cut the stems at a 45-degree angle and immediately plunge them into 110-degree Fahrenheit water to remove air bubbles from the xylem.
FAQ:
How deep should I dig for a fountain basin?
Excavate the hole 2 to 3 inches deeper than the basin height. This space allows for a leveling layer of compacted sand or fine gravel, ensuring the feature remains stable and the water flow stays even across the weir.
Can I use tap water in my garden fountain?
Yes, but monitor the pH. Tap water often has a pH above 8.0, which can cause calcium buildup on the pump and increase the alkalinity of the surrounding soil, potentially leading to nutrient lockout in acid-loving plants.
How do I prevent algae without harming nearby plants?
Maintain water movement and use beneficial enzymes or barley straw extract. These biological solutions break down organic matter without the use of harsh copper-based algaecides that can be toxic to the soil rhizosphere and beneficial insects.
How often should I clean the pump filter?
Inspect the filter every 30 days. Debris like fallen leaves and pine needles can clog the intake, reducing flow and straining the motor. Clean filters ensure consistent aeration, which benefits the local microclimate and prevents stagnant odors.