7 Steps to Prepare a Tool Organization Review
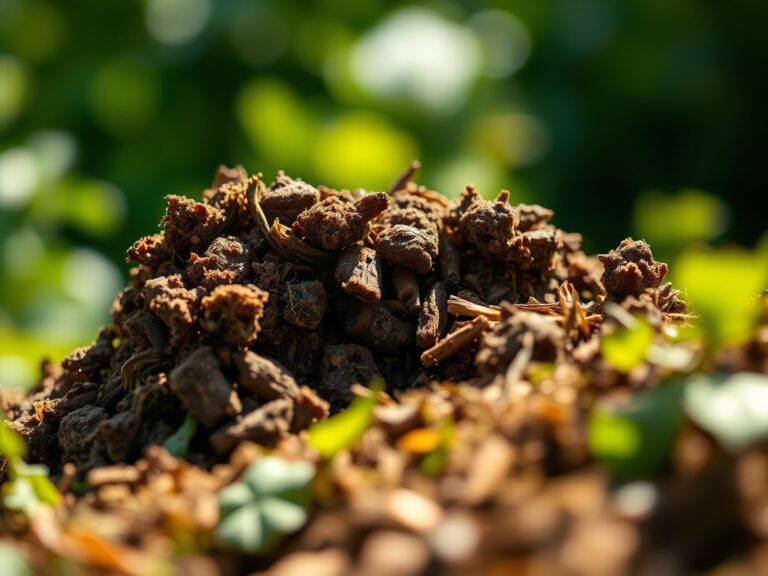
The smell of damp earth and decaying organic matter signifies a transition in the seasonal cycle; it is the scent of nitrogen cycling through the rhizosphere. When turgor pressure remains high in your perennials, the cellular structure is resilient, but the efficiency of the gardener depends on the state of the inventory. Learning how to prepare a garden for a tool organization review requires a systematic audit of both the botanical environment and the mechanical assets used to maintain it.
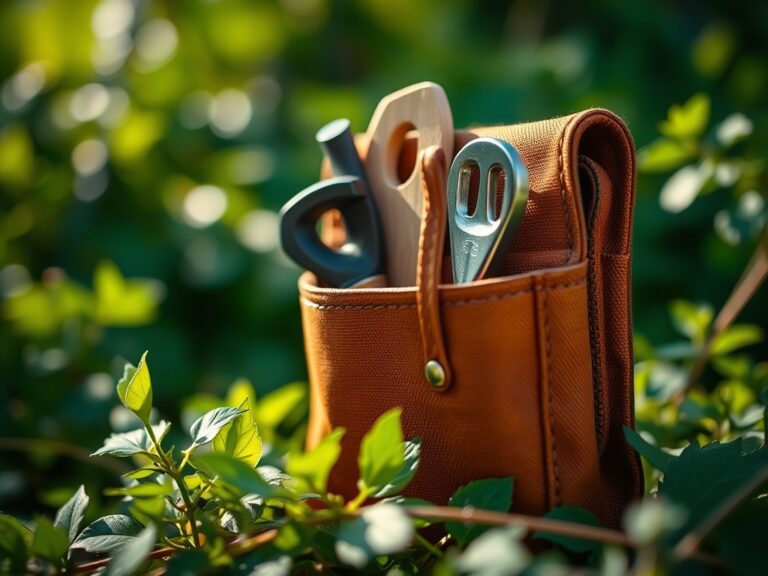
Precision in the field is impossible without a calibrated kit. A tool organization review is not merely an aesthetic exercise; it is a structural assessment of your ability to respond to physiological plant stress. By aligning your hardware with the specific needs of your soil and plant biology, you ensure that every cut is clean and every amendment is precise. This process begins with a clear understanding of the materials required to sustain a high-performing landscape.
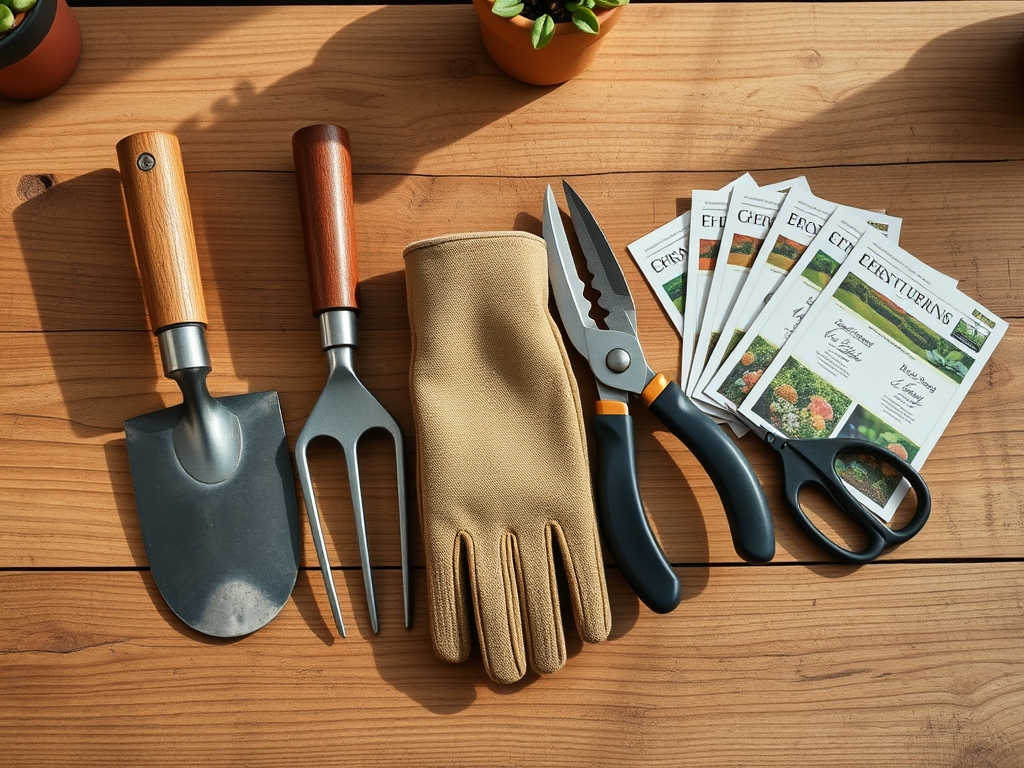
Materials:
To facilitate a successful review, you must first assess the substrate where your tools perform their primary labor. The ideal substrate is a **friable loam** with a granular structure that allows for optimal gas exchange. Conduct a soil test to establish a baseline. For most temperate landscapes, a **pH range of 6.2 to 6.8** is the target window to maximize nutrient availability.
Specific NPK ratios must be on hand to address the metabolic demands of the season. Maintain a supply of 10-10-10 for general maintenance, 5-10-10 for root development and flowering, and high-nitrogen 21-0-0 (Ammonium Sulfate) for rapid vegetative growth in heavy feeders. Your storage area should also contain materials for Cation Exchange Capacity (CEC) adjustment, such as calcitic lime or elemental sulfur, depending on your initial pH readings. A higher CEC indicates a soil's ability to hold onto essential cations like Calcium (Ca2+) and Magnesium (Mg2+), preventing leaching during heavy irrigation cycles.
Timing:
The biological clock of the garden dictates the urgency of your tool review. In Hardiness Zones 5 through 7, the primary window for tool maintenance and organization occurs during the dormant season, typically between the first hard frost and the spring thaw. This period, often spanning from November to March, ensures that equipment is sterilized and sharpened before the transition from the vegetative stage to the reproductive stage in early spring.
Photoperiodism triggers the onset of senescence in many deciduous species when daylight drops below 12 hours. As plants pull carbohydrates into their root systems for winter storage, the mechanical demands on the gardener shift from pruning for growth to structural maintenance. You must complete your organization review at least 30 days before the historical last frost date to ensure that bypass pruners are sharp enough to make surgical headers without crushing vascular tissue.
Phases:

Sowing and Inventory
Before the first seed hits the medium, audit your seed starting equipment. This includes heat mats, humidity domes, and dibbers. Ensure all plastic trays are sterilized with a 10 percent bleach solution to eliminate pathogens like Pythium.
Pro-Tip: Proper tool sterilization prevents the spread of soil-borne pathogens through the rhizosphere. This protects the delicate mycorrhizal symbiosis between fungi and root hairs, which increases the surface area for nutrient absorption by up to 1,000 times.
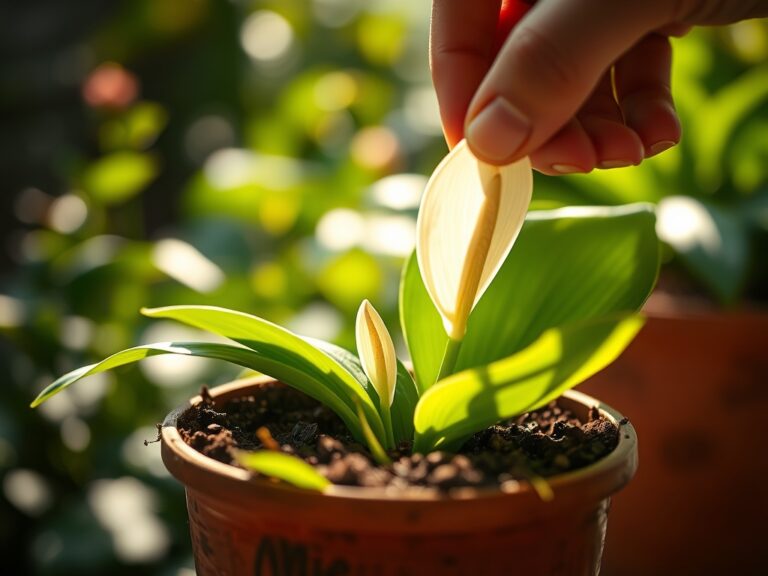
Transplanting and Tool Calibration
As seedlings reach the two-leaf stage, transition to larger implements. This phase requires a sharp hori-hori knife for precise root ball manipulation. Measure the depth of your planting holes to ensure the root flare remains at the soil surface to avoid stem rot.
Pro-Tip: When transplanting, avoid disturbing the root tips to maintain auxin suppression. Auxins are hormones that regulate apical dominance; damaging the root tips can lead to stunted vertical growth and unwanted lateral branching.
Establishing and Maintenance
Once the garden is established, the focus shifts to irrigation and pruning. Use a soil moisture meter to verify that the root zone is receiving moisture at a depth of 6 to 8 inches. This is the period where tool accessibility is critical for rapid response to pest or disease pressure.
Pro-Tip: Pruning during the active growth phase utilizes phototropism, the plant's tendency to grow toward light. By thinning the canopy with sharp shears, you increase light penetration to lower leaves, maximizing photosynthetic efficiency across the entire plant structure.
The Clinic:
Physiological disorders often mimic infectious diseases. Use this diagnostic guide to determine if your tools or your techniques need adjustment.
- Symptom: Interveinal chlorosis on young leaves.
Solution: This is typically a Manganese or Iron deficiency. Check soil pH; if it is above 7.0, these micronutrients become insoluble.
Fix-It: Apply a chelated micronutrient spray and calibrate your fertilizer injectors to ensure even distribution.
- Symptom: Necrotic leaf margins and weak stems.
Solution: This indicates Potassium (K) deficiency, which compromises cellular turgor and water regulation.
Fix-It: Incorporate a high-potash fertilizer (0-0-60) into the top 2 inches of the soil profile.
- Symptom: Blossom end rot in Solanaceous crops.
Solution: This is a Calcium transport issue, often caused by inconsistent irrigation rather than a lack of Calcium in the soil.
Fix-It: Use a moisture meter to maintain consistent hydration levels; ensure your irrigation timers are functioning correctly.
- Symptom: Stunted growth with dark purple leaf undersides.
Solution: This is a classic sign of Phosphorus (P) deficiency, often occurring in cold, wet soils where uptake is inhibited.
Fix-It: Increase soil temperature using black plastic mulch and apply a water-soluble high-phosphorus starter fertilizer.
Maintenance:
Precision maintenance requires data-driven action. Deliver exactly 1.5 inches of water per week at the drip line of your plants. This is best achieved through drip irrigation to minimize evaporation and prevent foliar diseases. Use your bypass pruners only on living tissue; for dead wood, use anvil pruners to avoid springing the tension on your high-end blades.
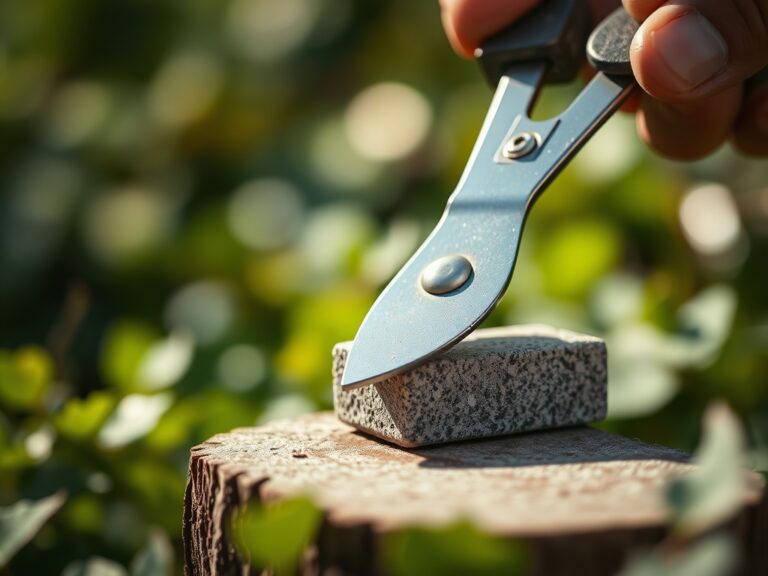
Every 40 hours of use, sharpen your hori-hori knife and spades with a medium-grit whetstone. Lubricate all moving parts with a non-petroleum based oil to prevent degradation of rubber gaskets or handles. Store tools in a vertical rack to prevent moisture accumulation on metal surfaces, which leads to oxidation and pitting.
The Yield:
Harvesting is the final mechanical interaction between the tool and the plant. For most fruiting crops, harvest during the cool of the morning, specifically between 6:00 AM and 9:00 AM, when sugar concentrations are highest and field heat is lowest. Use a sharp floral knife to make a clean cut, leaving a small portion of the pedicel attached to the fruit to prevent moisture loss.
Post-harvest handling is critical for "day-one" freshness. Immediately plunge harvested greens into a 34-degree Fahrenheit water bath to remove field heat and maintain cellular turgor. For woody stems or flowers, re-cut the stems underwater at a 45-degree angle to prevent air embolisms from blocking the xylem, ensuring continued hydration.
FAQ:
How often should I sharpen my bypass pruners?
Sharpen blades every 10 to 15 hours of active use. Use a diamond file to maintain a 20-degree bevel. Sharp tools ensure clean vascular cuts, which heal faster and resist infection better than crushed tissue.
What is the best way to clean rusty garden tools?
Soak metal components in a 50/50 vinegar and water solution for 24 hours. Use steel wool to remove oxidized layers. Rinse, dry thoroughly, and apply a thin coat of linseed oil to prevent future Cation-exchange with oxygen.
Why is soil pH important for tool longevity?
Acidic soils (pH below 5.0) are highly corrosive to carbon steel. If working in acidic conditions, rinse tools after every use to prevent the chemical degradation of the metal finish and to maintain the integrity of the cutting edge.
Can I use a power washer on my garden tools?
Power washing is effective for removing heavy clay, but keep the pressure below 1,500 PSI. High pressure can force water into wooden handles or mechanical joints, leading to internal rot or the displacement of essential lubricants.