9 Essential Steps to Prune Apple Trees for a Better Yield
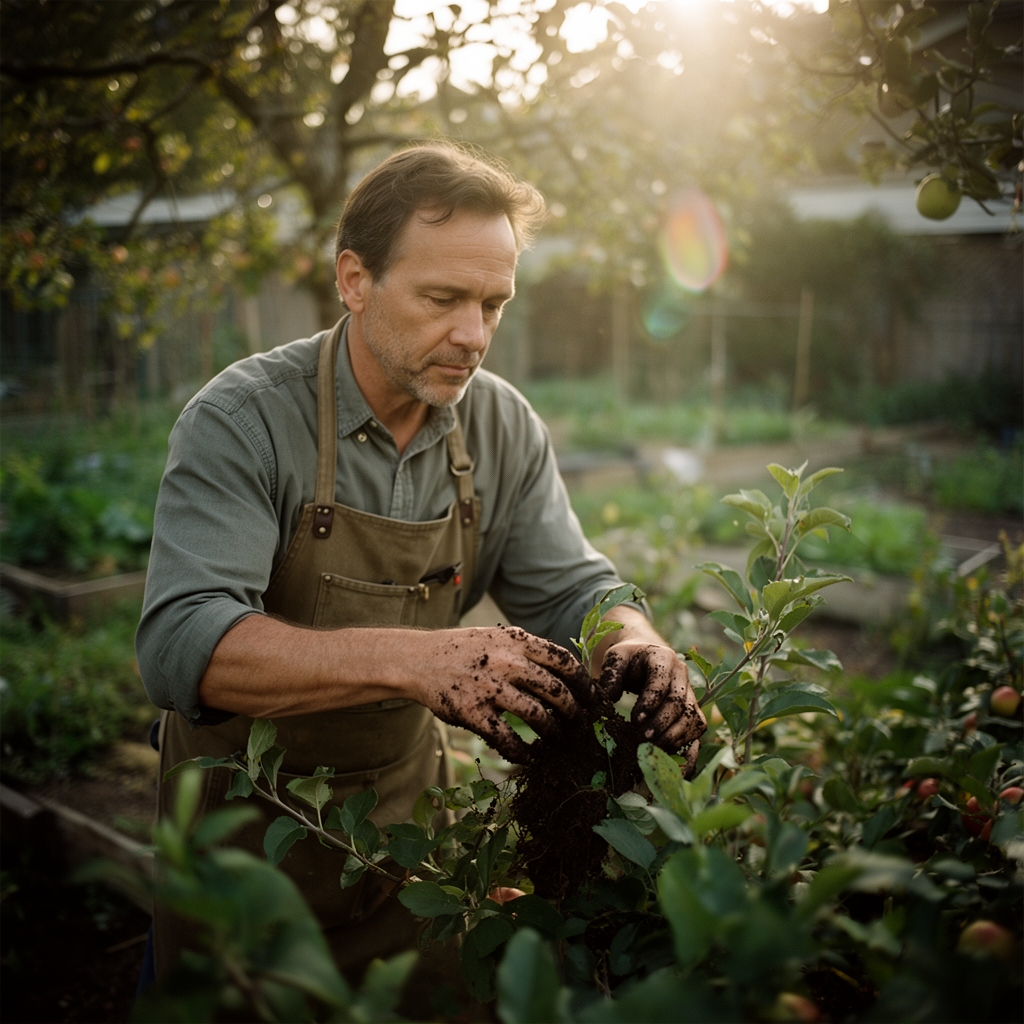
Cold metal shears click against dormant wood on a February morning when frost still clings to bark crevices. The sharp scent of cut apple wood releases notes of honey and tannin into winter air. Learning the steps to prune apple trees for better yield transforms struggling orchards into productive food systems that deliver 200 to 300 pounds per mature tree annually. Each strategic cut redirects auxin flow, eliminates disease vectors, and positions fruiting spurs where sunlight penetrates the canopy at optimal angles. The difference between haphazard trimming and systematic pruning shows in bin weights at harvest.
Materials & Supplies
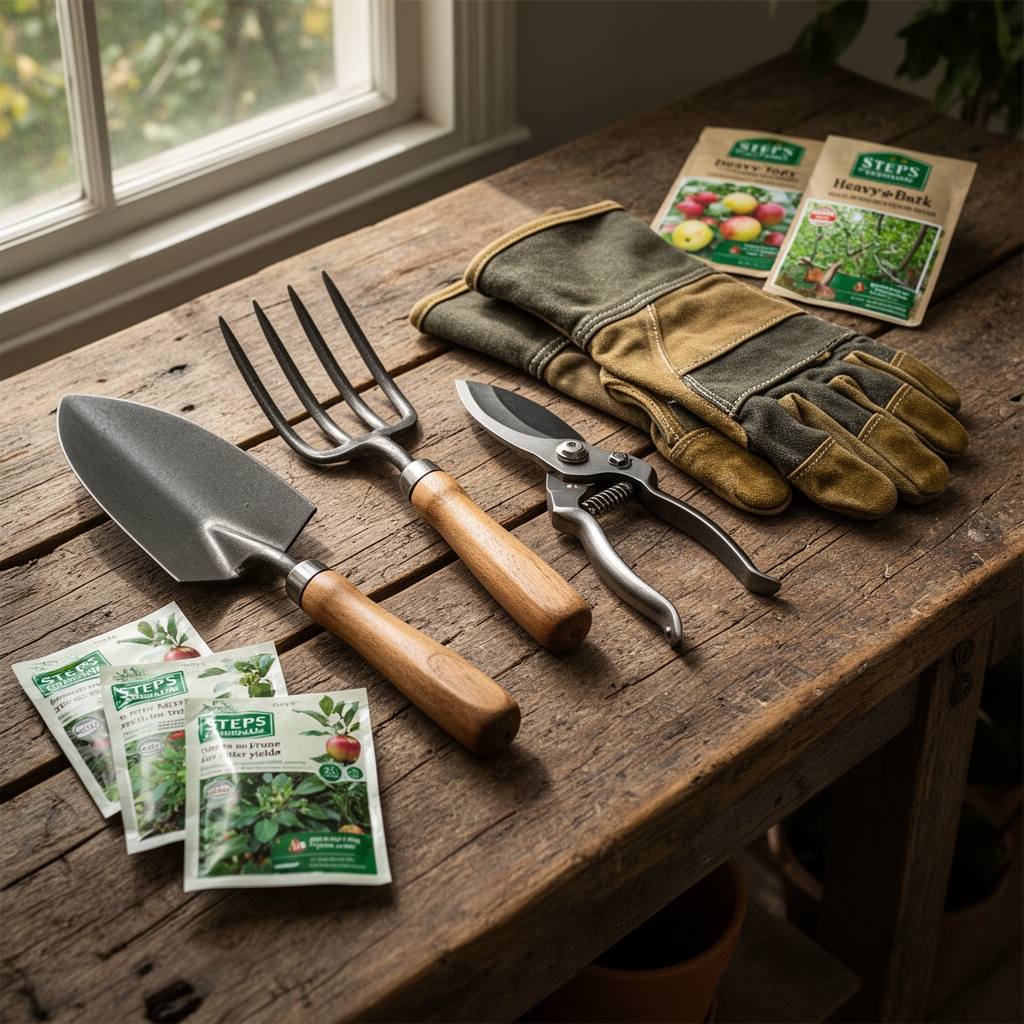
Cutting Tools
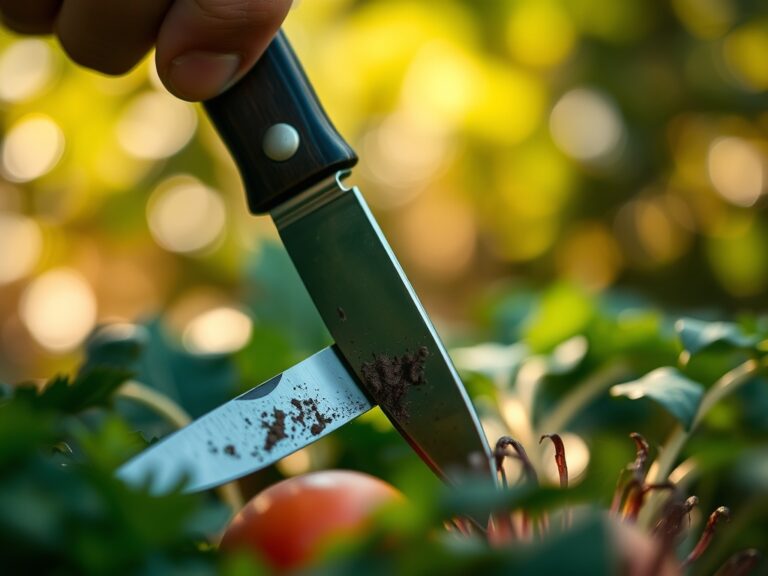
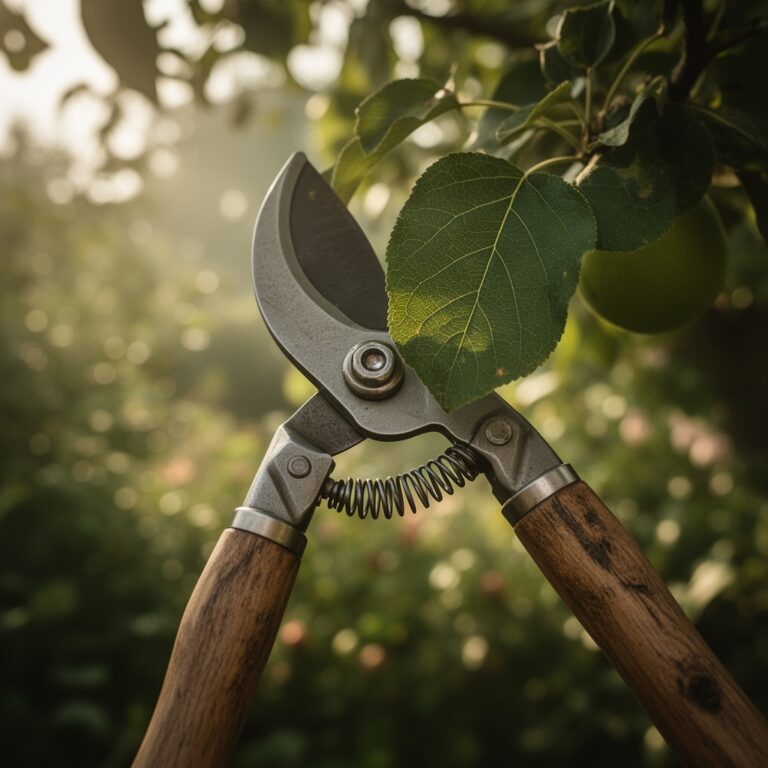
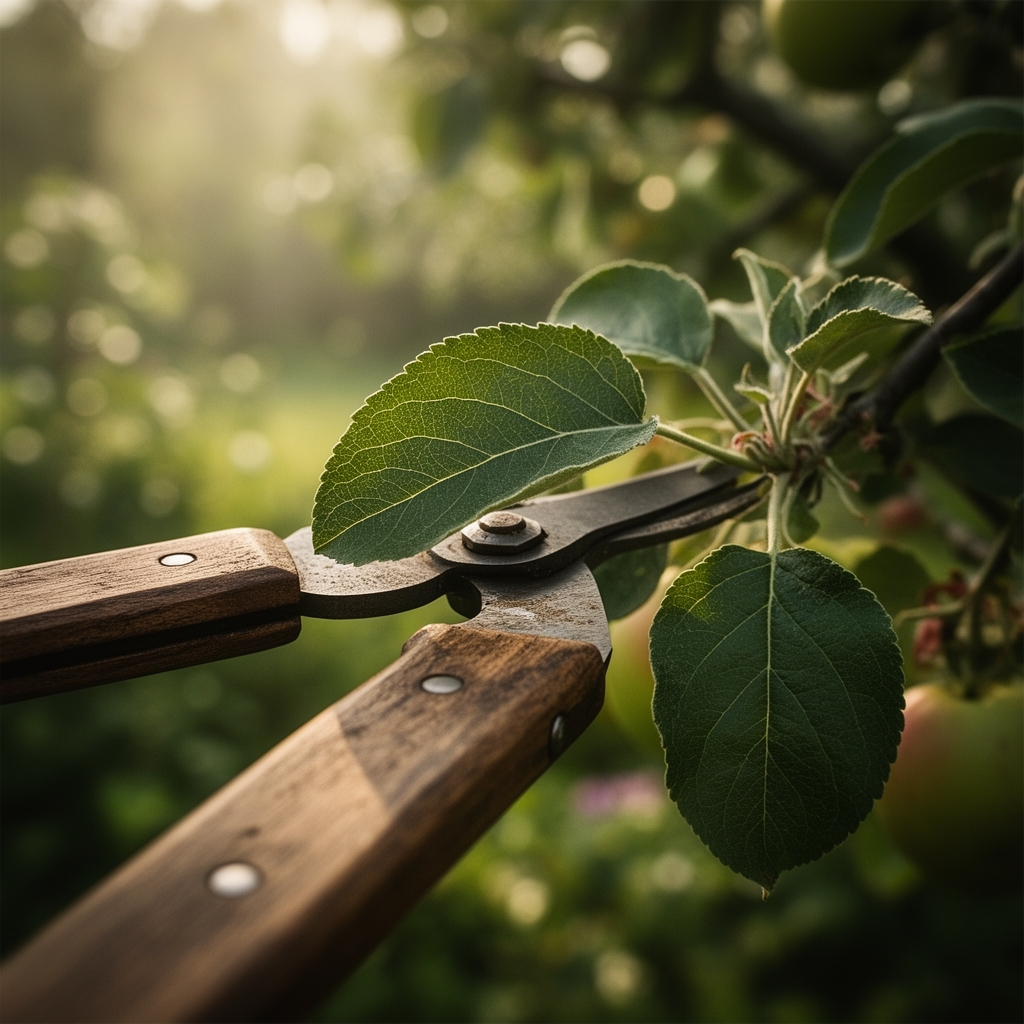
- Bypass pruners for branches under 3/4 inch diameter
- Loppers with 24-inch handles for limbs 3/4 to 1.5 inches
- Curved pruning saw for branches exceeding 1.5 inches
- Pole saw for cuts above 8 feet
Sanitation and Safety
- Isopropyl alcohol (70% concentration) in spray bottle
- Bleach solution (1 part bleach to 9 parts water) for fire blight contamination
- Safety glasses with side shields
- Leather gloves with gauntlet cuffs
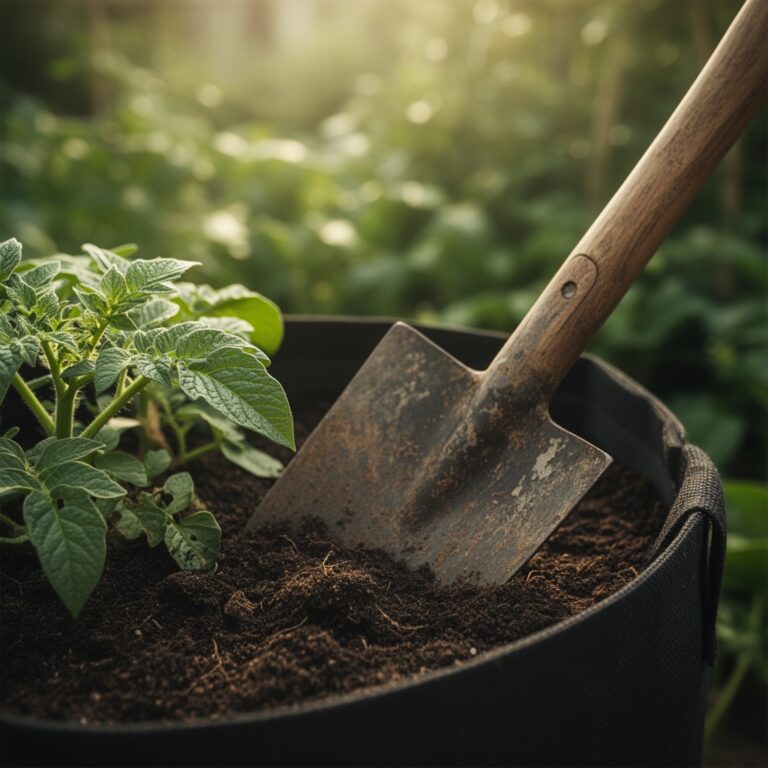
Soil Amendments
- Aged compost (pH 6.0-6.5) at 2-inch layer around drip line
- Balanced fertilizer (10-10-10 NPK) applied at 1 pound per inch of trunk diameter
- Bone meal (3-15-0 NPK) for establishing mycorrhizal fungi networks
- Sulfur powder to lower pH if soil tests above 7.0
Diagnostic Equipment
- Soil pH meter (calibrated)
- Refractometer for measuring Brix levels in fruit
- Hand lens (10x magnification) for inspecting buds
Timing and Growing Schedule
Dormant season pruning occurs between January and early March in Hardiness Zones 5 through 8, when temperatures remain consistently below 45°F but above 20°F. Trees enter full dormancy after 800 to 1,000 chilling hours (accumulated hours below 45°F). In Zone 9, prune in late December when leaf drop completes.
Summer pruning happens in late July through August, focusing on water sprouts and excessive vegetative growth. This secondary pruning redirects energy toward fruit bud formation for the following season.
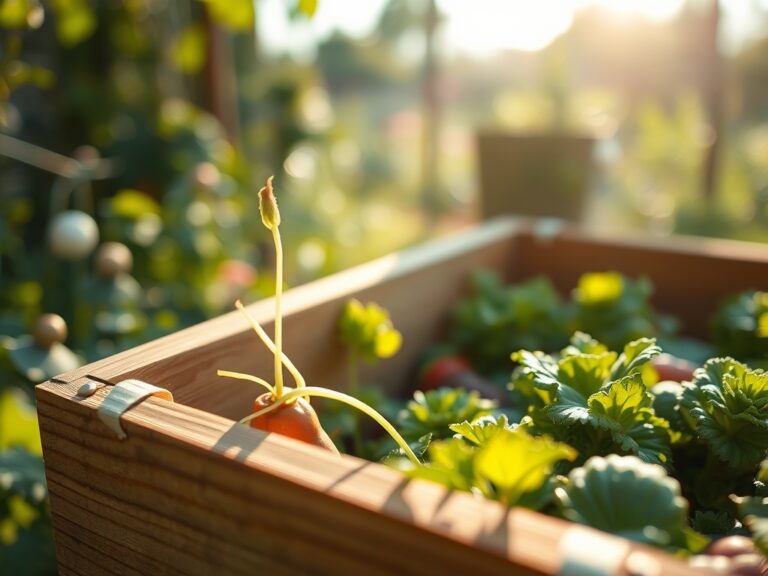
Newly planted whips require 3 to 5 years to establish productive framework. Two-year-old grafted trees on M.7 rootstock produce initial crops in year three. Standard rootstock trees need 6 to 8 years before commercial-level yields begin.
First-year cuts establish scaffold branches at 18 to 24 inches above ground. Second-year pruning develops secondary laterals. Third-year work opens the canopy center for airflow and light penetration.
Step-by-Step Pruning Instructions
Step 1: Remove Dead, Diseased, and Damaged Wood
Inspect the entire tree for blackened stems, cankers, and broken limbs. Cut diseased branches 6 inches below visible damage into healthy tissue. Sterilize tools between each cut when fire blight presence is confirmed.
Pro-Tip: Dead branches snap cleanly with brittle fracture, while dormant wood bends slightly and shows green cambium when scratched.
Step 2: Eliminate Water Sprouts and Suckers
Water sprouts grow vertically from scaffold branches at 90-degree angles. Suckers emerge from rootstock below the graft union. Remove both flush to their origin point without leaving stubs.
Pro-Tip: Rubbing off water sprouts in June when still soft prevents wound formation and eliminates the need for later cutting.
Step 3: Prune Crossing and Rubbing Branches
Identify limbs that create friction points where bark damage invites pathogens. Remove the weaker or poorly positioned branch. Maintain 6 to 8 inches of space between major scaffolds.
Pro-Tip: Branches rubbing during dormancy will create significant wounds during summer wind events when foliage adds weight and leverage.
Step 4: Establish Central Leader or Open Center Architecture
Central leader systems work for standard and semi-dwarf trees, maintaining one dominant vertical trunk with horizontal scaffolds. Open center (vase shape) suits dwarf varieties, removing the central leader to create bowl-shaped structure.
Pro-Tip: The strongest scaffold develops from buds positioned at 10 o’clock and 2 o’clock angles around the trunk, not directly opposite.
Step 5: Create Proper Scaffold Angles
Ideal scaffold branches angle 45 to 60 degrees from vertical. Branches growing at sharper angles (more vertical) produce excessive vegetative growth. Wider angles (approaching horizontal) maximize fruiting spur development.
Pro-Tip: Use wooden spreaders with notched ends during the growing season to train young scaffolds to optimal angles without cutting.
Step 6: Thin Excessive Fruiting Spurs
Fruiting spurs live 8 to 10 years, becoming gnarled and congested. Remove spurs older than 6 years and thin clusters to 6-inch spacing. This concentrates resources into fewer, larger fruits.
Pro-Tip: Spurs produce higher-quality fruit when positioned on the top and sides of branches where sunlight exposure exceeds 60% of full sun.
Step 7: Head Back Overly Vigorous Growth
Cut terminal ends of scaffolds to outward-facing buds, reducing length by one-third on young trees. This stimulates lateral branching and prevents leggy extension growth.
Pro-Tip: Heading cuts on mature trees (over 10 years) triggers excessive water sprout formation, create thinning cuts instead.
Step 8: Remove Vertical Branches in Canopy Center
Any growth taller than scaffold branches and projecting into the canopy center blocks light. Cut these at their base to maintain the open structure that allows air movement and reduces fungal disease pressure.
Pro-Tip: A properly pruned tree allows a thrown baseball to pass through the canopy without hitting branches.
Step 9: Make Clean Cuts at Proper Locations
Position cuts 1/4 inch above outward-facing buds at 45-degree angles. Avoid flush cuts on branches larger than 1 inch; retain the branch collar (swollen ring at base) which contains protective compounds that speed healing.
Pro-Tip: The branch collar contains concentrated phenolic compounds and callus tissue that seal wounds naturally, healing twice as fast as flush cuts.
Nutritional and Environmental Benefits
Proper pruning increases fruit Brix levels (sugar content) from 11 to 16 degrees, improving flavor complexity and storage quality. Well-spaced fruiting spurs produce apples with 15% higher vitamin C content compared to shaded, crowded fruit.
Open canopy architecture supports Mason bee populations, which pollinate 95% more efficiently than honeybees in temperatures between 54°F and 59°F. Native syrphid flies and predatory wasps establish territories in pruned trees, controlling aphids and codling moth larvae.
Strategic pruning reduces fungal disease incidence by 60% through improved air circulation. Lower disease pressure means reduced copper and sulfur applications, protecting soil biology. Healthy soil food webs support nitrogen fixation in clover groundcovers planted beneath trees.
Advanced Methods for Maximum Production
Small Space Techniques
Espalier systems trained on horizontal wires reduce tree footprint to 18 inches depth while maintaining 8-foot width. Two-tier espalier accommodates four scaffold arms per tree. Prune vertical shoots to three leaves during summer to maintain flat profile.
Belgian fence patterns angle trees at 45 degrees, creating diamond lattice that produces 40 pounds per tree in 6 square feet. Summer pruning every three weeks maintains architecture.
Organic and Permaculture Integration
Incorporate nitrogen-fixing plants like comfrey and clover in 3-foot radius around drip line. Their root exudates feed bacterial populations that solubilize phosphorus and potassium.
Apply wood chip mulch at 4-inch depth (keeping 6 inches clear of trunk) to support fungal-dominated soil food webs. Fungal networks transport calcium and trace minerals to feeder roots more efficiently than bacterial pathways.
Kaolin clay applications at petal fall (mixed 2 tablespoons per quart water) deter plum curculio and reduce sunscald on exposed fruit after summer pruning.
Season Extension Strategies
Late-winter pruning delays bloom by 5 to 7 days, potentially avoiding late frost damage. Remove 30% more wood than standard pruning to trigger delayed bud break.
Summer pruning in early August promotes fruit bud formation for heavy crops the following season. This technique works especially well on biennial-bearing varieties prone to alternate-year production.
Troubleshooting Common Pruning Errors
Symptom: Excessive vertical shoot growth (water sprouts) following pruning
Solution: Over-pruning stimulates latent buds. Remove no more than 25% of total canopy in single season. Switch from heading cuts to thinning cuts, which remove entire branches rather than shortening them.
Symptom: Reduced fruit production year after pruning
Solution: Removing too many fruiting spurs or short lateral branches eliminates flower buds. Identify stubby spurs (2 to 6 inches long) with fat terminal buds; these produce blossoms. Leave at least 40 fruiting spurs per mature tree.
Symptom: Sunscald and bark cracking on scaffold branches
Solution: Opening canopy too aggressively exposes bark accustomed to shade. Apply white latex paint (diluted 50% with water) to newly exposed scaffolds. Prune gradually over two seasons for severe overgrowth.
Symptom: Poor wound healing and fungal colonization of cuts
Solution: Cutting during wet weather or active growth introduces pathogens. Prune only during dry conditions when temperatures stay below 50°F. Avoid wound dressings, which trap moisture and slow natural callus tissue formation.
Symptom: Narrow crotch angles that split under fruit load
Solution: Scaffolds emerging at angles less than 40 degrees create weak attachment points. Install spreaders on young branches or remove and select better-positioned laterals. Established narrow crotches require cabling by certified arborist.
Storage and Maintenance Protocols
Irrigation Requirements
Mature apple trees need 1 to 1.5 inches of water weekly during growing season, delivered in single deep watering rather than frequent shallow applications. Install drip irrigation at drip line (not trunk base) to encourage lateral root expansion.
Reduce watering to 0.5 inches weekly six weeks before anticipated harvest. This concentrates sugars and improves storage quality. Resume normal irrigation after fruit removal.
Fertilization Schedule
Apply balanced 10-10-10 fertilizer in early April before bud break at rate of 0.1 pounds nitrogen per year of tree age (maximum 1 pound nitrogen for mature trees). Broadcast in 3-foot band around drip line, scratching into top 2 inches of soil.
Side-dress with compost in late June to support fruit sizing. Avoid nitrogen applications after July 1, which promote late-season vegetative growth that fails to harden before frost.
Test soil every three years. Maintain pH between 6.0 and 6.5. Apple trees require adequate calcium for cell wall development; apply gypsum (calcium sulfate) at 5 pounds per tree if soil tests show calcium below 1,000 ppm.
Post-Harvest Storage
Store apples at 32°F to 35°F with 90% humidity. Late-season varieties (harvested October) store 4 to 6 months under proper conditions. Early varieties (July/August harvest) last 6 to 8 weeks.
Ethylene-sensitive varieties like Gala require separation from ethylene-producing types like Granny Smith. Check stored fruit monthly, removing any showing decay to prevent spread.
Success Blueprint Summary
Implementing these nine steps to prune apple trees for better yield creates structural frameworks that balance vegetative growth with fruit production. Removing 20 to 25 percent of canopy annually maintains optimal light penetration, air movement, and manageable tree height. Consistent pruning during dormancy, combined with targeted summer maintenance, produces annual crops of high-quality fruit that justify the time invested in precision cuts.
Share your pruning results and specific varietal performance data with local extension offices to contribute to regional growing knowledge. Community science advances everyone’s harvest success.
Expert FAQs
When should I start pruning newly planted apple trees?
Prune at planting time, removing broken roots and cutting the whip to 30 inches height. This forces lateral bud break that becomes scaffold branches. During the first dormant season (late winter following planting), select 3 to 4 well-spaced laterals and remove competing growth. Avoid fruit production for first two years by removing blossoms; this establishes strong root systems.
How do I identify fruiting spurs versus vegetative buds?
Fruiting spurs appear as short (2 to 6 inch), gnarled growths with swollen terminal buds that feel plump and rounded. Vegetative buds lie flat against stems and appear pointed. Spurs develop on two-year and older wood. First-year shoots produce only vegetative buds. Use hand lens to observe bud scales; fruiting buds show 5 to 7 overlapping scales while vegetative buds display 2 to 3.
Can I prune apple trees during summer without reducing next year’s crop?
Summer pruning (late July through August) targets water sprouts and excessive shading growth without removing fruiting spurs. This practice actually enhances fruit bud formation by improving light exposure to lateral branches. Limit summer cuts to growth that emerged current season (light green bark). Avoid cutting older wood bearing established spurs. Summer pruning reduces total pruning time needed during dormant season.
What is the difference between thinning cuts and heading cuts?
Thinning cuts remove entire branches back to their origin point at trunk or parent limb, creating no stubs. These cuts reduce density without stimulating excessive regrowth. Heading cuts shorten branches by removing terminal portions, leaving stubs with lateral buds. Heading stimulates multiple shoots below cut and works for shaping young trees. Mature tree pruning relies primarily on thinning cuts to maintain open structure.
How do I fix an overgrown apple tree that hasn’t been pruned in years?
Renovate neglected trees over three seasons to avoid shock. First year: remove all dead wood, crossing branches, and water sprouts (no more than 25% total canopy). Second year: establish proper scaffold selection and open canopy center. Third year: refine branch spacing and fruiting spur distribution. Expect minimal fruit production during renovation as energy redirects to structural correction. Trees respond best when renovation begins before age 25; older specimens may not justify restoration effort.