7 Steps to Prepare a Scenic Garden Bench Site
Crushed stone crunches under a heavy boot while the sharp, metallic scent of geosmin rises from disturbed earth. When you learn how to prepare a site for a garden bench, you are managing the intersection of structural engineering and plant physiology. A bench is not merely furniture; it is a weight-bearing object that alters the local hydrology and soil compaction levels. Success requires maintaining high turgor pressure in surrounding flora while ensuring a level, stable substrate that prevents wood rot or metal oxidation.
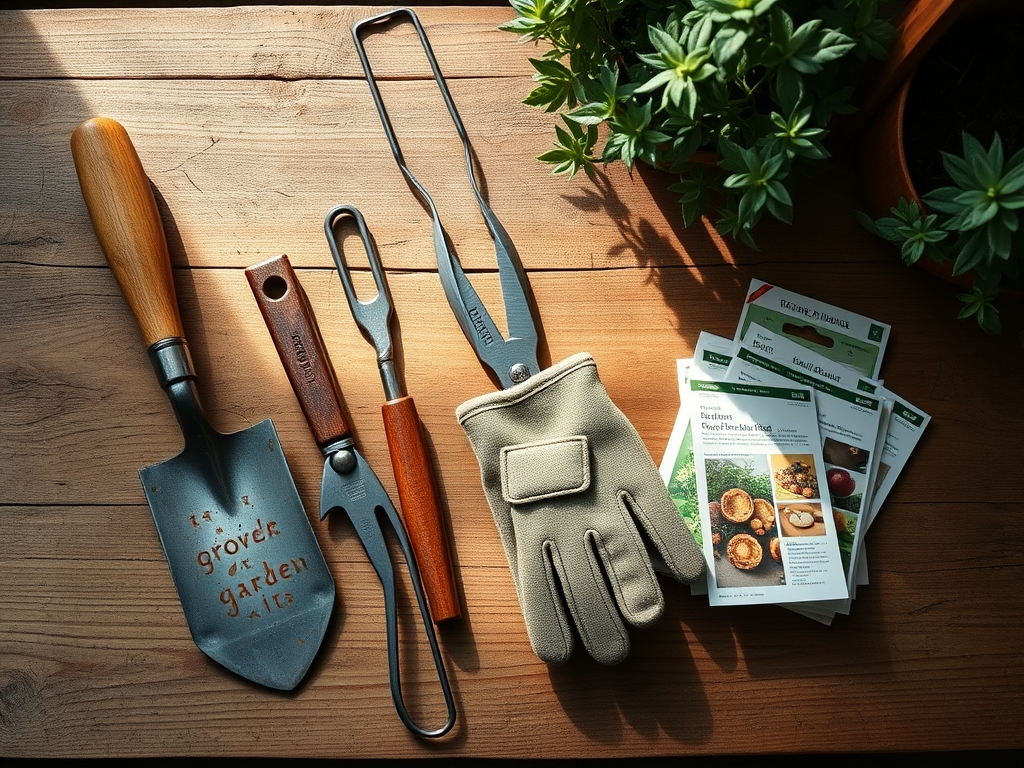
Materials:
The foundation begins with a **friable loam** that possesses a high Cation Exchange Capacity (CEC). For the surrounding vegetation, aim for a soil pH between **6.0 and 7.0**. You will need a base of **grade 2 crushed limestone** for drainage and **polymer-stabilized sand** for leveling. If planting around the perimeter, integrate a slow-release fertilizer with an **NPK ratio of 10-10-10** to support root establishment without triggering excessive vegetative surges. Ensure the substrate has a bulk density of approximately **1.33 grams per cubic centimeter** to allow for adequate oxygen diffusion to the rhizosphere.
Timing:
In Hardiness Zones 5 through 8, site preparation should occur at least four to six weeks before the first hard frost or in the early spring once the soil temperature reaches a consistent 50 degrees Fahrenheit. This timing respects the biological clock of the surrounding perennials. By installing the bench during the transition from vegetative to reproductive stages, you minimize the risk of mechanical damage to tender new growth. Avoid construction during the peak of the photoperiod in mid-summer to prevent localized heat stress and excessive transpiration in the plants bordering the site.
Phases:
Sowing the Foundation
Excavate the site to a depth of 6 inches. Remove all organic matter, including turf and roots, to prevent anaerobic decomposition under the bench. Level the subsoil using a hand tamper.
Pro-Tip: Compact the subsoil to exactly 90 percent Proctor density. This prevents settling that leads to water pooling; standing water triggers root rot in adjacent plants by cutting off the oxygen supply to the rhizosphere.
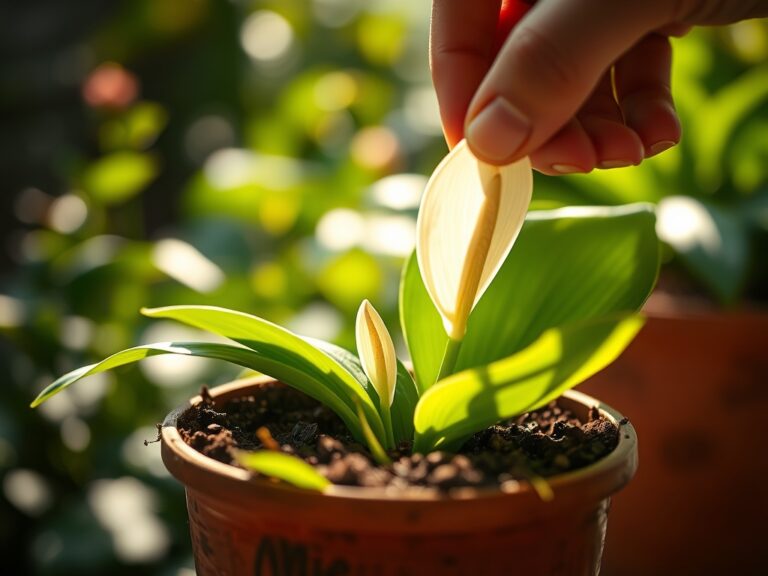
Transplanting Peripheral Flora
If moving plants to accommodate the bench, keep the root ball intact. Dig a hole twice the width of the root system. Backfill with native soil amended with 20 percent organic compost.
Pro-Tip: Use a root-stimulating hormone containing Indole-3-butyric acid (IBA). This synthetic auxin suppresses apical dominance and redirects the plant's energy into rapid root regeneration, ensuring the specimen survives the move.
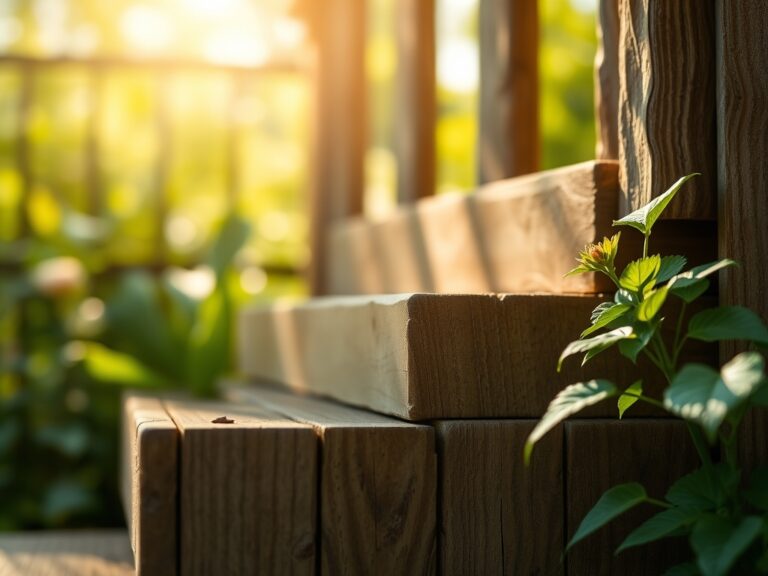
Establishing the Base
Lay a non-woven geotextile fabric over the excavated area. Add 4 inches of crushed stone, followed by 2 inches of leveling sand. Set the bench and check for level using a four-foot spirit level.
Pro-Tip: Incorporate an endomycorrhizal inoculant into the surrounding soil. This creates a symbiotic relationship where fungal hyphae extend the root system's reach; this allows plants to scavenge phosphorus and water more efficiently near the compacted bench site.
The Clinic:
Physiological disorders often manifest when the soil environment is altered by hardscaping.
- Symptom: Nitrogen Chlorosis. The older leaves show a uniform yellowing while veins remain pale.
- Solution: Apply a water-soluble fertilizer with a high Nitrogen (N) percentage. This restores chlorophyll production and increases photosynthetic efficiency.
- Symptom: Iron Deficiency (Interveinal Chlorosis). New leaves turn yellow while the veins remain dark green. This often occurs if the limestone base raises the soil pH above 7.5.
- Solution: Apply chelated iron to the soil. Lower the pH by incorporating elemental sulfur at a rate of 5 pounds per 1,000 square feet.
- Symptom: Leaf Scorch. Edges of the leaves turn brown and brittle due to reflected heat from the bench material.
- Solution: Increase irrigation frequency. Use a soil moisture meter to ensure the root zone stays at 60 percent field capacity.
Maintenance:
A professional maintenance schedule prevents site degradation. Deliver 1.5 inches of water per week at the drip line of surrounding plants. Use a soil moisture meter to verify that moisture penetrates 8 inches deep. Every spring, use a hori-hori knife to edge the perimeter of the bench site; this prevents rhizomatous grasses from infiltrating the gravel base. Prune any overhanging branches with bypass pruners to maintain a clear "headroom" of at least 7 feet. This prevents physical damage to the plant's vascular system and reduces the risk of fungal pathogens in stagnant air pockets.
The Yield:
When using the bench site for cut-flower specimens like Lavandula or Echinacea, harvest during the "cool of the day" before 10:00 AM. At this hour, the plants have maximum turgor pressure. Cut stems at a 45-degree angle and immediately submerge them in 110-degree Fahrenheit water. This "pulse" treatment forces water up the xylem, clearing air embolisms and ensuring the flowers maintain "day-one" freshness for up to 10 days.
FAQ:
How deep should I dig the base for a garden bench?
Excavate to a minimum depth of 6 inches. This allows for 4 inches of compacted aggregate and 2 inches of leveling sand. Proper depth prevents frost heaving and ensures structural stability during seasonal freeze-thaw cycles.
What is the best soil pH for plants near a bench?
Aim for a pH of 6.0 to 7.0. This range optimizes nutrient availability and Cation Exchange Capacity. If using a limestone base, monitor the pH regularly, as leaching can increase alkalinity and cause nutrient lockout.
Can I put a bench directly on the grass?
No. Placing a bench on turf leads to soil compaction and prevents gas exchange in the soil. This creates an anaerobic environment that kills the grass and causes the bench legs to sink and rot over time.
How do I prevent weeds from growing under my bench?
Install a heavy-duty non-woven geotextile fabric beneath the stone base. This creates a physical barrier that prevents weed seeds in the subsoil from germinating while still allowing water to drain through the profile.
What fertilizer NPK is best for bench-side perennials?
Use a balanced 10-10-10 NPK ratio. This provides equal parts Nitrogen for foliage, Phosphorus for root development, and Potassium for cellular health. Apply in early spring to support the plant's transition from dormancy to active growth.