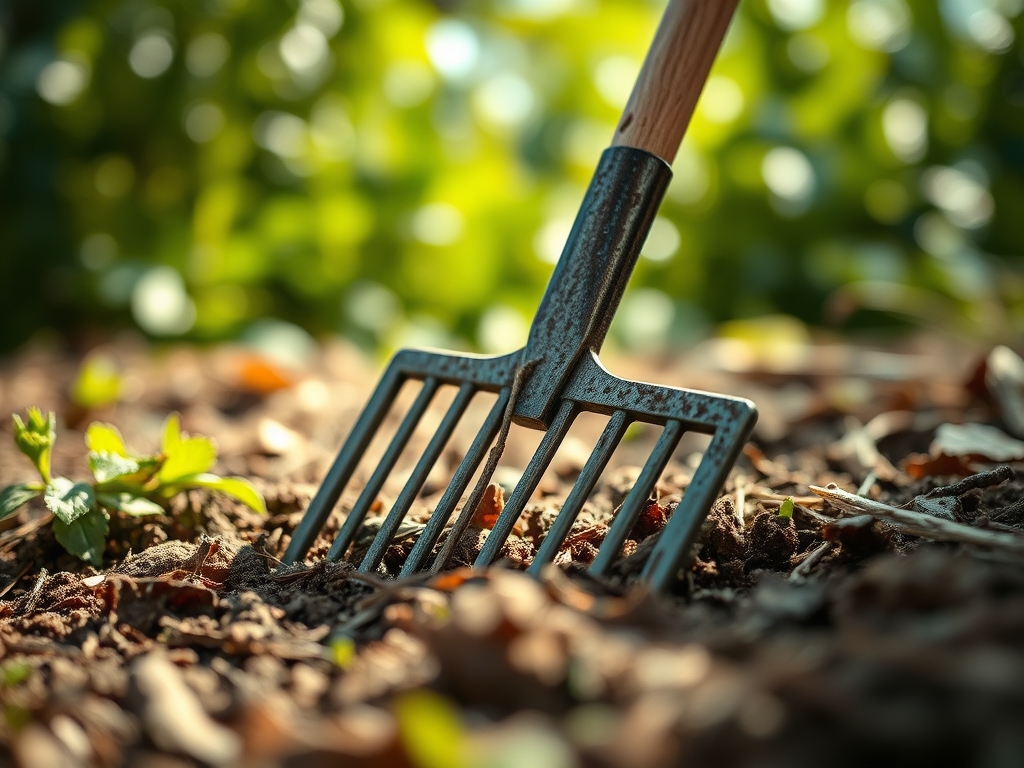
9 Tips to Use a Landscape Rake for Site Prep
The smell of damp, disturbed earth signals the beginning of mechanical site preparation; it is the scent of geosmin released as the soil crust breaks. Success in the field depends on the turgor pressure of the seedlings you intend to plant, which relies entirely on the capillary action of the seedbed you create. Using a rake for artistic landscaping is not merely an aesthetic endeavor but a technical calibration of the soil surface to ensure optimal seed-to-soil contact. A landscape rake, with its wide head and heavy-duty tines, serves as the primary tool for grading, leveling, and removing large debris that would otherwise impede root penetration. By manipulating the top two inches of the rhizosphere, you manage the micro-topography of the site. This process determines how water infiltrates the profile and how gas exchange occurs at the root zone. Precision at this stage prevents future drainage issues and ensures that the structural integrity of the soil supports uniform germination across the entire plot.
Materials:

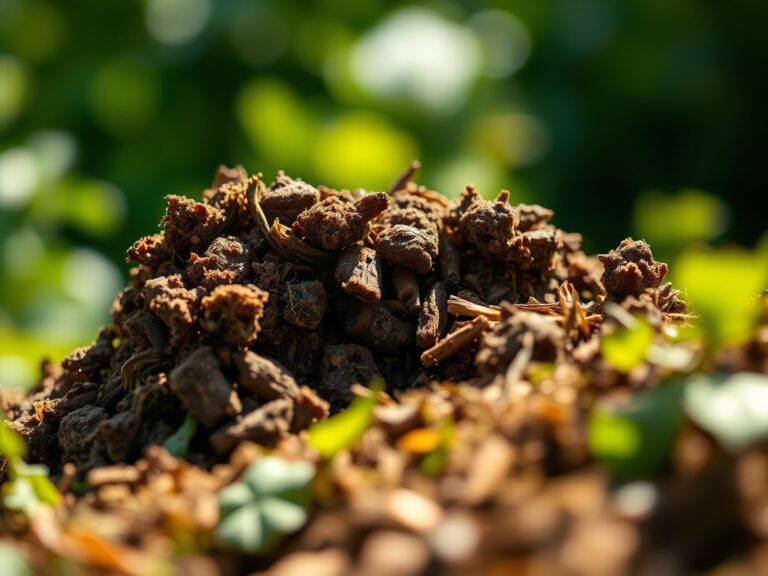
The ideal substrate for site preparation is a **friable loam**, characterized by a balance of 40 percent sand, 40 percent silt, and 20 percent clay. This texture ensures a high **Cation Exchange Capacity (CEC)**, typically ranging between **15 and 25 meq/100g**, allowing the soil to retain essential nutrients against leaching. Before using the rake, verify your soil pH; most ornamental and turf species thrive in a range of **6.2 to 6.8**.
If the soil test indicates deficiencies, incorporate granular fertilizers during the raking process. For vegetative establishment, a starter fertilizer with an NPK ratio of 10-20-10 provides the phosphorus necessary for ATP production and root elongation. If the site is intended for leafy perennials, a ratio of 20-10-10 supports nitrogen-dependent chlorophyll synthesis. The landscape rake should have an aluminum or magnesium head, typically 36 inches wide, to distribute these amendments evenly across the top 5 centimeters of the soil profile.
Timing:
Site preparation must align with the local Hardiness Zone requirements to avoid thermal stress on emerging radicles. In Zones 5 through 7, the primary window for site prep occurs when soil temperatures consistently reach 55 degrees Fahrenheit. This temperature threshold triggers the biological clock of the soil, transitioning dormant microbes into an active state where they begin mineralizing organic matter.
Avoid raking when the soil moisture exceeds 25 percent by volume. Working saturated soil collapses macropores, leading to compaction and reduced oxygen diffusion rates. The goal is to complete the grading phase at least 14 days before the final frost date. This allows the soil to settle and ensures that the transition from the vegetative stage to the reproductive stage occurs during the optimal photoperiod of late spring or early summer.
Phases:

Sowing
When sowing, use the flip side of the landscape rake to create a smooth, level plane. For small seeds, the planting depth should not exceed three times the seed diameter. Use the tines to lightly scarify the surface, creating micro-furrows that trap moisture and protect seeds from wind displacement.
Pro-Tip: Proper seed-to-soil contact facilitates imbibition, the process where the seed absorbs water to trigger metabolic activity. Without this contact, the seed cannot achieve the hydraulic pressure needed to rupture the seed coat.
Transplanting
For larger specimens, use the rake to grade the area away from the planting hole at a 2 percent slope. This ensures that irrigation water does not pool at the root collar, which can lead to anaerobic conditions and fungal pathogens. The rake helps blend the native soil with any amendments, preventing the "bathtub effect" where water gets trapped in a hole of porous soil surrounded by heavy clay.
Pro-Tip: Breaking up surface tension with a rake encourages mycorrhizal symbiosis. These beneficial fungi require aerobic conditions to extend their hyphae, effectively increasing the root system's surface area for nutrient uptake.
Establishing
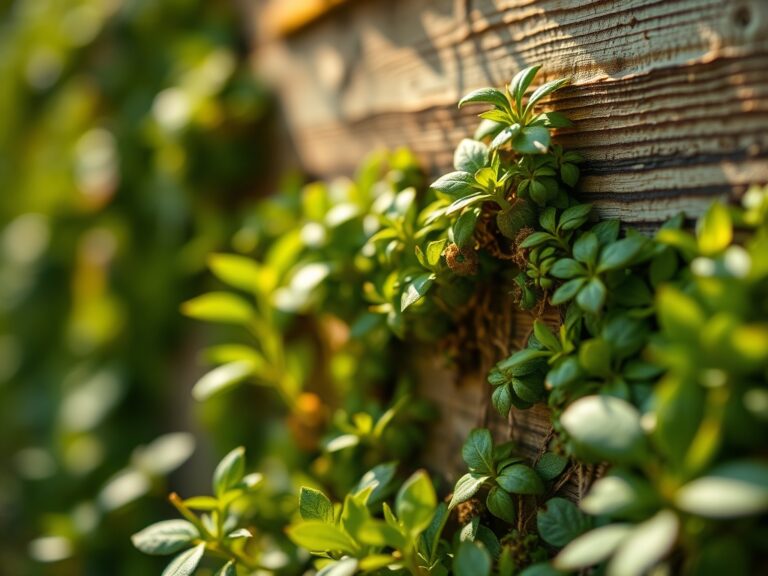
During the establishment phase, use the rake to maintain a clean perimeter around the base of the plants. This prevents competition from opportunistic weed species that would otherwise sequester nitrogen and water. A light raking of the mulch layer every 30 days prevents "hydrophobic crusting," ensuring that water reaches the root zone.
Pro-Tip: Maintaining a level surface prevents auxin suppression caused by mechanical stress. If a plant is forced to grow on a steep, unstable incline, it redirects energy toward structural lignin production rather than vertical elongation.
The Clinic:
Physiological disorders often manifest as a direct result of poor site preparation or nutrient imbalances.
- Symptom: Nitrogen Chlorosis. The older leaves turn pale yellow while the veins remain green.
Solution: Incorporate a high-nitrogen amendment (e.g., blood meal) into the top 3 inches of soil using the rake tines. - Symptom: Anthocyanin Accumulation. Leaves turn purple or reddish, indicating phosphorus deficiency or cold stress.
Solution: Apply a 0-20-0 superphosphate fertilizer and rake it into the root zone to improve availability. - Symptom: Leaf Scorch. Margins of the leaves appear burnt, often due to high salinity or potassium deficiency.
Solution: Flush the soil with 2 inches of water and apply a potassium sulfate supplement. - Symptom: Damping Off. Seedlings collapse at the soil line due to fungal pathogens in overly wet, compacted soil.
Solution: Use the landscape rake to improve surface drainage and increase aeration in the topsoil.
Maintenance:
Precision maintenance requires monitoring the soil moisture profile daily. Use a soil moisture meter to ensure the root zone stays between 60 and 80 percent of field capacity. Most established landscapes require 1.5 inches of water per week delivered at the drip line.
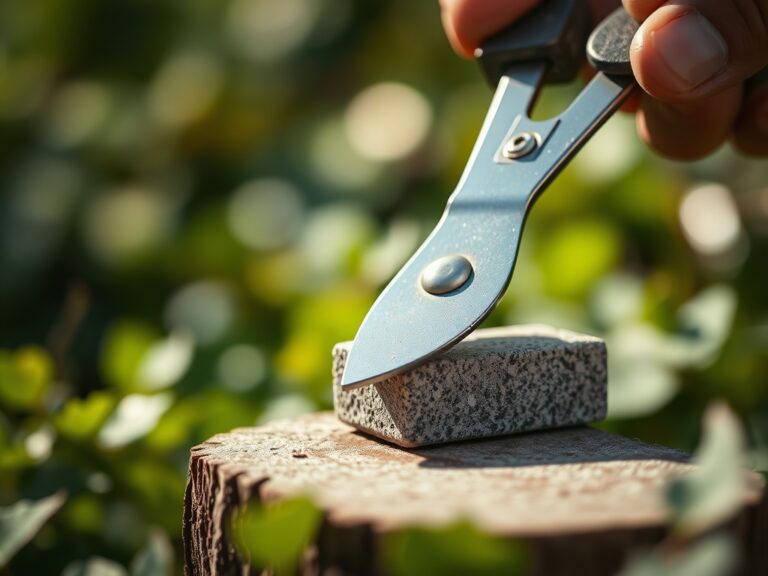
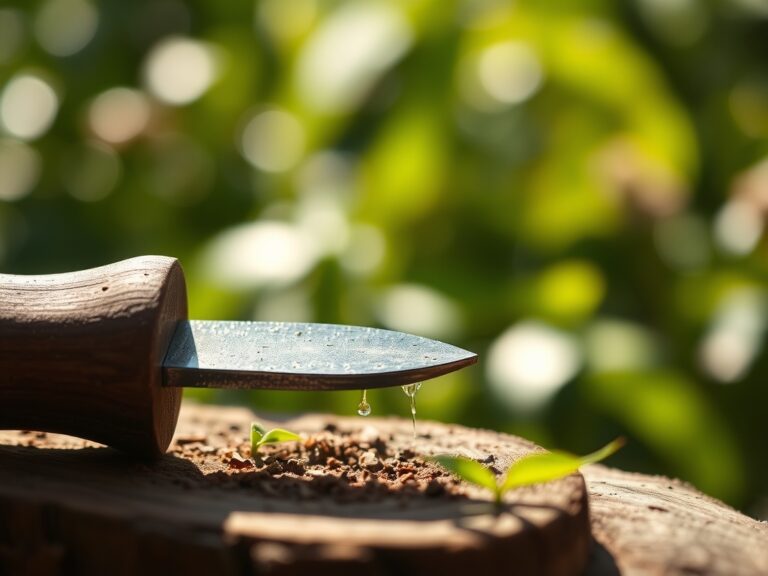
Keep your tools in peak condition. Use a hori-hori knife to remove deep-taproot weeds without disturbing the graded surface. For woody perennials, use bypass pruners to remove dead or diseased wood, preventing the spread of pathogens. After each use, clean the landscape rake with a stiff brush and coat the steel components with a light layer of mineral oil to prevent oxidation.
The Yield:
For those harvesting floral crops or edible perennials, timing is determined by the senescence of the plant. Harvest flowers when the buds are in the "tight color" stage to maximize vase life. For root crops, harvest when the shoulders of the vegetable are visible above the soil line.
To maintain "day-one" freshness, immediately submerge the cut stems in 40-degree Fahrenheit water to remove field heat. This slows the respiration rate and preserves the sugars within the plant tissue. Use the rake to clear the area of all crop residue post-harvest; this reduces the overwintering population of pests and prepares the site for the next cycle.
FAQ:
How deep should I rake for site prep?
Rake to a depth of 2 to 3 inches. This depth is sufficient to break up surface compaction and incorporate soil amendments without damaging the deeper soil structure or disrupting established microbial colonies in the lower horizons.
Can I use a landscape rake on wet clay?
No. Raking wet clay collapses the soil aggregates and destroys macropores. This leads to severe compaction and anaerobic conditions. Wait until the soil crumbles easily when squeezed in your hand before beginning any mechanical grading or leveling.
What is the benefit of a wide landscape rake?
The 36-inch width allows for greater leveling precision over large areas. It bridges small depressions and high spots that a standard garden rake would fall into, resulting in a more uniform grade for drainage and aesthetic consistency.
How do I fix a nitrogen deficiency quickly?
Apply a water-soluble fertilizer with a high first number (e.g., 30-0-0) and lightly rake it into the surface. Follow this with 0.5 inches of water to move the nitrates into the rhizosphere for immediate root uptake.