8 Steps to Prepare a Tool Maintenance Review
The smell of damp earth and the high turgor pressure of a hydrated leaf indicate a garden at its physiological peak. When learning how to prepare a garden for a tool maintenance review, a horticulturist must focus on the intersection of mechanical efficiency and plant health. Dull blades tear at the vascular cambium; rusted tines compact the rhizosphere. This guide ensures your landscape is structurally sound before your equipment undergoes its seasonal audit.
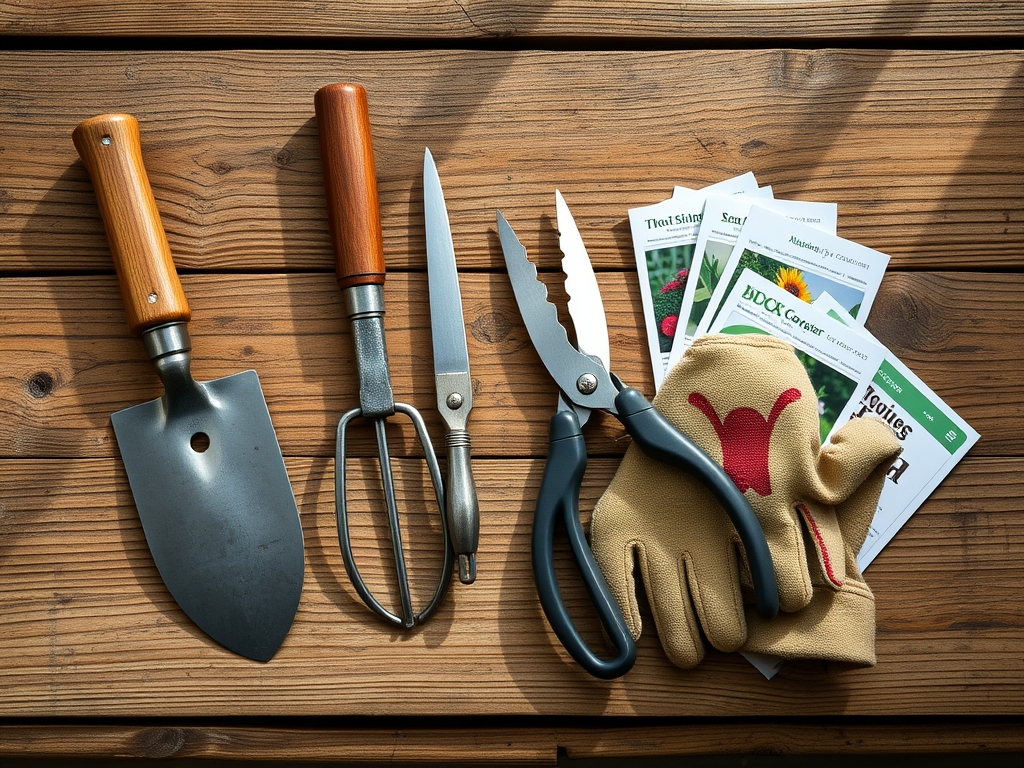
Materials:
Success begins with the substrate. An ideal friable loam consists of roughly **40 percent sand, 40 percent silt, and 20 percent clay**. This balance provides a high Cation Exchange Capacity (CEC), allowing the soil to retain essential nutrients like ammonium and potassium. For most temperate garden species, a **pH level between 6.2 and 6.8** is optimal for nutrient bioavailability.
Before the review, assess your soil nutrient levels. A standard maintenance application often requires a 10-10-10 NPK ratio for general vegetative support. If you are preparing for a flowering phase, transition to a 5-10-15 ratio to prioritize phosphorus and potassium over nitrogen. This prevents excessive succulent growth that is prone to mechanical damage during tool testing.
Timing:
The biological clock of the garden dictates the schedule. In USDA Hardiness Zones 5 through 7, the primary window for a tool maintenance review opens 14 to 21 days before the historical last frost date. This allows for the pruning of dormant woody perennials before the sap begins to flow.
As plants transition from the vegetative stage to the reproductive stage, their cellular demand for energy shifts. You must time your tool review to coincide with this metabolic pivot. Performing heavy maintenance during the peak of the photoperiod (long summer days) can induce heat stress. Aim for the "shoulder seasons" when the plant's respiration rate is lower and the risk of pathogen entry through fresh pruning cuts is minimized.
Phases:

Sowing and Soil Prep
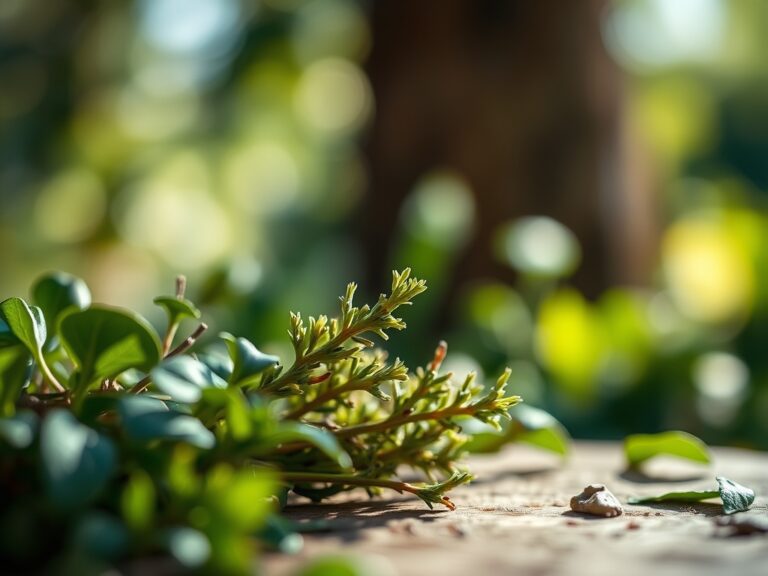
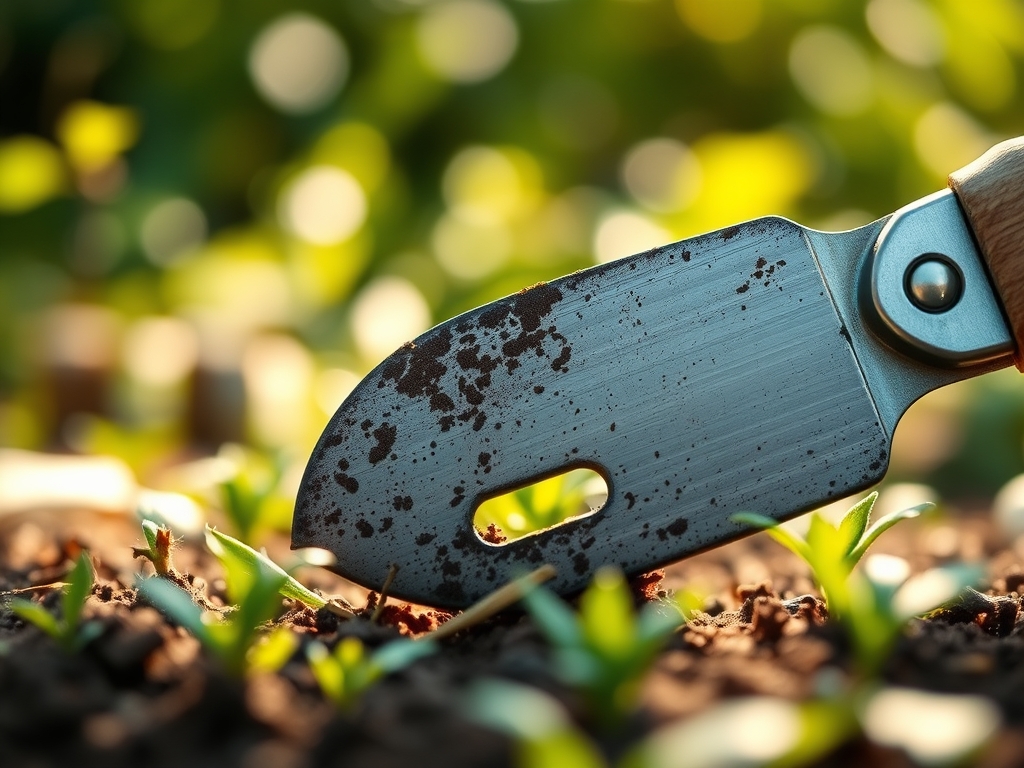
Begin by clearing the area where tools will be tested. Use a hori-hori knife to extract deep-rooted taproots without disrupting the surrounding mycorrhizal fungi. Ensure the soil is moist but not saturated; working in waterlogged soil collapses the macropores necessary for oxygen exchange.
Pro-Tip: Maintaining soil porosity is vital because of gas exchange. Roots require oxygen for cellular respiration; without it, the plant cannot synthesize ATP to drive nutrient uptake.
Transplanting and Structural Support
When moving specimens to clear paths for maintenance equipment, maintain the integrity of the root ball. Dig a hole two times wider than the root mass but no deeper than the original container. This prevents the settling of the crown, which can lead to stem rot.
Pro-Tip: Minimize transplant shock by preserving the rhizosphere. Mycorrhizal symbiosis between fungi and roots increases the surface area for water absorption by up to 1,000 percent.
Establishing and Hardening Off
Once the garden is organized for the review, monitor the turgor pressure of the leaves. Use a soil moisture meter to ensure the root zone remains at 60 to 80 percent field capacity. This ensures the plants are resilient enough to withstand the vibrations and foot traffic associated with a mechanical audit.
Pro-Tip: Use auxin suppression through strategic pinching. Removing the apical meristem encourages lateral branching; this creates a sturdier, more compact plant profile that is less likely to be snagged by passing machinery.
The Clinic:
Physiological disorders often masquerade as pest damage. Use this diagnostic criteria to identify issues before the review.
- Symptom: Interveinal Chlorosis. The leaves are yellow while the veins remain green.
- Solution: This typically indicates a Magnesium deficiency or high pH levels. Apply chelated minerals to lower the pH to 6.5.
- Symptom: Blossom End Rot. A dark, sunken spot appears on the base of fruits.
- Solution: This is caused by a Calcium transport failure. Ensure consistent irrigation of 1.5 inches of water per week to facilitate calcium movement through the xylem.
- Symptom: Leaf Scorch. Edges of the leaves appear burnt and brown.
- Solution: This is often a result of high salts in the soil or excessive wind desiccation. Flush the soil with 3 inches of water to leach excess salts from the root zone.
- Symptom: Nitrogen Chlorosis. The entire leaf turns a pale lime green or yellow, starting from the bottom of the plant.
- Fix-It: Apply a quick-release high-nitrogen fertilizer (20-0-0) to restore chlorophyll production.
Maintenance:
Precision is the hallmark of a professional horticulturist. During the tool review period, provide exactly 1.5 inches of water per week delivered at the drip line. Avoid overhead irrigation to prevent the spread of fungal spores.
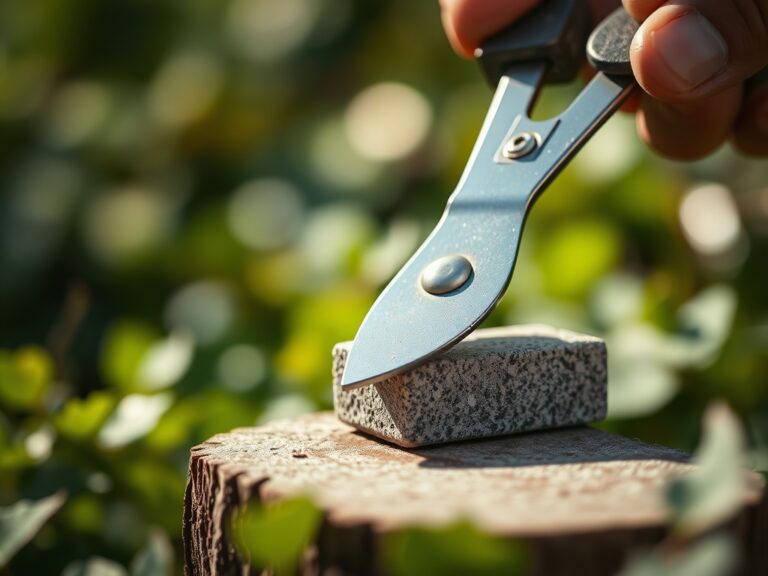
Keep your bypass pruners calibrated. A clean cut at a 45-degree angle just above a node promotes rapid callusing. If you are using a hori-hori knife for weeding, ensure the serrated edge is sharp to prevent dragging and tearing the soil structure. Use a soil moisture meter daily at 8:00 AM to get the most accurate reading of the plant's hydration status before the midday sun increases transpiration rates.
The Yield:
If your garden includes edibles or cut flowers, harvest timing is critical for post-harvest longevity. Harvest during the "cool of the day," typically between 5:00 AM and 7:00 AM, when the plant has maximum turgidity.
Use sharp, sterilized shears to make the cut. Immediately submerge the stems in 40-degree Fahrenheit water to remove field heat. This process slows down the rate of senescence and preserves the sugars within the plant tissue. For woody stems, a vertical slit at the base of the stem can increase water uptake by 25 percent, ensuring day-one freshness for the duration of the tool review display.
FAQ:
What is the best soil for a tool review area?
A well-drained friable loam with a pH of 6.5 is best. It allows for easy tool penetration while providing enough structural integrity to prevent compaction during heavy foot traffic or equipment testing.
How often should I calibrate my soil moisture meter?
Calibrate your meter once every thirty days or at the start of each season. Use a distilled water solution to ensure the sensors are reading the electrical conductivity and moisture levels with 98 percent accuracy.
Why do my tools rust despite dry storage?
High ambient humidity can cause oxidation. Maintain a storage environment with less than 50 percent humidity. Apply a thin coat of mineral oil to all metal surfaces after each use to create a hydrophobic barrier.
When is the best time to sharpen bypass pruners?
Sharpen blades after every 100 cuts or if you notice any crushing of the plant tissue. A sharp blade ensures the vascular cambium is sliced cleanly, which significantly reduces the time required for the plant to heal.
Can I use a tool review to check for soil compaction?
Yes. A penetrometer or a simple garden fork can measure resistance. If you cannot easily penetrate the top 6 inches of soil, the bulk density is too high and requires aeration to restore oxygen flow to the rhizosphere.