6 Tips to Use a Tool Sharpening Management List
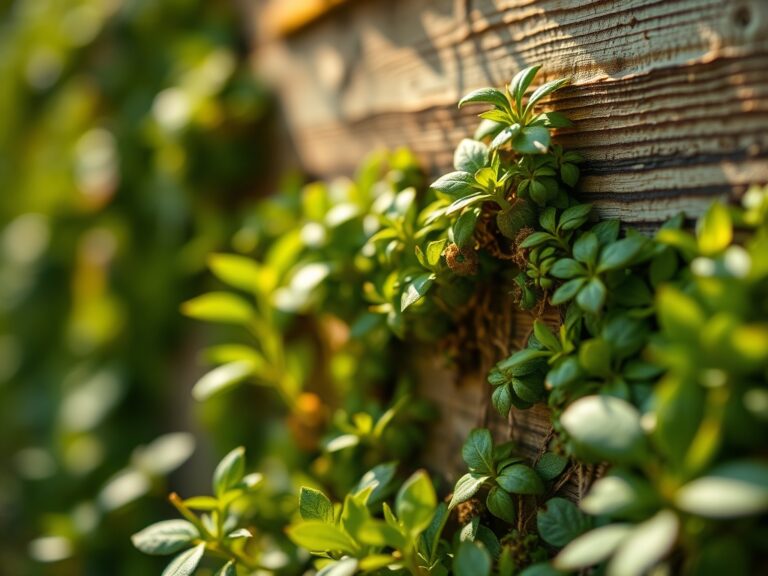
The smell of damp earth and the high turgor pressure of a hydrated leaf signify a garden in peak physiological health. Maintaining this state requires more than just water and light; it demands surgical precision during pruning and harvesting to prevent tissue necrosis. Using a sharpening list for garden tools ensures that every incision is a clean separation of plant cells rather than a crushing blow to the vascular system. When a blade is dull, it tears the epidermis and cortex, creating jagged entry points for pathogens and increasing the rate of transpiration at the wound site. A systematic management list allows a grower to track the edge geometry of bypass pruners, loppers, and spades, ensuring that the mechanical interface between tool and plant remains optimal. By documenting the maintenance cycle of each edge, you minimize the risk of spreading disease and ensure that the plant's metabolic energy is directed toward healing a clean cut rather than fighting off opportunistic infections.
Materials:

The foundation of any successful horticultural endeavor begins with the substrate. A friable loam with a **Cation Exchange Capacity (CEC) of 15 to 25 milliequivalents per 100 grams** provides the ideal reservoir for nutrients. Aim for a **soil pH between 6.2 and 6.8** to ensure maximum bioavailability of micronutrients. For vegetative growth, integrate an organic fertilizer with an **NPK ratio of 10-5-5**. As the plant transitions to the reproductive stage, shift the balance to a **5-10-10 ratio** to support floral development and root strength. The physical texture should allow for rapid gas exchange in the rhizosphere; compacted soils with low porosity lead to anaerobic conditions and root rot. Ensure the substrate contains at least **5 percent organic matter** to facilitate water retention while maintaining adequate drainage.
Timing:
Successful cultivation is governed by the biological clock and regional climate data. In Hardiness Zones 5 through 7, the window for spring planting typically opens after the last frost date, often falling between late April and mid May. Monitoring the photoperiod is essential, as many species rely on day length to trigger the transition from vegetative growth to senescence. For cool-season crops, soil temperatures must reach a consistent 50 degrees Fahrenheit for germination. Conversely, warm-season varieties require a minimum of 65 degrees Fahrenheit at a depth of four inches. Use a soil thermometer to verify these metrics before introducing sensitive seedlings to the field. Understanding the specific frost-free days in your microclimate allows for the precise scheduling of sharpening tasks, ensuring tools are ready before the first major pruning window of the season.
Phases:
Sowing
Direct sowing requires a seedbed prepared with a fine tilth. Seeds should be planted at a depth generally equal to three times their diameter. Maintaining consistent moisture is critical during the imbibition phase, where the seed absorbs water to activate metabolic processes.
Pro-Tip: Proper seed-to-soil contact facilitates hydraulic conductivity. This ensures the embryo has immediate access to the moisture needed to break dormancy and initiate the protrusion of the radicle.
Transplanting
When moving seedlings from a controlled environment to the field, hardening off is mandatory to prevent transplant shock. Gradually expose plants to outdoor UV levels and fluctuating temperatures over a 7 to 10 day period. Ensure the transplant hole is twice the width of the root ball to encourage lateral root expansion.
Pro-Tip: Minimize root disturbance to protect the delicate mycorrhizal symbiosis. These fungal networks extend the reach of the root system, significantly increasing the plant's ability to uptake phosphorus and water.
Establishing
During the establishment phase, the plant focuses on developing a robust root architecture. Consistent irrigation is vital, but avoid overwatering, which can lead to shallow root systems. Monitor the apical meristem for steady growth and use your management list to ensure that the bypass pruners used for early training are honed to a razor edge.
Pro-Tip: Use clean, sharp cuts to manage auxin suppression. By removing the dominant apical bud, you redistribute auxins to lateral buds, encouraging a bushier growth habit and increasing the potential for higher yields.
The Clinic:
Physiological disorders often mimic infectious diseases but are rooted in environmental or nutritional imbalances.
- Symptom: Interveinal chlorosis on young leaves.
- Solution: This typically indicates an Iron deficiency, often caused by high soil pH. Apply chelated iron and adjust the pH to below 7.0.
- Symptom: Blossom end rot in fruit.
- Solution: This is a Calcium transport issue, frequently triggered by inconsistent moisture levels. Maintain steady irrigation to ensure Calcium moves through the xylem.
- Symptom: Purpling of older foliage.
- Solution: Phosphorus deficiency. This is common in cold soils where microbial activity is low. Apply a high-phosphorus starter fertilizer.
Fix-It for Nitrogen Chlorosis: If the older, lower leaves are turning uniform yellow, the plant is scavenging Nitrogen for new growth. Apply a quick-release nitrate fertilizer and mulch with organic compost to provide a steady release of nutrients over time.
Maintenance:
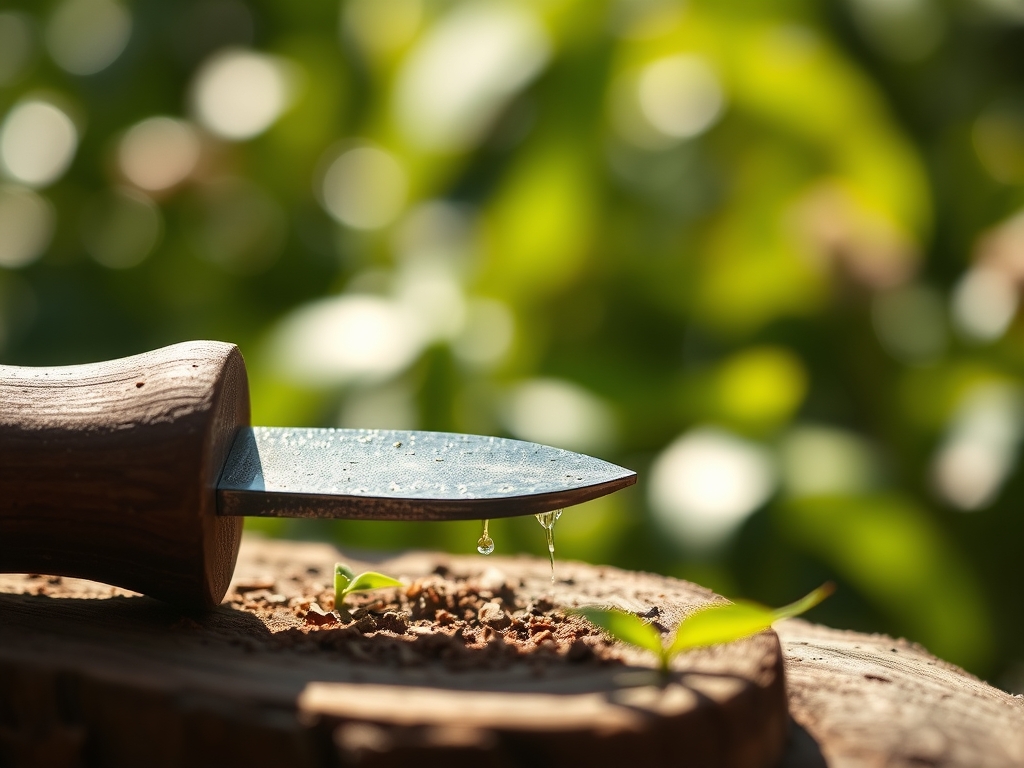
Precision maintenance is the difference between a surviving garden and a thriving one. Deliver 1.5 inches of water per week at the drip line, rather than at the base of the stem, to encourage wide root distribution. Use a soil moisture meter to verify that the root zone is reaching field capacity without becoming waterlogged. For pruning, utilize a hori-hori knife for weeding and light digging, and keep your bypass pruners calibrated. Every three months, cross-reference your sharpening list to ensure that the bevel angle on your blades remains at the manufacturer's specification, usually between 20 and 25 degrees. This prevents the metal from rolling and ensures the cleanest possible cut through lignified tissue.
The Yield:
Harvesting should occur during the coolest part of the day, typically just after the dew has evaporated but before the sun reaches its zenith. This timing ensures maximum cell turgidity and flavor concentration. For leafy greens, harvest when the leaves are young and tender; for fruiting bodies, wait for the specific color break that indicates physiological maturity. Use a sharp, sterilized blade to sever the peduncle, leaving a small stub to prevent moisture loss from the main fruit body. Post-harvest, immediately move produce to a shaded, cool environment to reduce the respiration rate. Hydro-cooling or placing stems in clean water can extend "day-one" freshness by maintaining the hydraulic pressure within the plant tissues.
FAQ:
Why is a sharpening list necessary for garden tools?
It tracks the maintenance intervals for every blade, ensuring clean cuts that minimize plant stress. Sharp tools reduce the surface area of wounds, allowing the plant to seal the injury quickly through the production of callus tissue.
How does a dull blade affect plant health?
Dull blades crush vascular tissues, including the xylem and phloem. This mechanical damage hinders the transport of water and nutrients, increases the risk of fungal infection, and slows the overall recovery time of the specimen.
What is the ideal NPK ratio for general maintenance?
A balanced 10-10-10 NPK ratio is suitable for general maintenance in established landscapes. However, specific growth stages require adjustments; higher Nitrogen for vegetative growth and higher Phosphorus and Potassium for flowering and root development.
How often should I check my soil pH?
Perform a professional soil test every two to three years. This frequency allows you to monitor changes in the Cation Exchange Capacity and adjust the pH to ensure that essential minerals remain chemically available to the root system.